

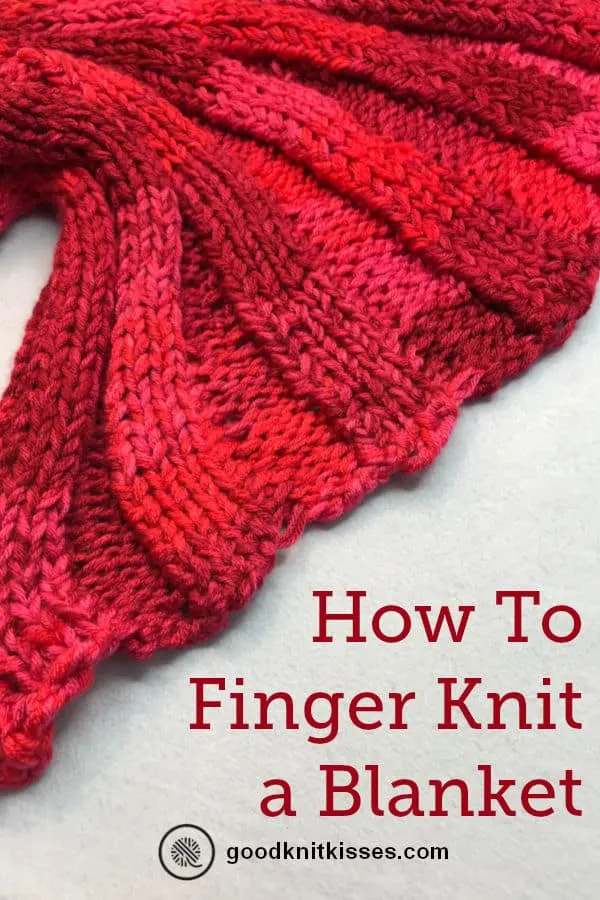
Finger Knit a Blanket
Can you make a blanket using just your fingers? Of course you can! Learn how to finger knit a blanket with my updated tutorial videos for both right and left handed knitters. Scroll down for the videos.
Using just four of your fingers you can make a large blanket by joining the strips as you knit. There is NO need to sew panels together after you knit. I love how easy this is knit.
PIN IT!

Finger Knit a Blanket
Yarn:
Bulky or super bulky weight yarn
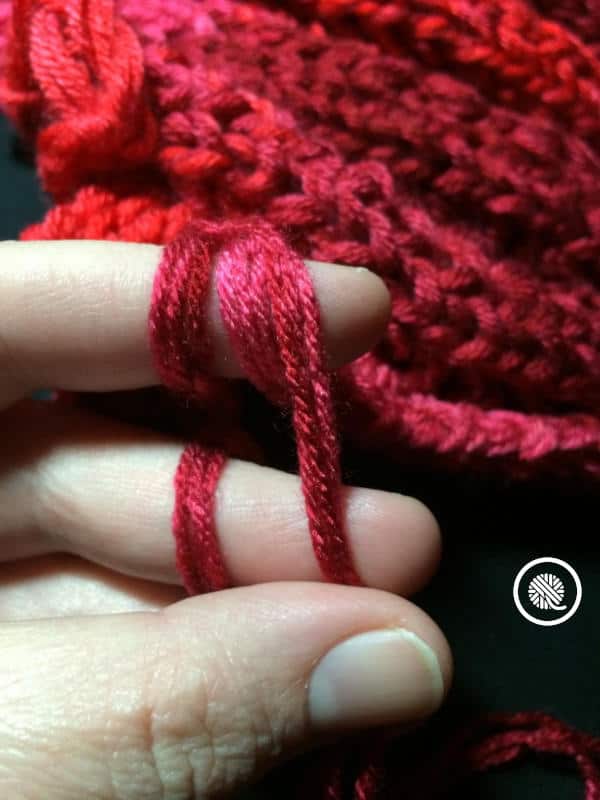
OR 3 strands of worsted weight held together (Pull 3 strands of yarn from one ball at a time with this technique.)
Tools:
Scissors
Single stitch marker that opens and locks (Boye makes a great one; shown in video)
Stitch holder or 3 more locking stitch markers
Tapestry needle to weave in ends
Loom knitting tool (optional- helps with finger fatigue)
Notes:
Pattern instructions include notes for which finger each stitch is on: Index (pointer) finger, middle finger, ring finger and pinkie. Knit rows back and forth across your fingers in order. When joining your stitches to previous strip work the join on your index finger.
Right-handed knitters should cast onto your left hand. Left-handed knitters cast the yarn onto your right hand. (Editors/ADA note: Instructions are written for knitters using 4 digits of a hand. If you have less fingers or a dexterity issue please use a wide tooth plastic comb with four sturdy teeth to substitute for fingers. A knitting loom will work as well and you can add more stitches if you like.)
Cast on using double e wrap method.
Use the flat knit stitch throughout this project. Lay working yarn above loops on fingers and lift the bottom loop over the top.
Finger Knit Bind off:
- Flat knit 1st stitch on index finger. Knit 2nd stitch on middle finger. Move the 2nd stitch on top of the 1st stitch and work the bottom loop over the top. Pick up the stitch on your 1st finger and move to your middle finger. We will now call this the 1st stitch.
- Knit the 2nd stitch (ring finger). Move to the 1st stitch (middle finger). Work the stitch bottom over top. Move 1st stitch to the ring finger and call it the 1st stitch.
- Knit the 2nd stitch (pinkie finger). Move to the 1st stitch (ring finger). Work the stitch bottom over top. Move 1st stitch all the way back to the index finger and call it the 1st stitch.
Instructions:
Make 1st strip of knitting:
Cast on 4 stitches using double ewrap cast on.
Row 1: Knit across all 4 stitches.
Repeat Row 1 until your knitted cord measure the desired length for your blanket. End your row with the working yarn on your index (or 1st digit) finger.
Bind off 4 stitches and leave last loop on finger. Move loop to index finger.
Join additional strips to add width to your blanket:
Make sure your 1 remaining loop is on your index finger. You’ll be joining the previous strip as you knit along the edge that is closest to your index finger.
Cast on 3 stitches to your remaining fingers.
Row 1: Knit 4 stitches, working back toward your index finger.
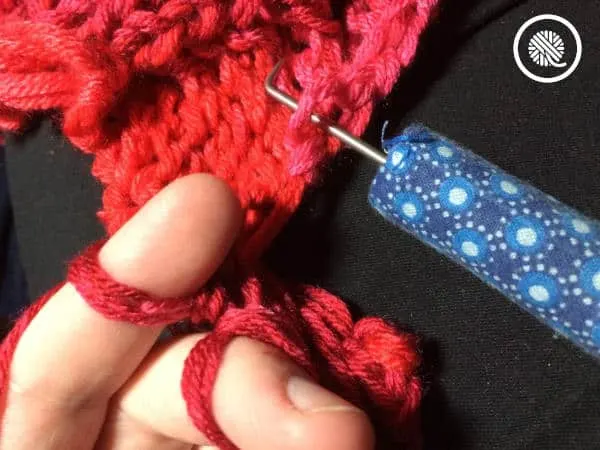
Row 2: Pick up the loose stitch at the edge of the knitting on the precious panel (just below the purl bump) and place it on your index finger. (see picture below) Make sure your working yarn isn’t trapped between. Flat knit 2 stitches over 1 on the 1st stitch. Knit 3 stitches.


Repeat Rows 1-2 until you reach the last stitch (will be a cast on stitch).
Last Row:
Pick up edge cast on stitch and place on index finger. Using instructions for Bind Off above, knit 2 over 1 on the 1st stitch only on bind off row.
Continue joining additional strip until you reach the desired width of your blanket. Weave in ends.
Tips & Tricks:
With a project this large you’ll need a break. Use a long stitch holder to pick up the stitches on your fingers and keep them secure until you’re ready to knit again. You can also use individual stitch markers to hold each stitch separately. Just make sure you put the stitches back on your fingers in the correct order so your join is always at your index finger.


How to Finger Knit a Blanket for RIGHT Handers:
How to Finger Knit a Blanket for LEFT Handers:
Oberon
Tuesday 22nd of November 2022
I've recently taken an interest in finger knitting and have decided to use your method. I want to make a blanket for my younger sibling but when I was testing it out I seem to be losing width. Row by row it seems to get a bit smaller. I followed your video so I'm not sure what's wrong. Do you have any idea's??
GTM
Saturday 2nd of January 2021
Can you use Yarn -"Wool-Ease - Thick & Quick ' for finger knitting , and not separating the strands?
Christine Prantl
Tuesday 16th of January 2018
I'm new at finger knitting when I start first row of the blanket it shrinks is that supose to happen I have small fingers
Christine Prantl
Tuesday 16th of January 2018
I'm new at finger knitting when I start first row of the blanket it shrinks is that supose to happen I have small fingers
How To Finger Knit + 18 Finger Knit Projects
Monday 14th of December 2015
[…] Finger Knit Blanket – A blanket is a great item to use to keep […]