
Loom Knit Scrubby
by Kristen Mangus
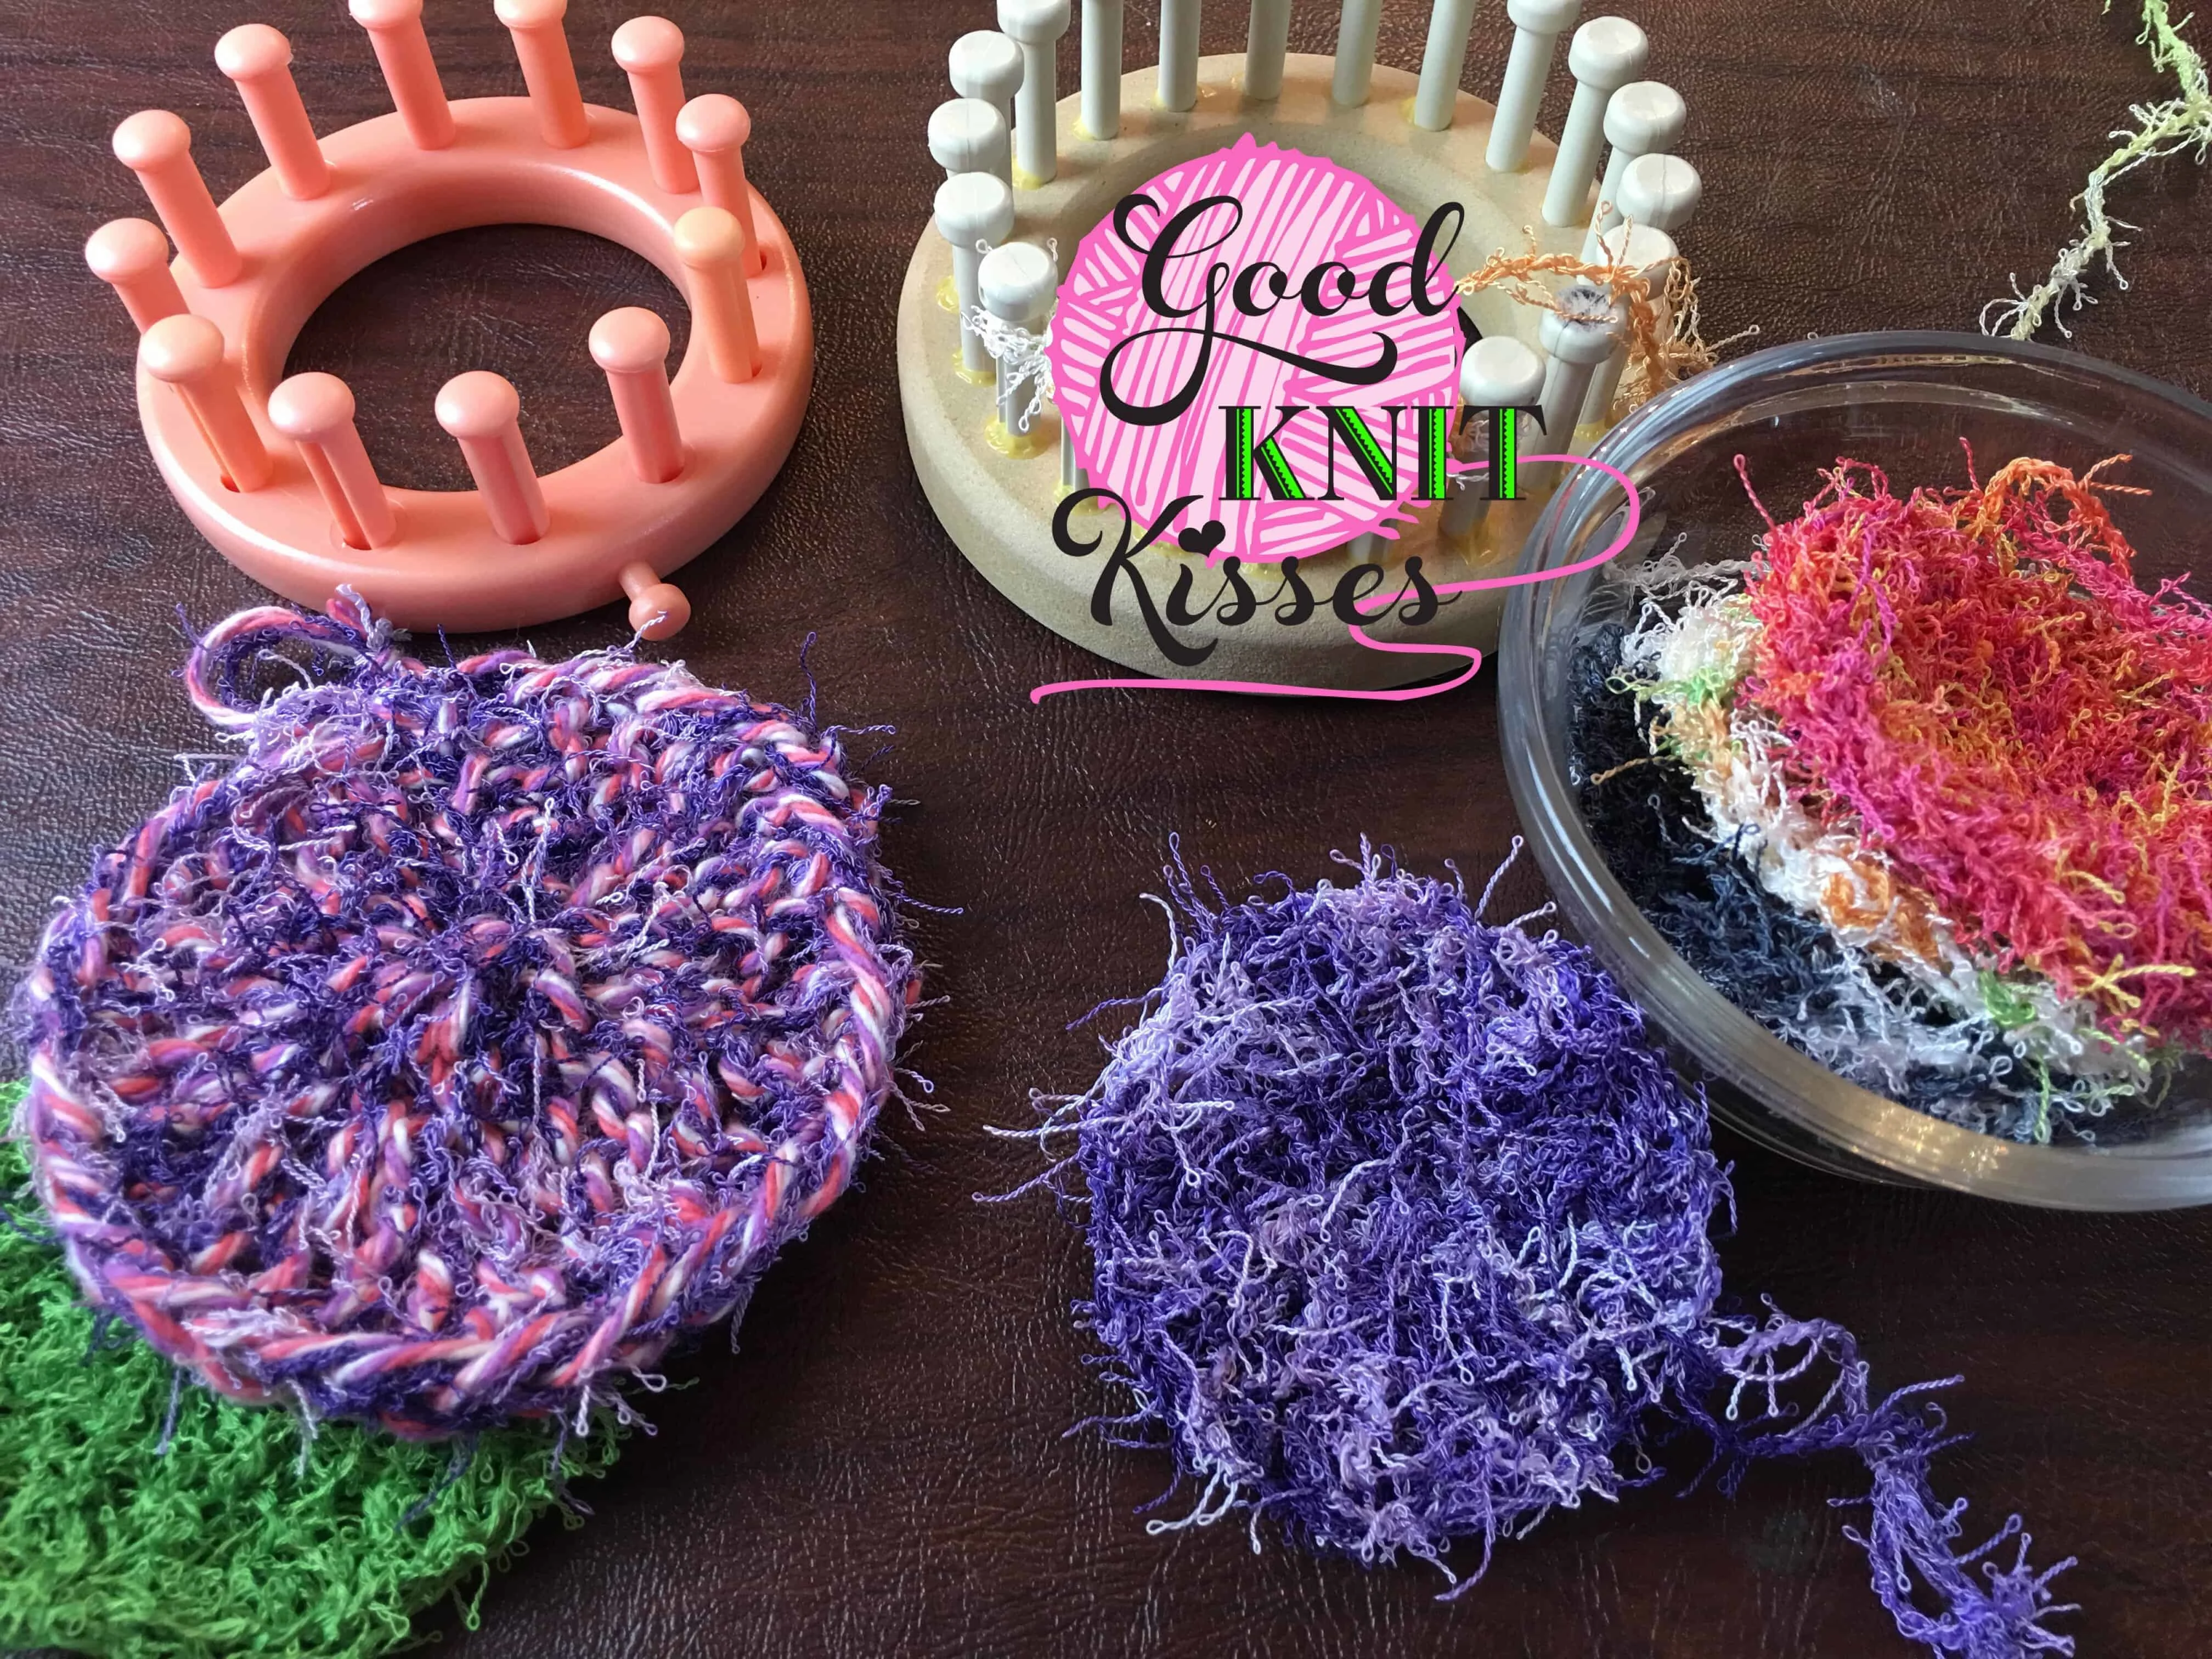
Make a small loom knit scrubby. These small round scrubbies remind me of a circle chip. Stack them up in pretty colors and place in a jar in your bathroom for some exfoliating scrubs or make larger ones with cotton yarn and hang with a loop in your shower! They work up nicely and make great gifts. I can imagine giving a mason jar full of loom knit scrubby circles paired with bath bombs, handmade soap and a candle for a spa gift. That seems like a real treat!
This pattern uses a small round loom. The small scrubby uses a CinDwood Crafts loom in 1/2” gauge and 6 pegs. It makes about a 2 1/2” circle with 1 strand of scrubby yarn. **To make a larger circle you can also use a 3/4” gauge loom with 6 pegs and 1 strand of scrubby yarn with 1 strand of cotton yarn. This makes a 3 1/2” size circle. Sample made on a Knifty Knitter flower loom or same gauge.
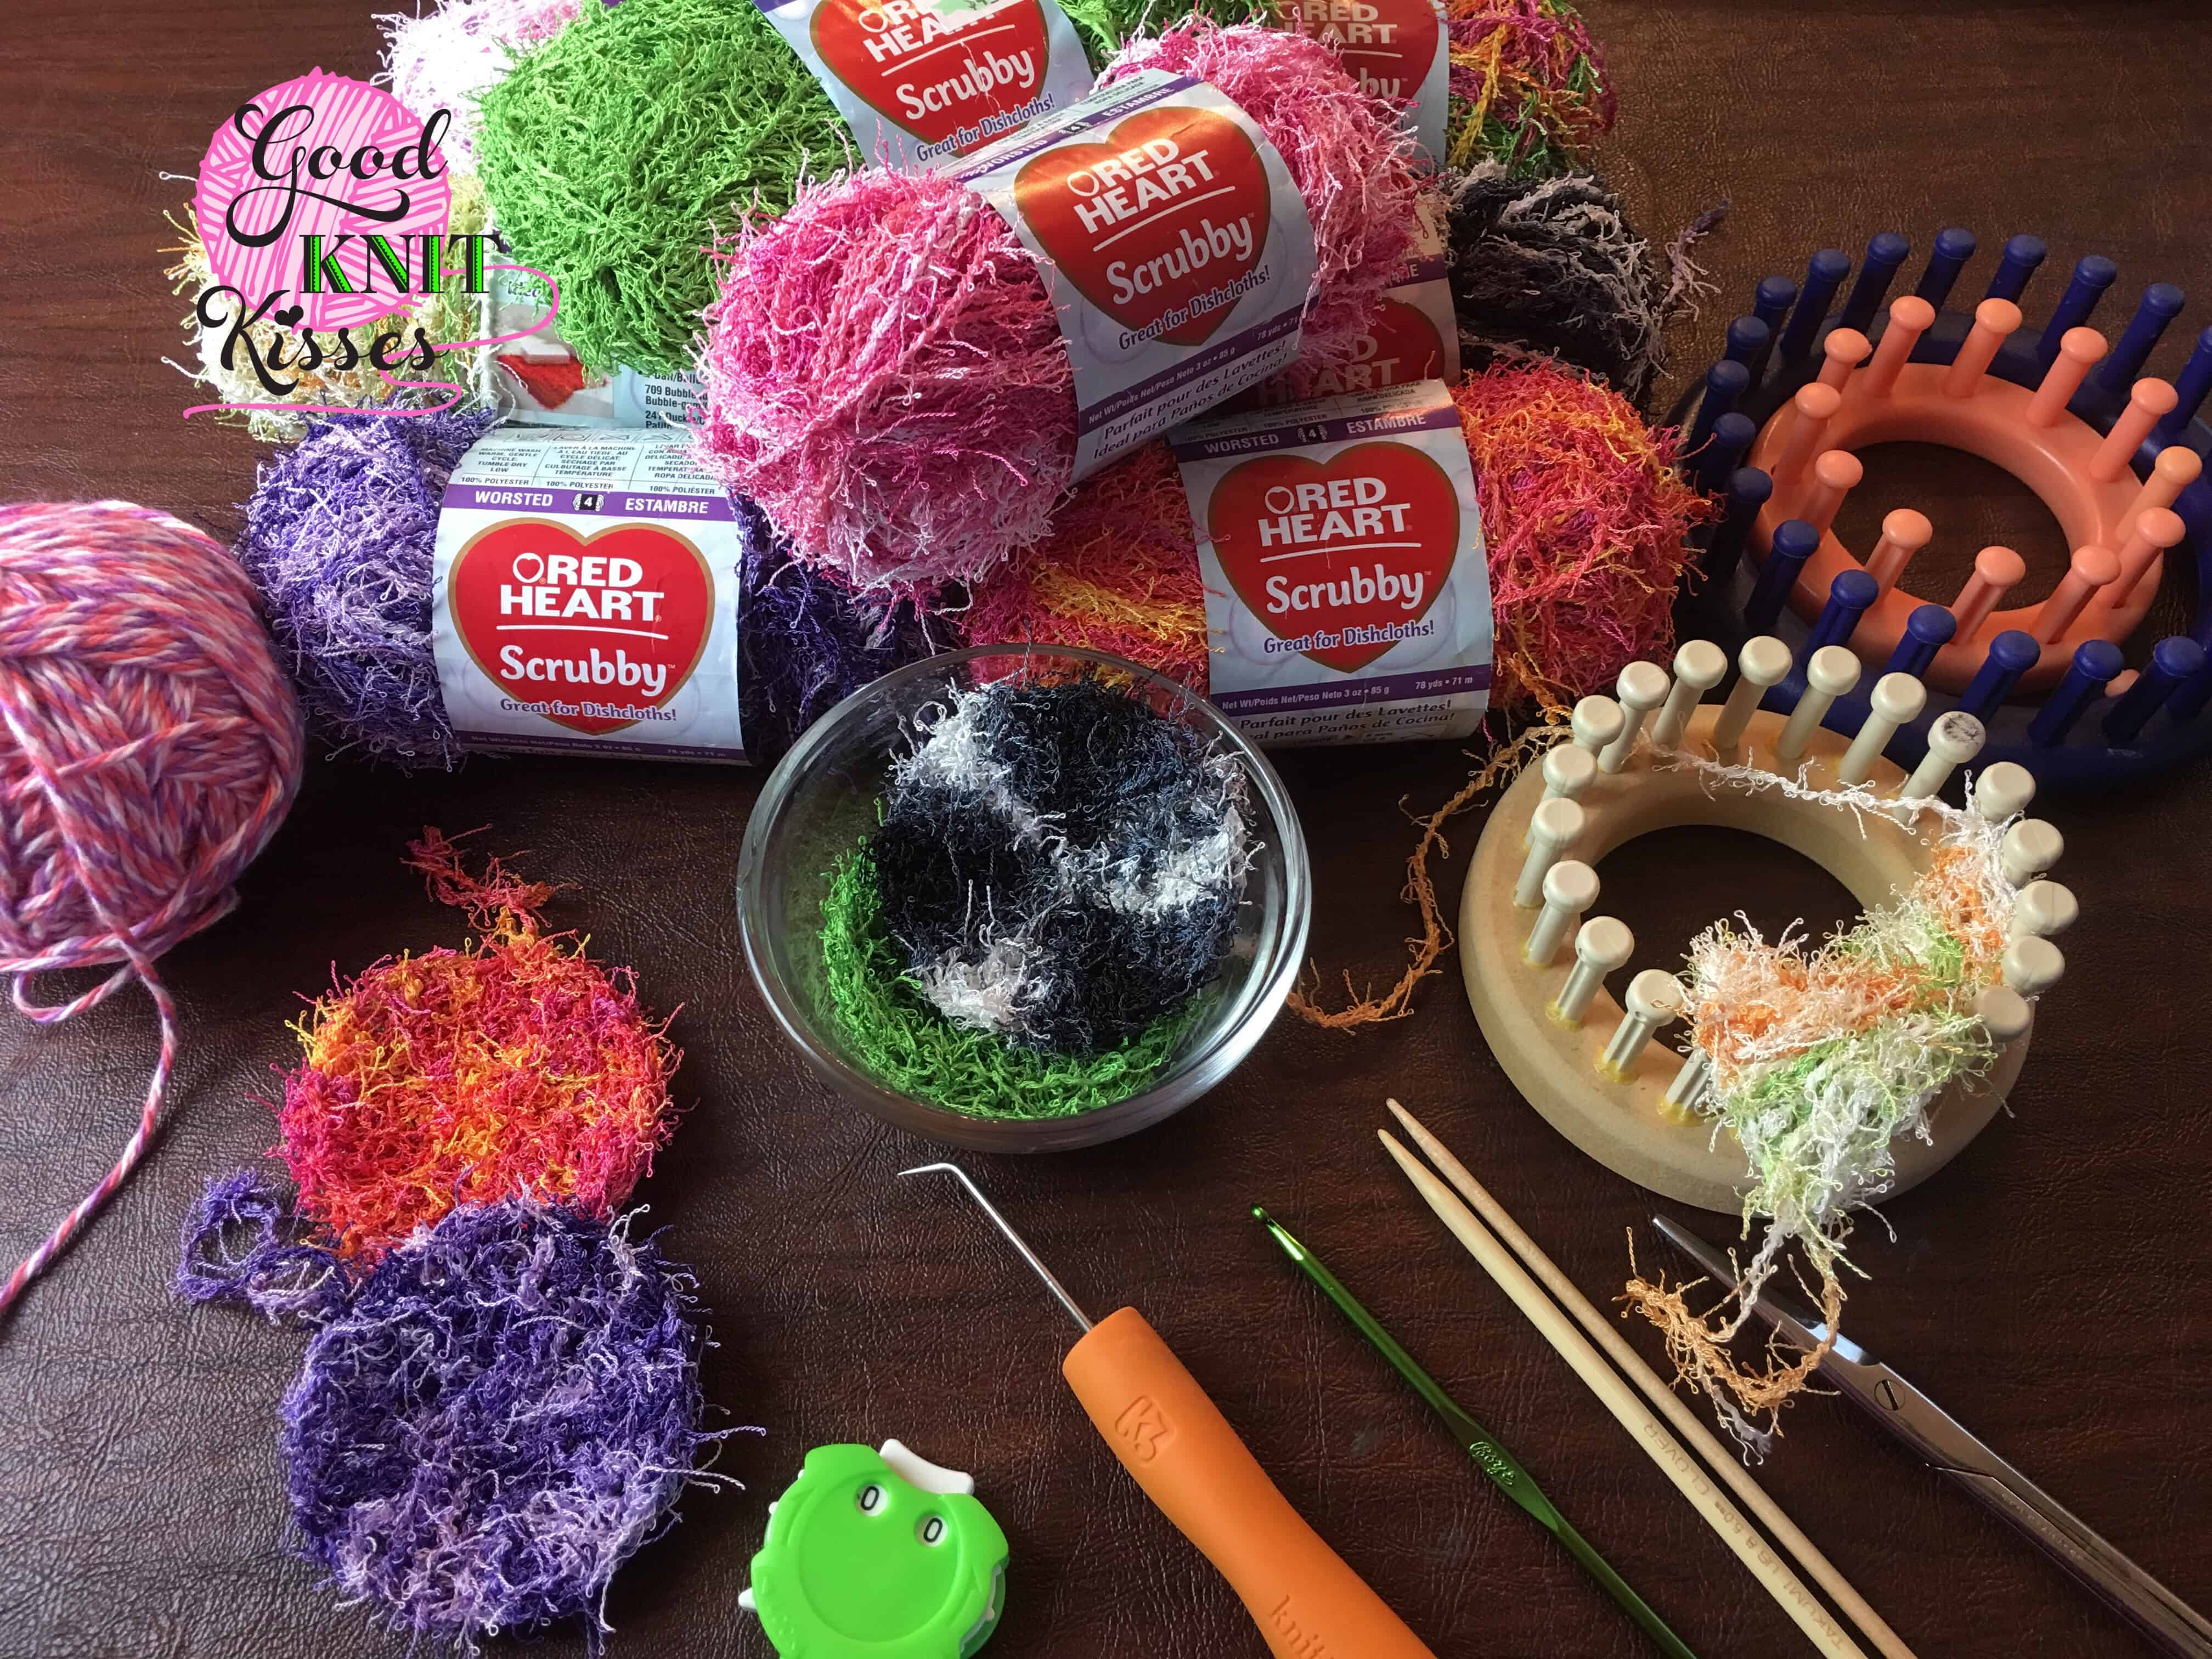
Materials Knitting Loom:
1/2” gauge Loom with at least 6 pegs. CinDwood Crafts knitting loom was used in sample.
**3/4” gauge Loom with at least 6 pegs. Knifty Knitter Flower loom was used in sample.
Yarn:
Red Heart Scrubby yarn was used in sample.
**1 strand of cotton yarn was paired with 1 strand of scrubby yarn for larger loom knit scrubby
Notions:
Knitting tool, Small crochet hook (US F/3.75 mm was used in sample), 2 DPN/double pointed needles or straight knitting needles to hold stitches in bind off (any sizes US 4-7 work fine).
Sizes:
Small – 2 1/2” – use 1/2” gauge loom (can go larger just add more pegs).
Large – 3 1/2” – use 3/4” gauge loom (can go larger just add more pegs).
Abbreviations:
HH = Half Hitch
P = Purl
FK = Flat Knit
FKL = Flat Knit Leave – Leave FK yarn at top not working stitch until later; this is used to indicate where to stop short rows.
SL = Slip – Do not work stitch.
Pattern Notes:
Circles are worked in 6 wedges using short rows. There are no wraps needed and no sewing in this pattern. Needles called for in the notions are used as holders for stitches to use a Russian grafting technique that makes a seam without sewing or using more yarn. Notes are included if you are a right or left handed as to which direction to start to make the purling rows easier for this loom knit scrubby. Use 1 strand and the 1/2” loom or 1 strand of scrubby yarn held with 1 strand of cotton yarn on the 3/4” and follow directions below for either size. With this pattern you should be able to comfortably add a few more stitches above the recommenced 6 stitches for a larger size. I hope you enjoy your loom knit scrubby!
Loom Knit Scrubby Instructions –
Cast on:
Main Pattern:
Repeat Rows 1-2 until peg 2 has been FKL and peg 1 FK. Work all pegs (peg 2 through end peg) by lifting the bottom loop over the top loop. This completes 1 wedge. work 1 row 3 for wedges 1-5.
Row 3: Purl until 1 peg remains (do not purl peg 6 or last peg if using more stitches).
Repeat Rows 1-2 & Row 3 according to above directions for 5 wedges. For the 6th, and final, wedge do NOT work Row 3.
Your knitting will look like a half circle. There will be a visibly different look of the outside and the “inside” of your half circle.
Bind off in Russian grafting method:
This method seams the two ends together without extra yarn. The instructions here add a step to pull in the center of the circle and tighten at the same time as joining. Follow the instructions below carefully. See video tutorial for reference if needed.
Set up:
Step 1 – Cut yarn about 9-12”.
Step 2 – Using a knitting needle, or preferred stitch holder, place the stitches on the needle in order from end peg (opposite side of working yarn/tail).
Step 3 – Turn the work around 180 degrees so that the working tail is on the left (if right-handed).
Step 4 – Using small crochet hook, pick up stitches along the curved “center” of the circle (The stitches will be relatively loose and you should be able to easily pick up about 4-5 stitches.)
Step 5 – Slide the last stitch on the needle onto the hook (This is the stitch opposite the working tail.) Work all “inside” stitches over the stitch on the hook until only that stitch remains.
Step 6 – Slide stitch on hook back onto the needle.
Step 7 – Using the second needle pick up loose stitches along the cast on edge. These stitches should remain loose, do not twist. Pick up 1 less stitch than you cast on as there should only be that many easily seen.
Step 8 – Turn the 2nd needle around so work is folded in half and the 2 needles are next to each other. The working tail should be on the left (if right-handed).
Grafting:
Step 9 – With crochet hook slide/slip last stitch on BACK needle onto the crochet hook; this is the same stitch that was worked with the inside stitches.
Step 10 – Place hook between 1st and 2nd stitches on FRONT needle (stitches on right). Insert hook into the front leg of the 1st stitch (knit-wise is what this is called) and work the stitch (meaning lift back loop over the last loop till 1 stitch remains). Note: use the knitting needle as a hard surface to lean the hook against to work that stitch without dropping it. With the single strand of scrubby yarn it works up easier.
Step 11 – Pick up 1st stitch on BACK needle knit-wise and work stitch.
Step 12 – Pick up 1st stitch on FRONT needle knit-wise and work.
Step 13 – Pick up 1st stitch on BACK needle knit-wise and work.
Finishing:
Tie a square knot with starting tail and ending tail. With remaining tails make a long loop and tie a square knot. Trim ends. Enjoy your scrubby.
PIN IT!
LIVE VIDEO TUTORIAL BELOW! 🙂
Renata
Sunday 5th of June 2022
Where can I find the video tutorial please?
Katherine turley
Sunday 5th of September 2021
Like your show and can you do a hooded scarf on a around loom.
Susan FLEENER
Friday 27th of November 2020
replay - i'd like to see a video that is just the scrubby details....i like to stop and start....
Barb
Friday 25th of October 2019
Did you have any ideas for decorating the Mason jar and storing the soiled ones until wash day
Ramona
Saturday 23rd of February 2019
I like pink and purple