

Picot Lovey
If you are familiar with Charity Windham’s Hexagon baby blanket you will be able to make the mitered square in no time. The video for the Hexagon will help you understand the principle
Here is the pattern below. Enjoy!
(Originally written June 11th, 2013)
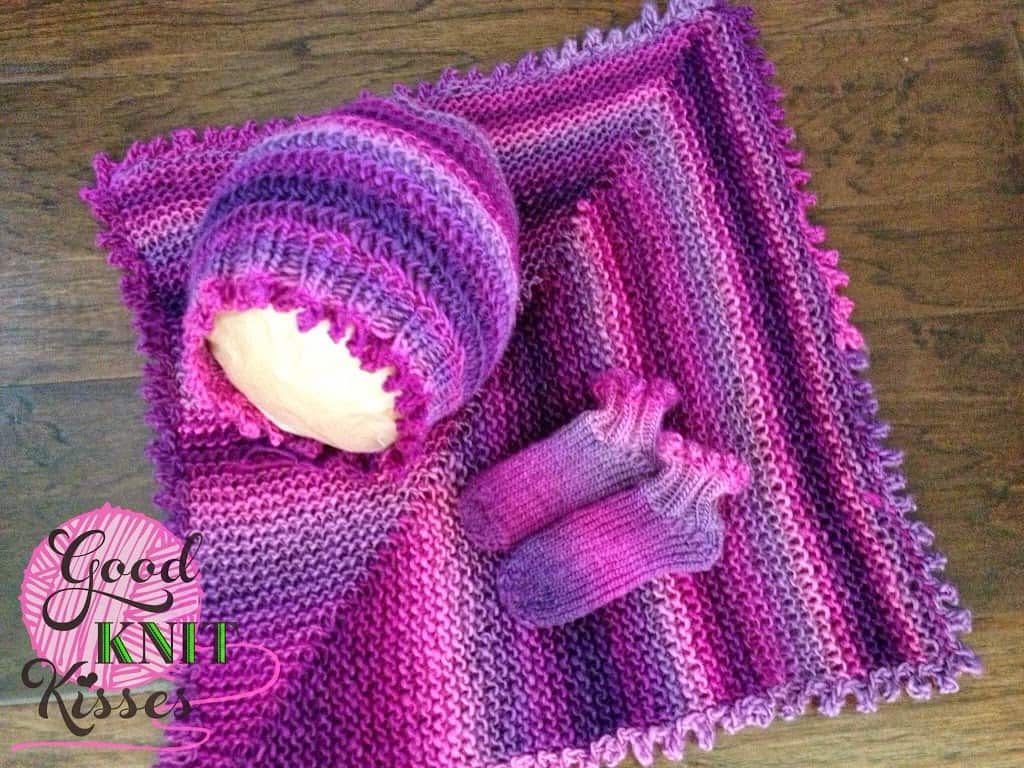
Picot Lovey
By Kristen Mangus & Charity Windham
Designed on June 11, 2013
Loom: small gauge loom 3/8″ at least 54 pegs. Knitting Board Sock Loom 2 was used on sample
Notions:
Removable stitch marker
Crochet hook
Yarn: Red Heart Boutique Unforgettable color Petunia. Less than 1 skein used.
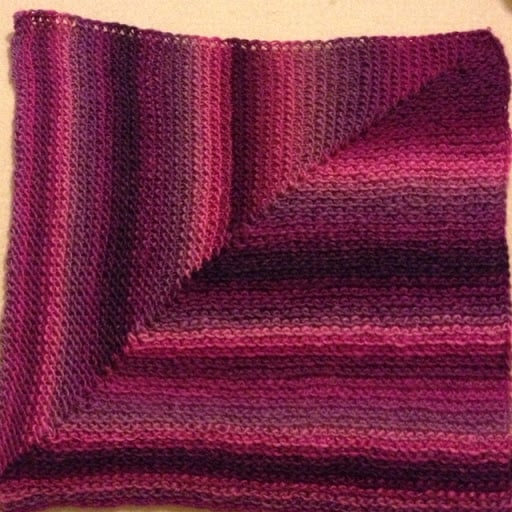
Size: approximately 14-15″. Sample lightly water blocked and pinned.
Gauge: swatches in garter stitch 4 stitches per in. And 7 rows per inch. For a 24″ square cast on 96 pegs on a 3/8″ loom
Abbreviations:
HS – half stitch
K – ewrap (you can also u knit)
CO – cast on (cable method for border see video)
Sl – Slip stitch (skip/ignore this 1st st)
St – stitch
BO – Bind off
Cast On 54 pegs from 54 to 1 (I like to use the chain method to do this but a double ewrap or yarn over cast on will work well. See video to help on start)
Place marker on peg 2
* peg 54 is always HS*
HS peg 1, K 52, HS peg 54
Sl 1, p back to marker making sure to purl the marker stitch (note all purl rows will always slip the 1st st even if not stated)
HS where marker is
Move marker one peg
*K to peg 53, hS peg 54
Sl 1, Purl back to marker (purl at marker)
HS where marker is
Move marker one peg*
Continue until all pegs but peg 54 have been wrapped. Purl last peg.
*HS peg 54, k to marker (lift 2 loops over 1)
Purl back to peg 53*
Repeat until all 54 pegs have only 1 loop and complete 1 more purl row.
Loose bind off.
Optional: Picot border around entire piece.(see below)
Place all stitches of one side back on the loom (54 stitches or the same that were originally cast on)
CO 2, BO 4 until all stitches have been worked. * http://youtu.be/qWkTu8T8KeM Begin Picot Bind Off*.
*This is an alternate to my standard picot bind off in the round just for flat panels.
**Cable CO 2, BO 4 (** rep between **,** til one st left on loom, EW 1 cut tail and pull through)
Details on adding the picot:
Place 1 side of your panel on the loom being careful to take one stitch from each side. Start with your finished end and pick up 54 stitches evenly. (see below for NOTES ON ROWS). For every 2 stitches it will make 1 picot between them. Make sure you have two empty pegs to the right. Place a slip knot on the 3rd peg (the first one with a stitch from the existing panel). Now Cast on 2 then bind off 4 pegs. When you do that the first two stitches on the panel will be done and it leaves you with one picot. Repeat for remaining stitches on that side. Repeat for all sides. TIP: Use a removable stitch marker. Place on 2nd stitch from end (with will be your 4th bind off stitch). When you have bound off enough stitches it will be uncovered and you’ll know to move the marker back two stitches and cast on your next 2 stitches.
NOTES ON ROWS: For the side with rows, with the sets of garters and not the columns of stitches, you’ll want to pick up the same number of stitches as you do on the beginning and finished sides of your knitting. The two true “sides” will give you too many picots if you pick up too many stitches.
Repeat this process for all 4 sides.
Weave in tails.
Block.
Blocking instructions:
I suggest a wet block approach. This is safe for all types of yarn.
If you have a machine washable fiber you can run it through the washer then follow pinning instructions below. If a natural fiber wash by hand with a recommended mild detergent then follow pinning instructions below.
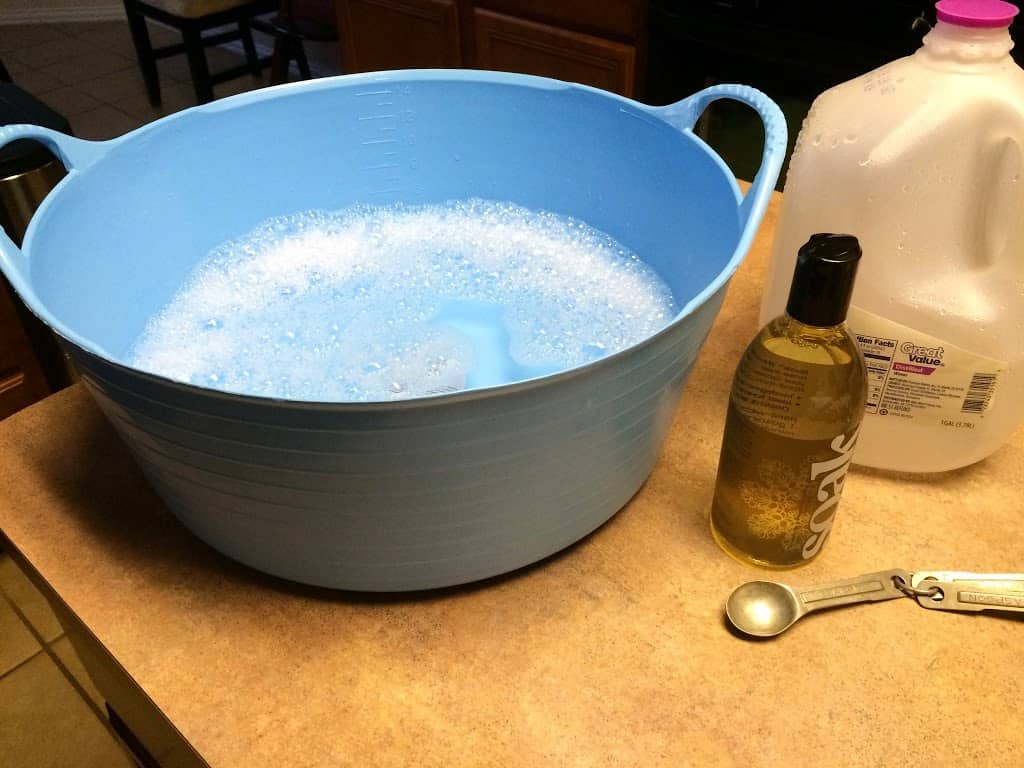
Washing Instructions:
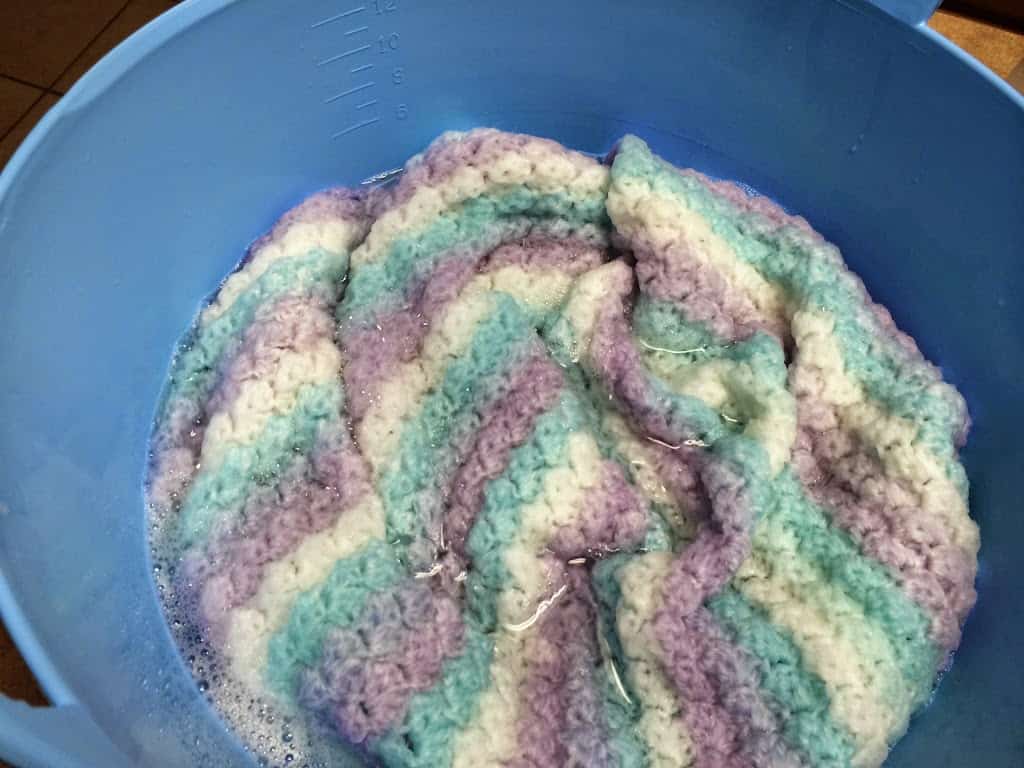
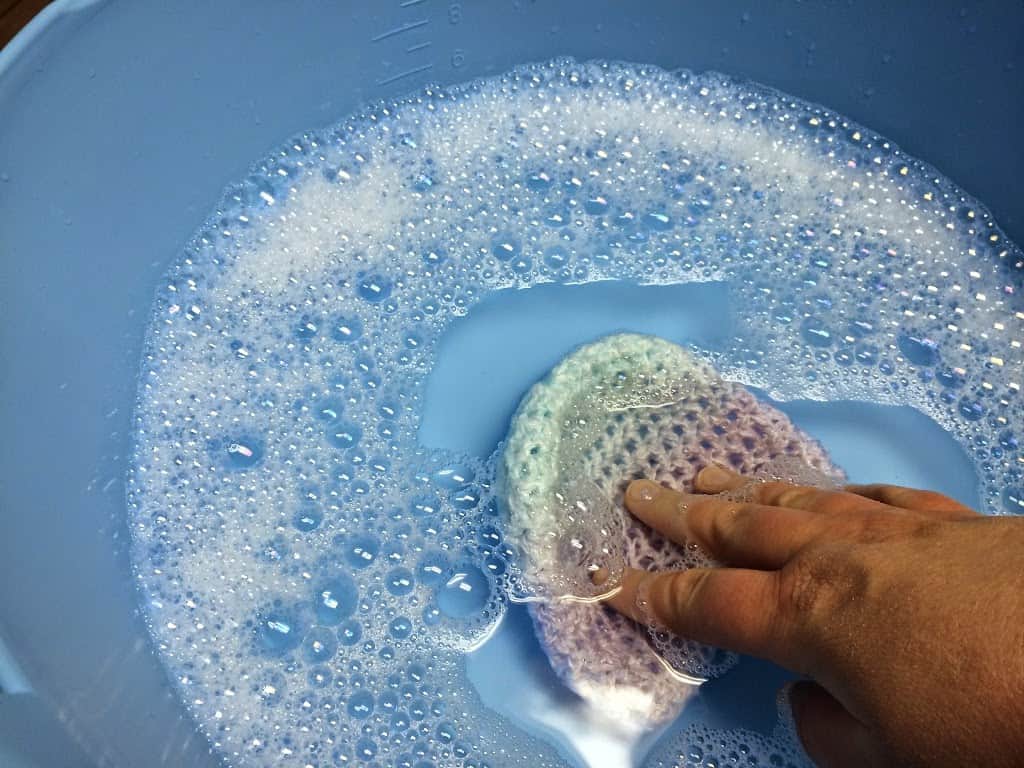
I prefer washing by hand in my plastic basin with a product called Soak. This detergent is formulated to not need rinsing. Mix with one tsp of detergent to 1 gallon of water. Use spring or filtered tap. Mix up with your hand in a clean sink or basin. Place knitting in and let soak in for 15 minutes. Gently squeeze the water out or place in a dry white towel and roll. Knitting will be damp.
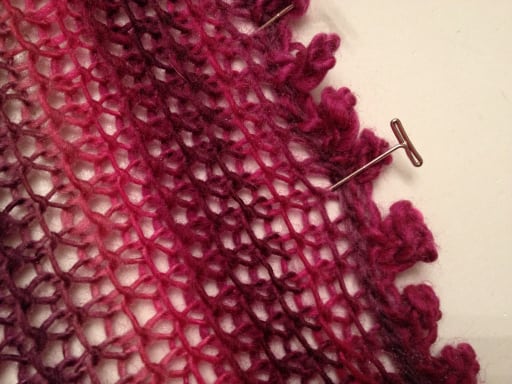
Pinning Instructions:
Need:
Blocking Board(s) or clean kids play-mats
T-pins that are rust-resistant
Lay knitting on blocking board and pin the corners evenly with 1 pin in each corner. On one side start pinning behind each picot to have a nice straight line. Adjust corner pins as necessary. Repeat for adjacent side and work your way to the corner opposite your first starting pin. Try to match the sizing pinned from the first side. Now skip the adjacent side and go to the side opposite of the 2nd side you pinned. After pinning behind each picot Adjust the criers as needed and complete the last side.
Leave knitting until it is dry. Be sure to place in a well ventilated area with good air circulation.
Pattern for personal use only.
Happy Knitting!
Laura Sweet
Saturday 28th of May 2022
Do you have a free baby lovey blanket patterns for the knitting loom?
lady j
Thursday 4th of July 2013
you always make great things are you going to do a video on all 3 parts of the set?
lady j
Thursday 4th of July 2013
you always make great things are you going to do a video on all 3 parts of the set?