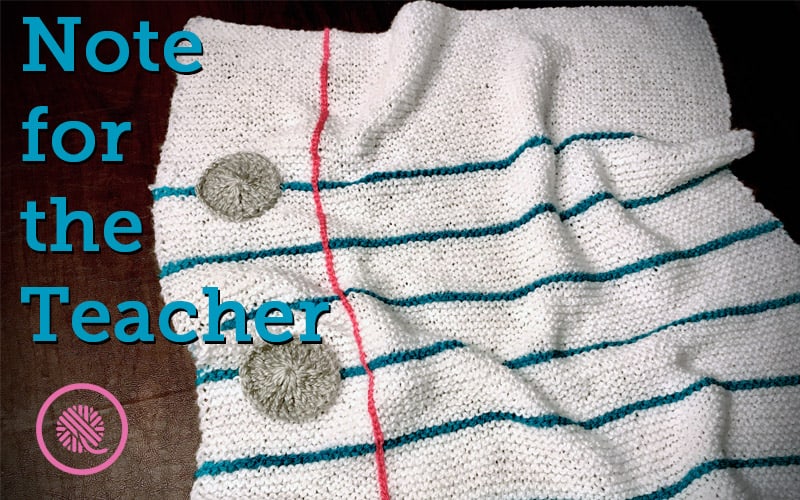

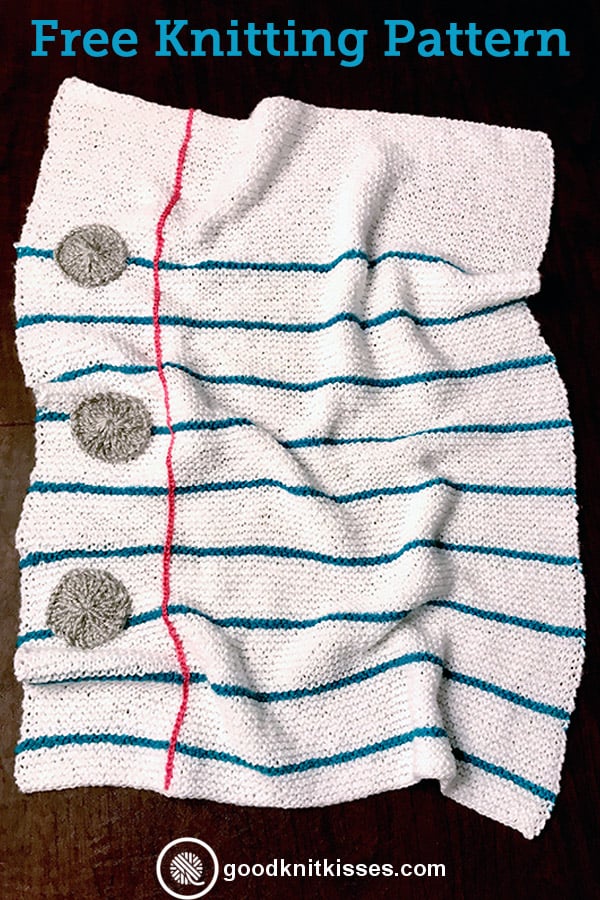
Inside: This needle knit Thank You Note Blanket pattern is the ultimate teacher gift complete with notebook paper and a heartfelt message.
My friend and fellow crafter, Summer Cromartie, shared pictures of an incredible blanket she crocheted as a gift for her son’s teacher. The Teacher Thank You Note Blanket shows a piece of classic notebook paper with a “hand written” note from her son. This is hands down the ultimate teacher gift and I don’t know of any teacher that wouldn’t cherish this afghan forever.
I knew I had to come up with a needle knit version so all my yarny peeps could try this fun project!
Needle Knit Thank You Note Blanket Pattern
By Kristen Mangus
Teachers go above and beyond the call of duty every day to teach our children. This knit Thank You Note Blanket pattern gives you the opportunity to show how much your child’s teacher means to you.
This easy pattern uses garter stitch notebook paper and a surface crocheted personal note from your child. It is sure to be cherished forever.

MATERIALS
Yarn
Big Twist Classic Solids. Bulky 5 weight. (312g / 11oz, 585 m / 640 yards)
Contrast A Notepaper. White. 2 skeins
Contrast B Ruled lines. Teal. 1 skein
Bernat Softee Baby Chunky (140 g / 5 oz, 142 m / 155 yards)
Contrast C Punched Holes. Cozy Gray 1 skein (very little; may use scraps)
Big Twist Rainbow Classic Solids (312g / 11oz, 562 m / 615 yards)
Contrast D Margin line. Bubblegum 1 skein (very little; may use scraps)
Red Heart Super Saver Solids (198g / 7oz, 333 m / 364 yards)
Contrast E Lettering. Charcoal. 1 skein
Needles:
US 11 (8 mm) circular needle
4 US 11 (8 mm) DPNs (optional – you may also use a magic circle with your circular needle)
Stitch markers (optional)
Tapestry needle
ABBREVIATIONS
K = Knit
P = Purl
Rep = Repeat
RS = Right side
St(s) = Stitch(es)
WS = Wrong side
WY = Working yarn
GAUGE
13 sts x 24 rows in 4” in garter stitch.
SKILL LEVEL Easy
SIZES Small (Large)
MEASUREMENTS
Small – 27” x 37.75” (69 cm x 96 cm)
Large – 46.5” x 59.75” (118 cm x 152 cm)
NOTES
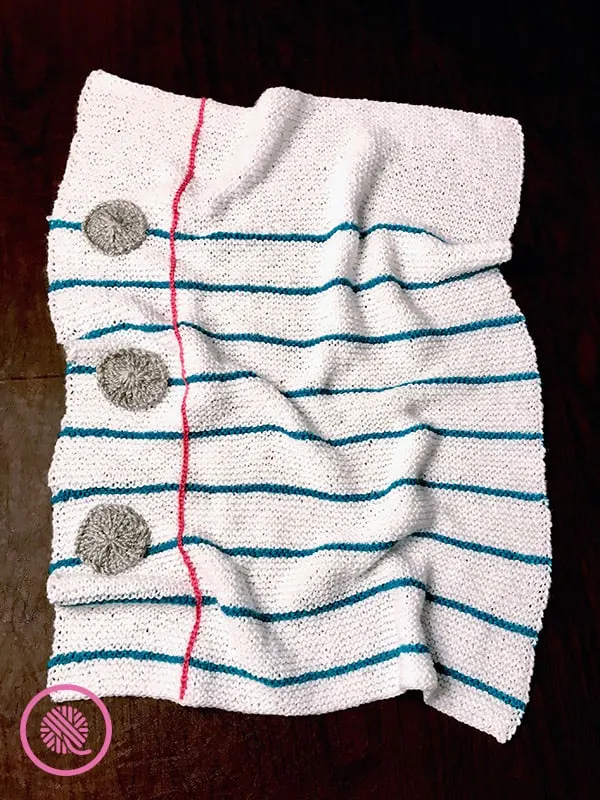
Blanket is knit from the top down in all garter stitch using white for the paper and teal (blue) for the notebook lines.
Punched holes in the margin are knit separately and stitched on when the blanket is done.
The red margin and text of the note are added using surface crochet. When adding surface crochet to your knit project it’s important to keep it loose enough to stretch with the knit fabric.
See Lettering notes below about adding the text.
INSTRUCTIONS
NOTEBOOK PAPER
With A, CO 88 (151).
Top Margin:
Knit until piece measures 9” (approx. 56 rows).
Ruled Lines:
Blue Line
With B, knit 2 rows. (Change color on RS.)
White Space
With A, knit 18 rows. (Change color on RS.)
Rep. Blue Line and White Space 7 (14) more times
Bottom Margin:
With B, knit 2 rows.
With A, knit 10 rows.
Bind off on RS. Weave in tails.
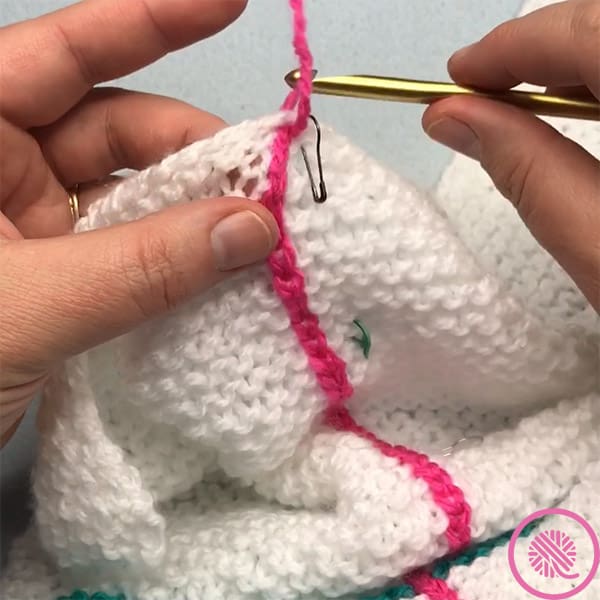
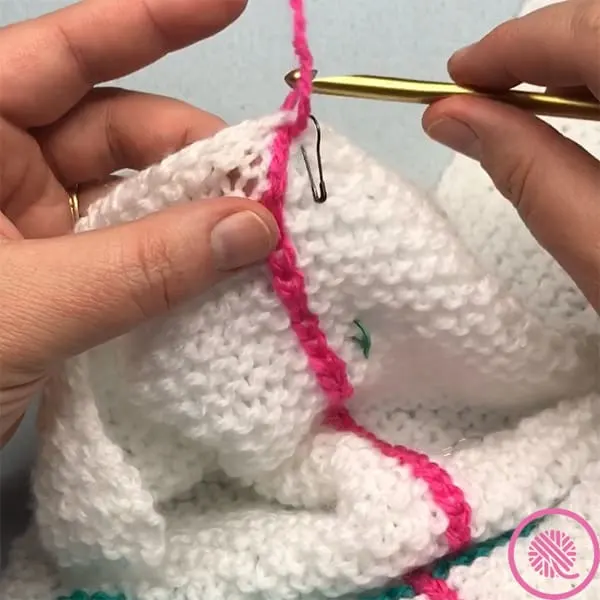
RED MARGIN
Margin line is added using surface crochet. With the blanket laying flat right side up, place stitch marker along bottom edge 6” (9.5”) from the left side. This is where you will surface crochet your margin. Follow the same column of knit stitches as you work the crochet slip stitches. Place stitch markers at each teal notebook line in the same column to guide you.
With D, surface crochet a straight line from the bottom edge to the top. Break D. Weave in tails.

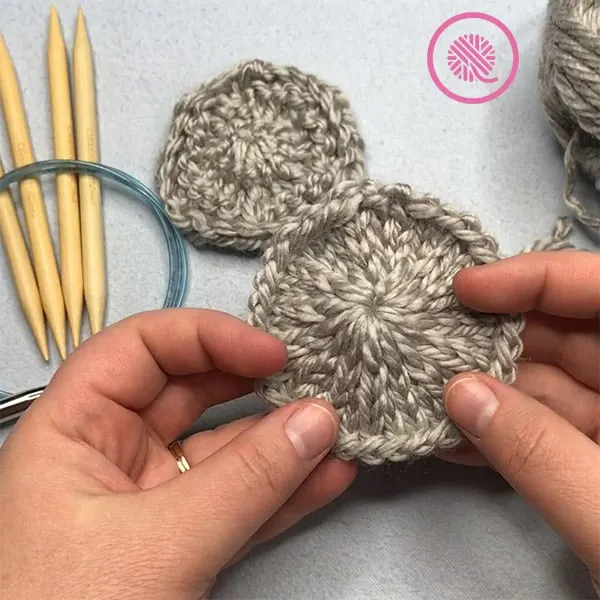
PUNCHED HOLES
Make 3.
Cast on 24 (30) sts leaving 12” tail for sewing onto blanket. Place 6 (8) sts on 3 DPNs each. (Optional: Use your circular needle and the magic circle technique.)
Rnd 1: Knit
Rep Rnd 1 two (three) more times.
Bind off using the Modified Gathered Bind Off* leaving long tail for sewing.
*Modified Gathered Bind Off
Measure 36” and cut tail.
- With working yarn in front place right needle in st as if to purl. Yarnover right needle as to purl but pull all of the WY tail through st and remove from left needle; st is now bound off.
- Move WY to back. Slip next st purlwise to right needle.
- Move WY to front as to purl.
- Repeat from 2 until 12 (15) sts remain.
- Pull WY slightly to see sts tighten. Don’t close yet!
- Place right needle knitwise into next stitch. Yarnover with WY tail and pull entire tail through st. Drop stitch.
- Repeat from 6. until all remaining sts have been bound off.
- Pull tail to tightly to close & weave to secure.
Sew holes onto blanket using yarn tails and centering them between the left edge and margin using the following placement as a guide:
Hole 1: Centered across top teal line
Hole 2: Center of blanket between lines 8 and 9
Hole 3: Centered across line 16
LETTERING
Letter size: Uppercase and tall letters are about 18 rows tall. Lowercase letters are about 9 rows tall.
Spacing: Leave 1 to 2 sts between each letter. Leave 7-10 sts between words.
Plan to crochet between the stitches just above the teal row you are “writing” on. Children are sloppy writers so it’s fine if it doesn’t line up perfectly.
Plan out your letters in advance!! (Kristen’s tip: Use graph paper to plan each letter. Each square represents one stitch; draw letter using above instructions). When possible try and crochet the entire letter at once. This is not possible with uppercase “I”, “T”, or “X” or lowercase “i”, “j”, “f” or “t” so you will need to add a new strand to dot your “i” and cross your “t”. I used a yarn needle and stitched an “x” for the dots and for the periods at the ends of the sentences. Example: To make a lowercase “h” it is best to start at the top of the letter and stitch straight down to the teal line. Then retrace that line a couple rows up before you stitch the hump of the “h”
As your teachers told you, It’s okay to make mistakes. (Surface crochet is easy to rip out!)
Text
With E, surface crochet text of note onto blanket.
Weave in tails.

Needle Knit Thank You Note Blanket Skills Tutorials
Select videos are available to GoodKnit Kisses YouTube members only. To get exclusive access to GKK VIP-only content, free PDF patterns, weekly Zoom meetup and more, sign in to YouTube and join as a VIP Member today! Find out more about GKK Membership HERE!
Debbie
Monday 20th of January 2020
Love the site and tutorials