
Inside: Learn to weave the colorful Pinwheel Placemat design. Includes detailed written instructions and tutorial videos covering all the techniques you need to make this project.
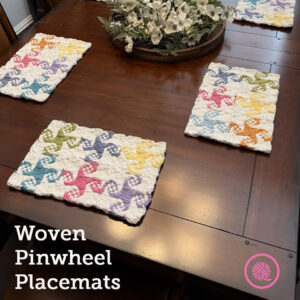
The woven Pinwheel Placemats are all about whimsy and fun!
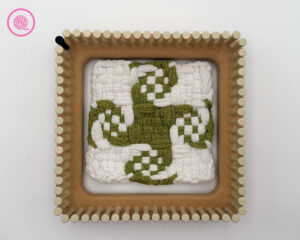
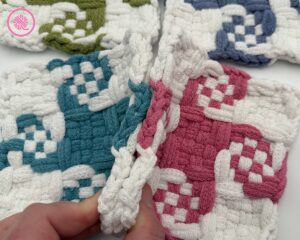
This design uses the Checked Pinwheel design with white as the main color paired with 6 different spring colors in each placemat. Each woven motif has a large pinwheel with a checkered pattern flaring out from the center point. Each of the 6 placemats uses a unique color sequence. I also include options to use fewer colors.

This pattern contains written instructions and links to a weaving chart and fully-captioned tutorial videos showing both woven design and the seaming.
Colorful Pinwheel Placemats
By Kristen Mangus
An ad-free downloadable PDF of this pattern is available for purchase in my GoodKnit Kisses online store or on Etsy at the links below:


MATERIALS
(Materials list may contain affiliate links to products I used to make this project. Using these links costs you nothing, but helps support GKK.)
Loom
⅜” potholder loom with 72 pegs (18 pegs across)
CinDWood ⅜” Small 7” Hot Pad/Potholder Loom used in sample. This loom is available alone or bundled with a bag of loops. Use code goodknitkisses for $5 off your loom purchase.
Loops
(Makes 6 placemats. See Notes below for the amount needed for a single placemat.)
1296 cotton potholder loops in each of these colors:
Color A: 864 White
Color B: 48 Leaf (green)
Color C: 48 Daffodil (yellow)
Color D: 48 Tiger Lily (orange)
Color E: 48 Robin’s Egg (bright blue)
Color F: 60 Powder Blue (light blue)
Color G: 60 Hydrangea (periwinkle)
Color H: 60 Lavender (light purple)
Color I: 60 Carnation (bright pink)
I used 3 of the Spring Thaw Bundles (Traditional) from friendlyloom.com for this color combination plus 1 additional bag of white loops. Each bundle includes 1 bag of white loops and 1 bag with 8 botanical colors. The Spring Thaw Bundle is available exclusively to Loop Group members, but the membership is free.
Notions
Weaving tool
Crochet hook to bind off
Locking stitch markers to mark right side of pinwheel pieces (optional)
Tapestry needle for seaming
Mercerized cotton yarn for seaming in a color to match your main color. (I used Yarn Bee Fundamental Cotton color white. Lion Brand 24/7 is another good choice.)
SKILL LEVEL Easy+
MEASUREMENTS 10.5” wide x 15.75” long (26.6 cm x 40 cm)
NOTES
This design uses two colors for each pinwheel motif on both the warp (vertical) and the weave (horizontal).
You place all the warp loops on the potholder loom first. Then you weave the horizontal loops according to the row instructions. In the row instructions below, directions written in parentheses ( ) are repeated. The number of times to work the repeat are listed after the parentheses.
You can find a detailed chart of this design at Piglets Potholders Patterns: Pinwheels of 6 18-peg (Shared with permission under Creative Commons license CC-by-SA)
This pattern is designed to make 6 placemats each with a unique color combination. Each placemat uses 6 individual pinwheel potholders that are sewn together. Use the table below for planning each placemat. If you want to make the placemats with fewer colors the last 2 rows of the table show alternate color combinations.
| Placemat | Loops (MC) | Loops (CCs) | Picture |
| 1 | 144 White | 12 B – Leaf (green) 12 G – Hydrangea (perwinkle) 12 C – Daffodil (yellow) 12 E – Robin’s Egg (bright blue) 12 I – Carnation (pink) 12 H – Lavender (purple) | 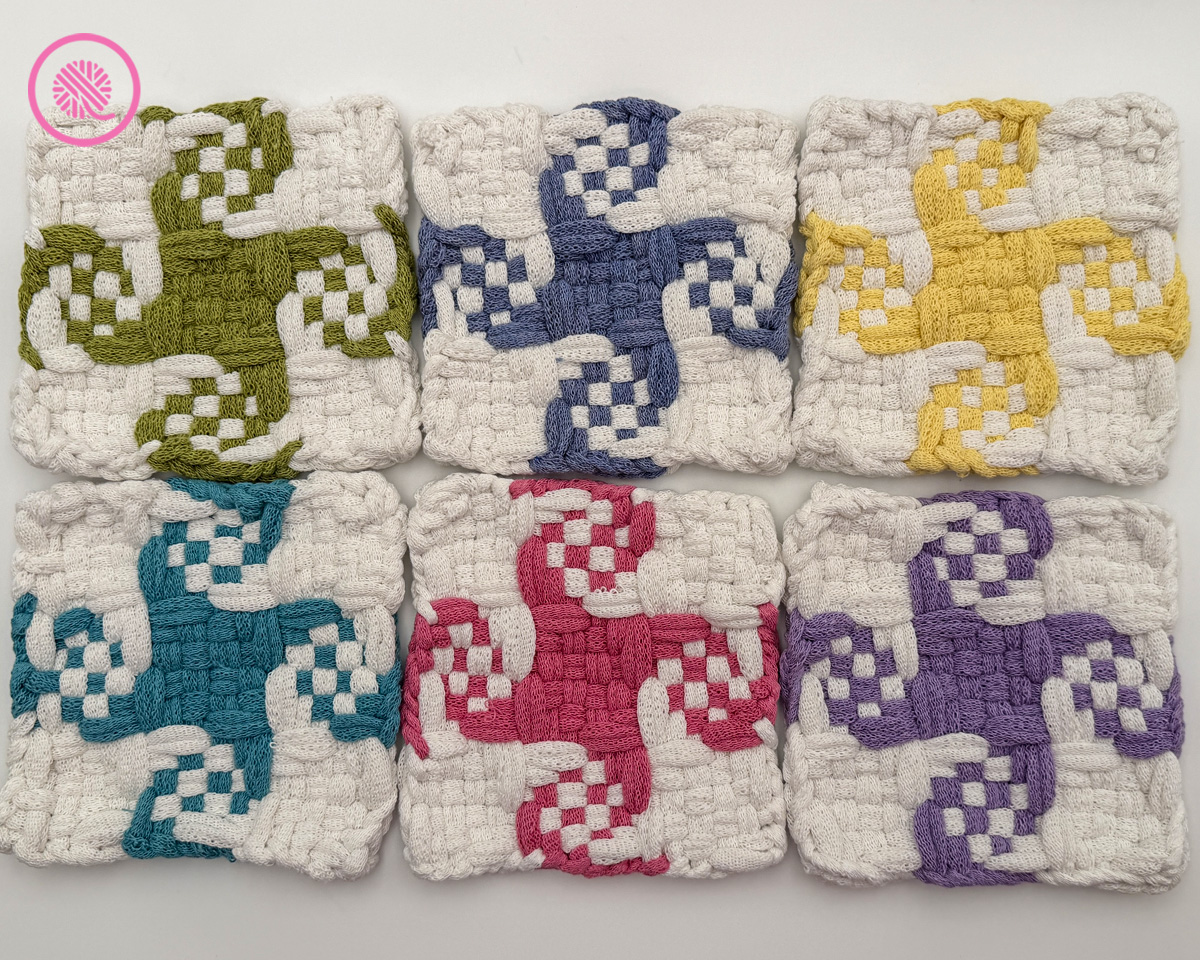 |
| 2 | 144 White | 12 F – Powder Blue (light blue) 12 I – Carnation (pink) 12 G – Hydrangea (perwinkle) 12 D – Tiger Lily (orange) 12 C – Daffodil (yellow) 12 B – Leaf (green) | 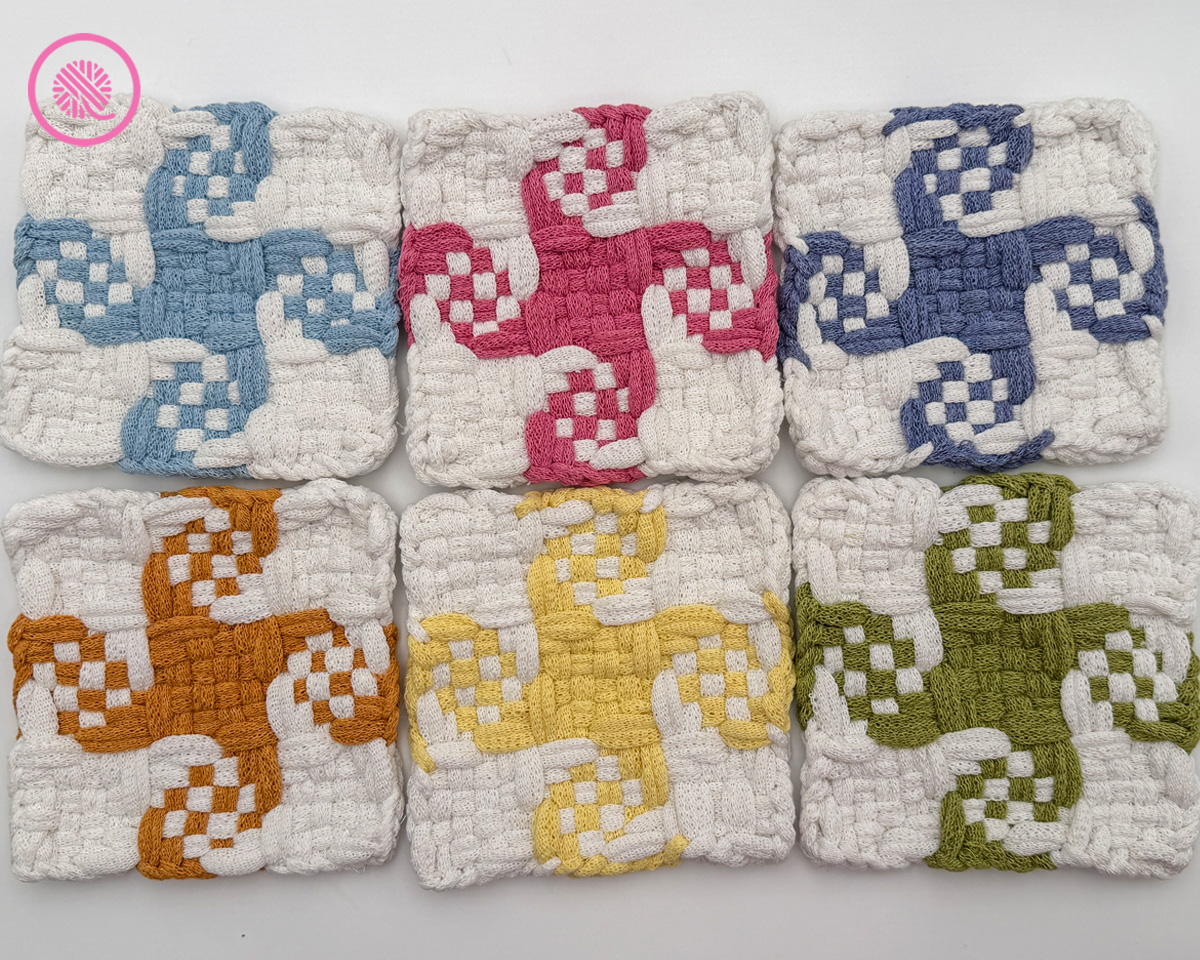 |
| 3 | 144 White | 12 G – Hydrangea (perwinkle) 12 E – Robin’s Egg (bright blue) 12 F – Powder Blue (light blue) 12 C – Daffodil (yellow) 12 H – Lavender (purple) 12 D – Tiger Lily (orange) | 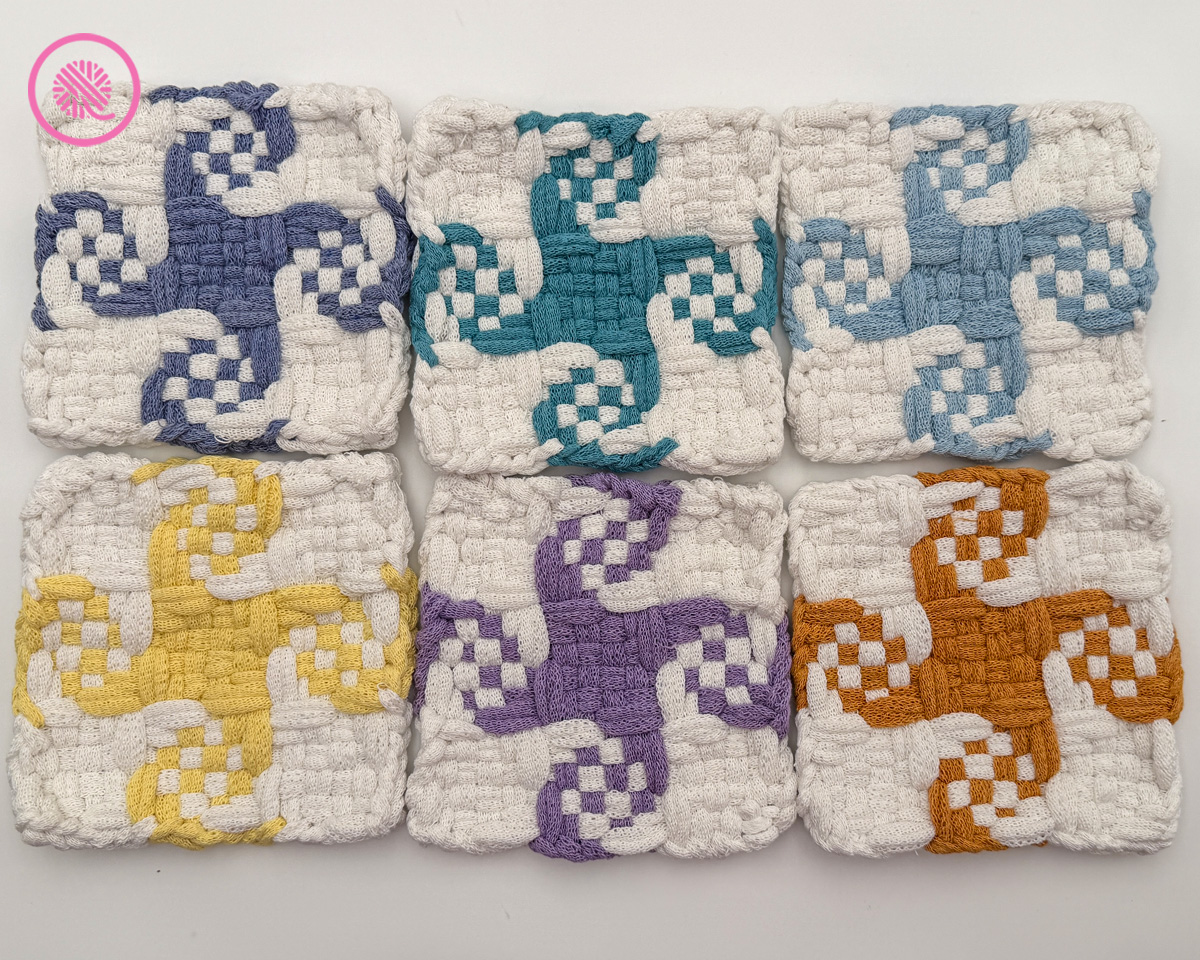 |
| 4 | 144 White | 12 I – Carnation (pink) 12 E – Robin’s Egg (bright blue) 12 H – Lavender (purple) 12 B – Leaf (green) 12 F – Powder Blue (light blue) 12 D – Tiger Lily (orange) | 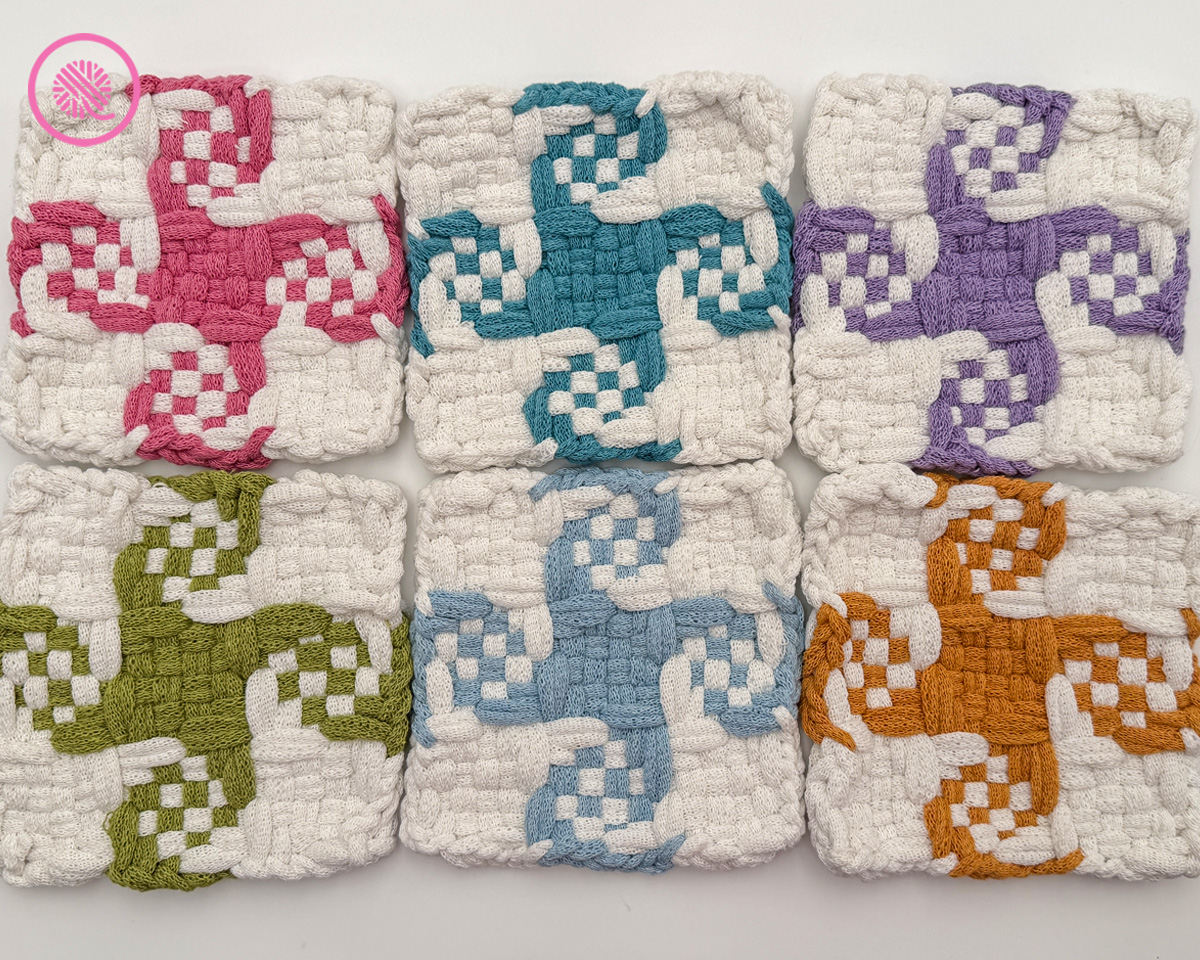 |
| 5 | 144 White | 12 I – Carnation (pink) 12 F – Powder Blue (light blue) 12 G – Hydrangea (perwinkle) 12 H – Lavender (purple) 12 B – Leaf (green) 12 E – Robin’s Egg (bright blue) | 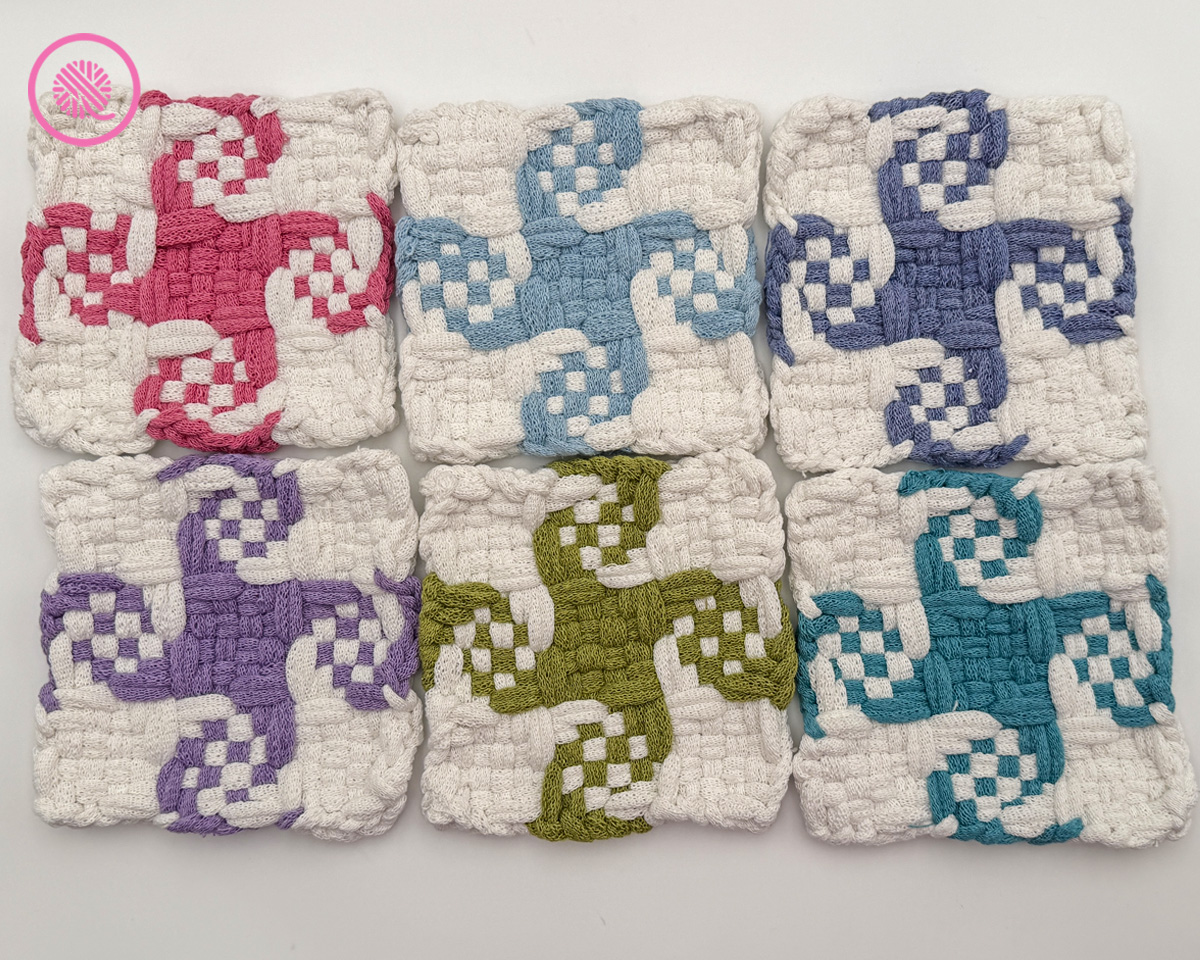 |
| 6 | 144 White | 12 C – Daffodil (yellow) 12 H – Lavender (purple) 12 E – Robin’s Egg (bright blue) 12 D – Tiger Lily (orange) 12 I – Carnation (pink) 12 G – Hydrangea (perwinkle) | 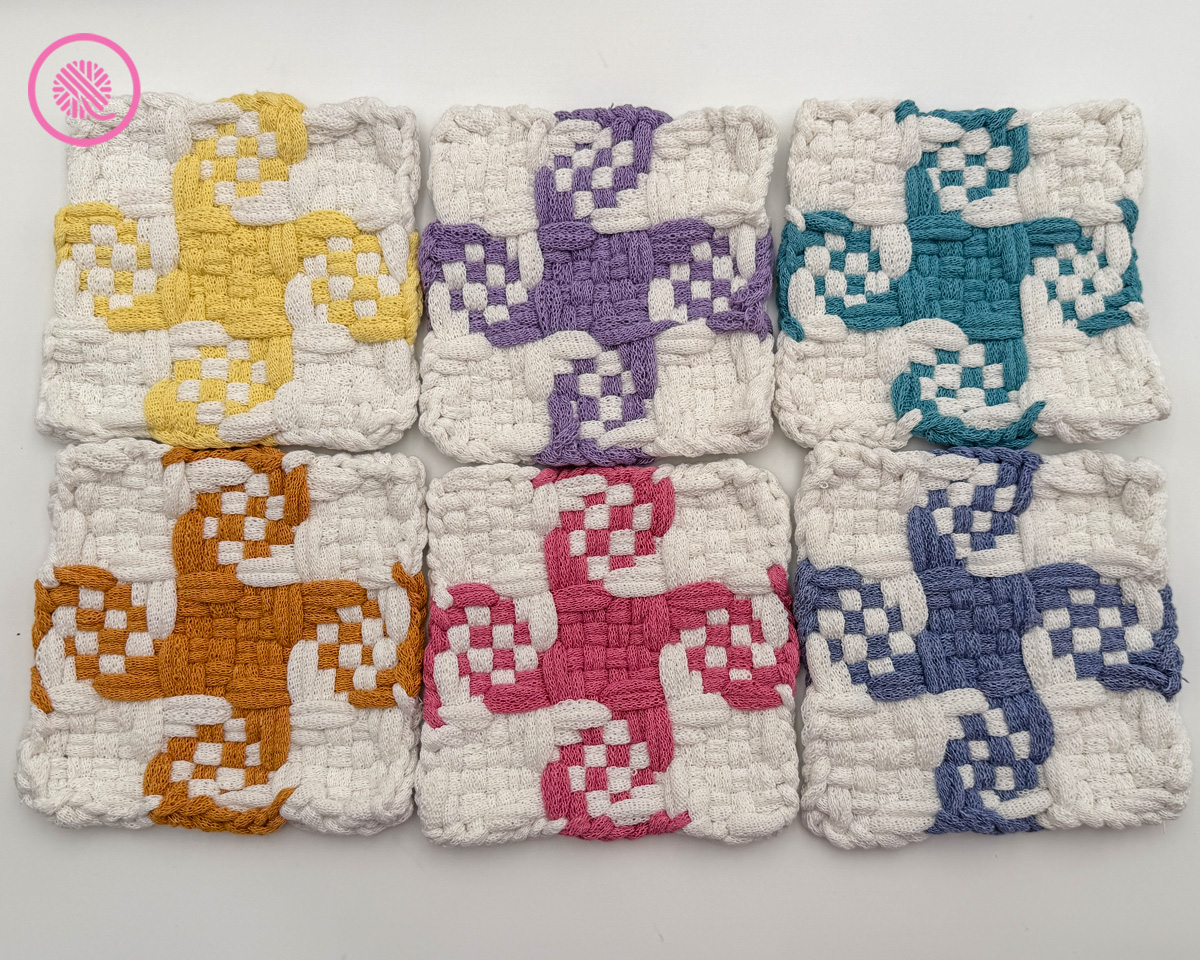 |
| Optional 2 Color | 144 White | 72 Contrast Color |  |
| Optional 3 Color | 144 White | 36 in Contrast Color 1 36 in Contrast Color 2 | 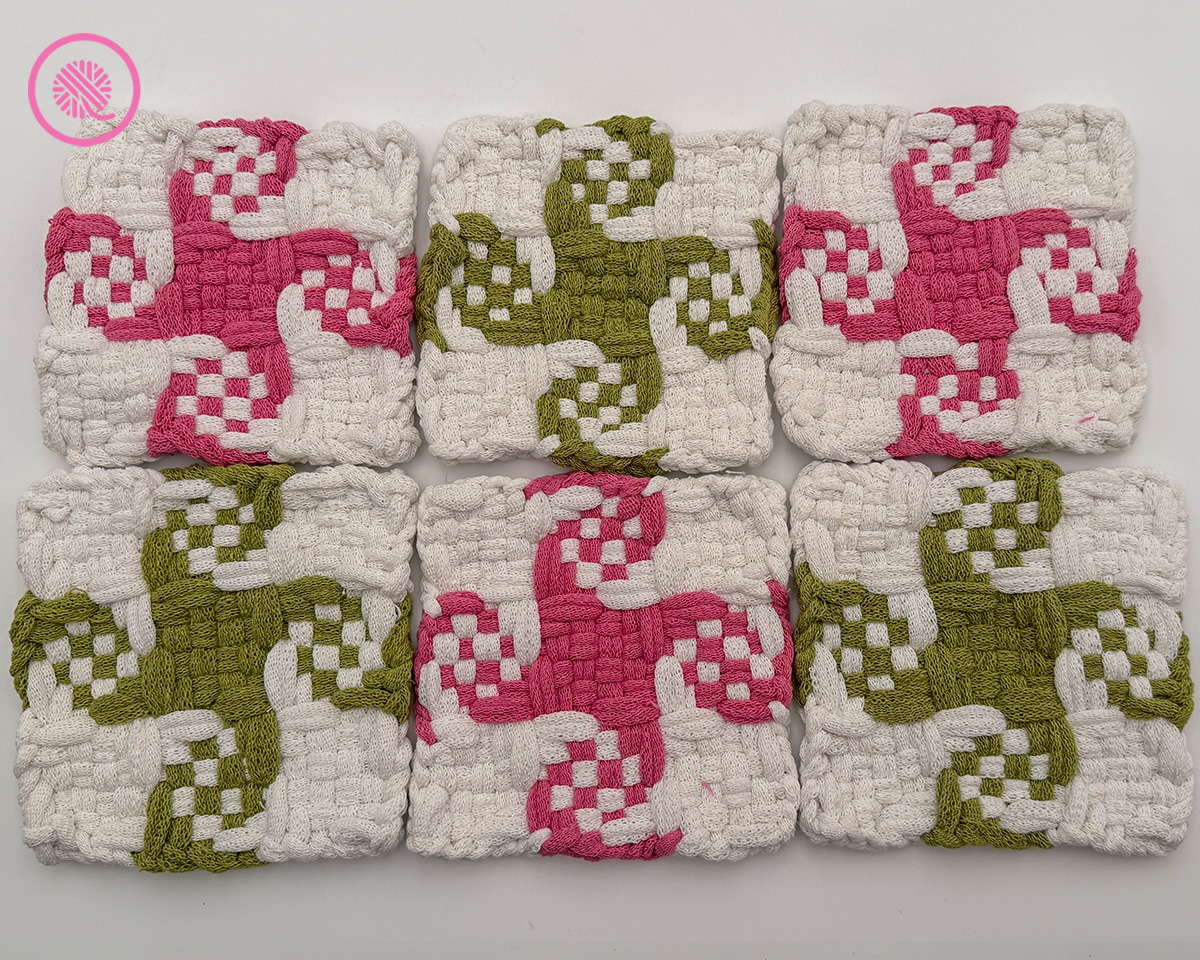 |
Step 1: Weaving the Squares
INSTRUCTIONS
To make the individual pinwheel squares:
Warp:
Place loops vertically (from top to bottom) on Pegs 1-18 as follows:
Color A (white): Pegs 1-6 and 13-18
Color B (contrast color): Pegs 7-12
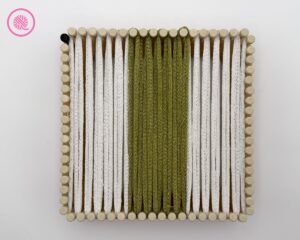
Weave:
Row 1: With A, weave (over 3, under 3) three times.
Row 2: With A, weave (over 2, under 1, over 1, under 2) three times.
Row 3, With A, weave (over 1, under 1) rep to end of row.
Row 4: With A, weave (under 1, over 1) rep to end of row.
Row 5: With A, weave (under 2, over 1, under 1, over 2) three times.
Row 6: With A, weave (under 3, over 3) three times.
Row 7: With B, weave (over 3, under 3) three times.
Row 8: With B, weave (over 2, under 1, over 1, under 2) three times.
Row 9, With B, weave (over 1, under 1) rep to end of row.
Row 10: With B, weave (under 1, over 1) rep to end of row.
Row 11: With B, weave (under 2, over 1, under 1, over 2) three times.
Row 12: With B, weave (under 3, over 3) three times.
Rows 13-18: Rep Rows 1-6.
Bind off using crochet hook.
Use the instructions above to make 36 pinwheel motif squares as follows:
| Contrast Color | # of pinwheel squares needed |
| B – Leaf (green) | 4 |
| C – Daffodil (yellow) | 4 |
| D – Tiger Lily (orange) | 4 |
| E – Robin’s Egg (bright blue) | 5 |
| F – Powder Blue (light blue) | 4 |
| G – Hydrangea (periwinkle) | 5 |
| H – Lavender (purple) | 5 |
| I – Carnation (pink) | 5 |
Checked Pinwheel Potholder Tutorial Videos
These videos teach the entire Checked Pinwheels Potholder pattern from start to finish. This is the design used to make the individual squares.
NOTE: The videos below were filmed using different projects so the colors in the video do not match the colors used in the placemats. However, all the techniques are the same.
Right handed
Left handed
Step 2: Seaming the Placemats
Assembly
Seaming potholders: The outer edge of the potholder shows a line of “V” shaped stitches. Sew the seams through only one side of the V. Then flip it over and seam it on the other side as well. If you do not sew both sides, only the top side will be joined. You can do this if you want to fold your placemats for storing, but I recommend sewing seams on both the front and back.
For each seam, you will need enough cotton yarn to measure 3x the length of the seam.
I recommend using locking stitch markers to mark the right side* of each potholder. This will make it easier during assembly to make sure your pieces are facing the correct way.
*The right side of the outer pieces will be facing up on the placemat.
How to Seam Woven Potholders into a Placemat:
- Arrange the pinwheel squares following the sample images in the table in the NOTES section above (or according to your own color selections) for each of the placemats. Double check the direction each individual square is facing before you begin to sew. Make sure that they are all facing the same way and the “V” shaped edge stitches are all facing up along the sides. You should be able to line up the 18 “V” stitches evenly on both potholders (6 white stitches at each end with 6 colored stitches in the center of each seam.
- Start with a piece of yarn 3x the length of your seam.
- Begin at the bottom edge where the two corners meet. In the bottom corner of the first potholder, pick up one side of the last “V” stitch along the bottom edge leaving a 6″ yarn tail. (You can also tie a knot to secure the yarn at this corner, if you prefer.)
- Moving to the other potholder, pick up one leg of the last “V” stitch along the bottom. Be sure to put our needle through the center of the “V” and through to the outside so your yarn joins between the two potholders.
- Seam through the center of the “V” on the next side stitch of the first potholder, then through the next side stitch on the second potholder.
- Repeat Step 5 until all side stitches are sewn on the front of the first two potholders. You may also want to pick up the first edge stitch along the top of each potholder at the corner to ensure a smooth, square seam.
- To continue seaming, pick up one leg of the first “V” stitch along the bottom edge of the third potholder. (This is exactly as you did when beginning the seam.) Then pick up the “V” stitch from the bottom corner of the fourth potholder.
- Continue seaming the side stitches as you did in Step 5 until you reach the top. Make sure to pick up the top corners to make a smooth seam.
- Next flip your entire project over so you can seam the stitches on the back. Make sure your working yarn is at the bottom.
- Following the method above and seam the entire center seam on the back.
- TIP: You may have loops in the corner that don’t line up perfectly or are too loose. You can tuck them into the corner seam or use your working yarn to tack them down. It may take some trial and error to see the best way for each loop.
- Weave in yarn tails from the first seam.
- Begin the second seam as you did the first leaving a 6″ yarn tail and seam the front.
- Turn your placemat over and seam the back side.
- REPEAT as above for the longest seam on front and back.
- Weave in yarn tails.
Repeat for all 6 placemats.
Seaming Woven Potholders Tutorial Videos
These videos demonstrate how to seam the individual potholders to create the full placemat.
Note: The videos below were filmed using different projects so the colors in the video do not match the colors used in the placemats. However, all the techniques are the same.