Inside: Learn to knit the loop yarn Honeycomb Blanket with this free pattern and tutorial video. Twisted stitches help create this beautiful textured design.
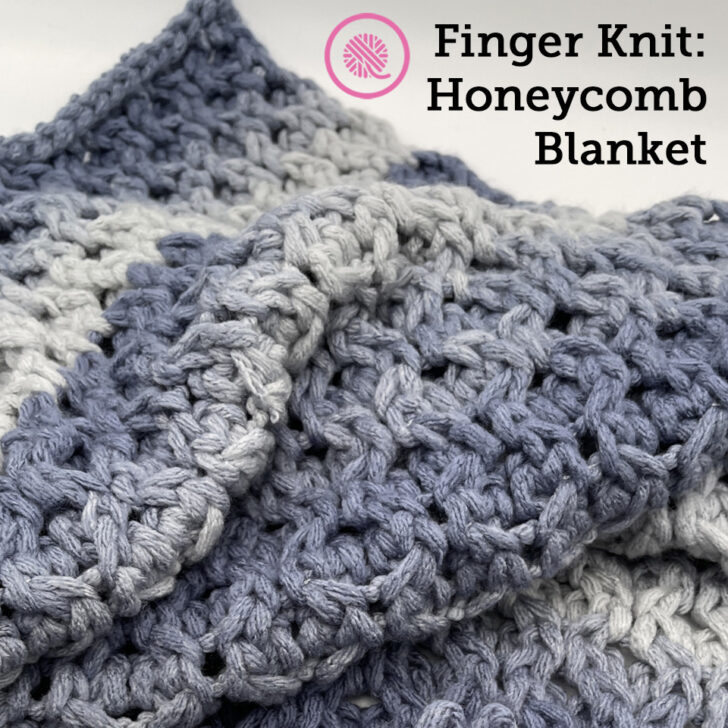
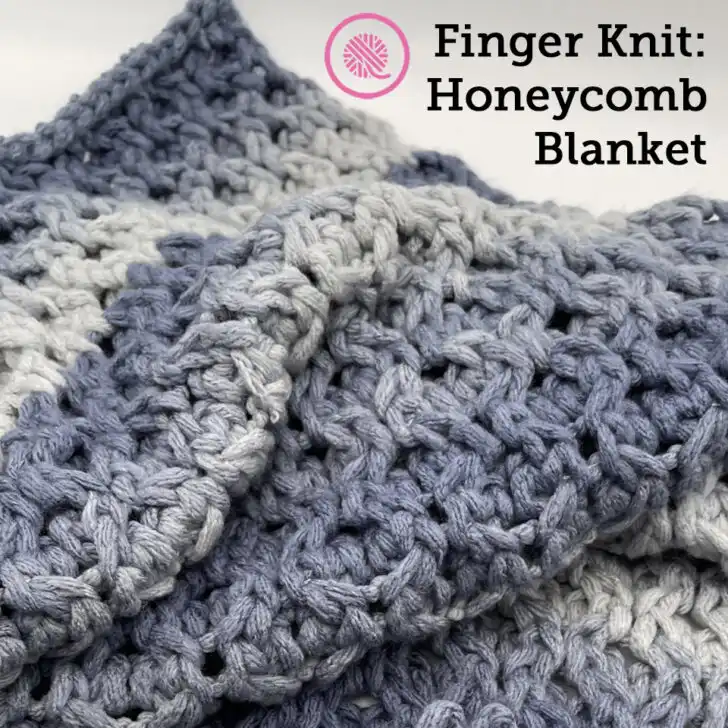
This finger knit Honeycomb Blanket is all the buzz!
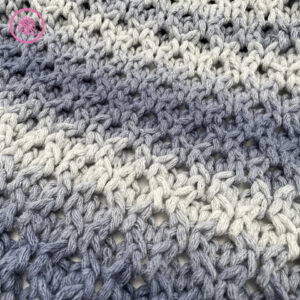
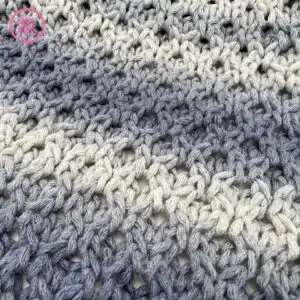
This classic honeycomb design is easy to make with loop yarn. You can even create twisted stitches without a cable needle. All you need is yarn and your hands!
If you’ve never finger knit with loop yarn, get ready for some fun! It’s so easy and needs no special tools. Loop yarn has pre-sewn loops across the strand. You knit by pushing the loop from your working yarn through the loop from the row below. Once you get the hang of it, it’s unbelievably fast.
If you want to see some other loop yarn projects I’ve done check these out:
Bolero Jacket
Finger Knit Chevron Blanket
Finger Knit Planner
This pattern includes written instructions and a link to a fully-captioned tutorial video.
Loop Yarn Honeycomb Blanket
By Kristen Mangus
An ad-free downloadable PDF of this pattern is available for purchase in my GoodKnit Kisses online store or on Etsy at the links below:


MATERIALS
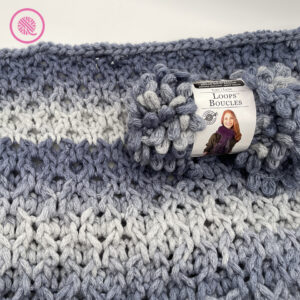
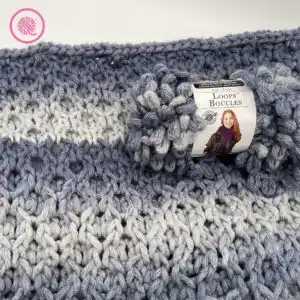
Loop yarn
Loops & Threads Loops Boucle (3.5 oz./16.4 yds – 100g/15 m) 12 balls in Color – Hopi Corn used in sample
Measuring tape
Stitch marker
Scissors
GAUGE 7 sts x 7.25 rows = 4″ (10 cm) in honeycomb st
SKILL LEVEL Easy
MEASUREMENTS 42.5” x 65” [107 cm x 165 cm]
ABBREVIATIONS
LK = Loop Knit: With working yarn in back, pull the working loop through next project loop from back to front.
LT = Left Twist – Cross the right stitch over the left st and LK these two sts from left to right
Rep = Repeat
RT = Right Twist – Cross the left stitch over the right st and LK these two sts from left to right
WL = Working Loop – the next loop on your working yarn coming from the ball.
NOTES
This blanket is worked flat on one side. Do not turn your work at the end of the rows.
The honeycomb stitch pattern is a multiple of 4 with a 4 row repeat. NOTE: After working Rows 2 or 4 with the twisted stitches, the tension can make the stitches come loose. Be sure to work a Row 1 or 3 before putting your project down.
Chained Cast On Edge: This pattern adds a chained cast on edge so both edges match. YOu need to reserve the loops for this edge before you start your first row. This edge is added after you finish knitting the blanket.
To add in a new ball of yarn, overlap the first working loop (WL) from the new ball with the second to last WL from the old ball and knit the next st with both loops. Overlap the next WL of the new ball with the last loop of the old ball and knit the next st with both loops.
INSTRUCTIONS
Cut the first 2 loops to allow for a tail to weave in. Count 72 loops for your chained edge (see FInishing below) and place marker. Count out 72 more loops for first row.
Honeycomb Repeat:
Row 1: LK in each loop across.
Row 2: *LT, RT. Rep from * across the row.
Row 3: LK in each loop across.
Row 4: *RT, LT. Rep from * across the row.
Work to 65” or to desired length.
Rep Row 1 once more before binding off.
Finishing:
Bind Off: Starting at the opposite end of the row as the working yarn, reach through the first loop and grab the second loop, pull it through the first loop, *reach through the loop you just pulled through, grab the next loop, pull this loop through the last loop. Rep from * across until only one loop remains. Cut working yarn leaving 2 loops. Cut open the two loops and pull through remaining loop on project. Weave in tail.
Chained Cast On Edge: Go back to the long tail on your cast on edge. Starting at marked loop, from the back of the knitting push the first loop through the end stitch. Take the next loop on the tail and from the back push it in between the next stitch (work between the 1st column of stitches and the next column alongside the very edge of the knitting. Do not go through the middle of an edge stitch unless it is the first or last stitch of the knitting on corners). Repeat this with the remaining loops until the end of your tail is left where the two loops were cut open remains. Go back to the beginning, opposite the tail, and repeat the bind off steps. Weave in your tail.
PIN IT!

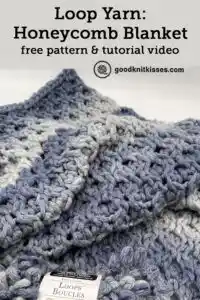
Loop Yarn Honeycomb Blanket Tutorial Video
Select videos are available to GoodKnit Kisses YouTube members only. To get exclusive access to GKK VIP-only content, free PDF patterns, weekly Zoom meetup and more, sign in to YouTube and join as a VIP Member today! Find out more about GKK Membership HERE!