
By Kristen Mangus
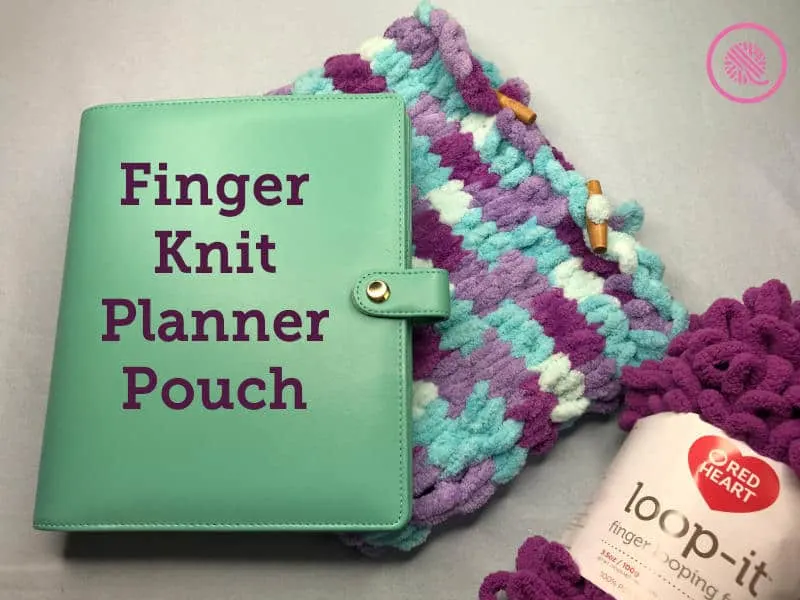
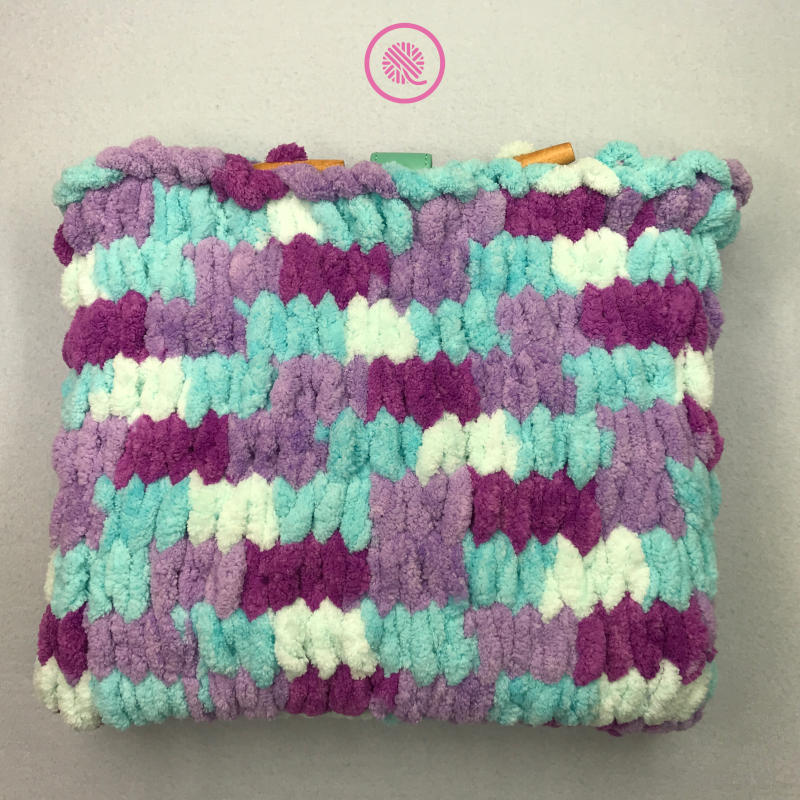
I am so busy! You guys are there, too. I know you are. With Spring’s arrival the school year is winding down and activities are ramping up. I need to stay organized so I keep my planner nearby. Since I’m often running (literally) out the door to make it to the next game or play practice I toss my planner in my knitting bag. Uh, oh. It’s starting to look like I toss it in my knitting bag. With some inspiration from Erica of Erica G. Designs I made a Finger Knit Planner Pouch to protect my brain…. uh, I mean planner when I’m on the move.
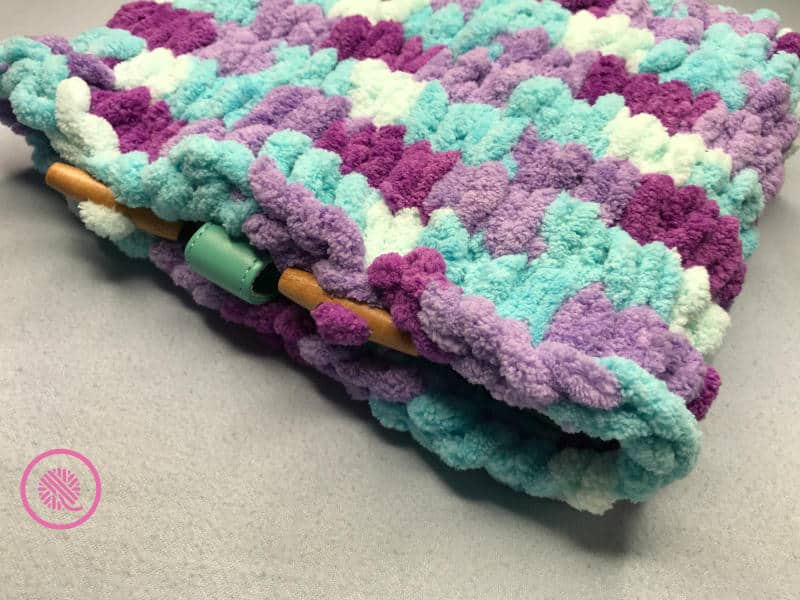
Knit using Red Heart Loop It yarn and just my hands it’s also a perfect project for when you’re on the go. You don’t even need knitting needles or a crochet hook. This unique yarn has prestitched loops that are ready to be knit, or purled, together with no tools. It is so easy!
For more about loop yarn and other finger knit projects check out these posts:
This handy pouch protects your pages when you put your planner in your purse or tote. I made this pattern fully customizable so you can make one to fit any size book or binder. It makes a great Bible or book cover. You can even make it larger and add handle to create a project bag.

Finger Knit Planner Pouch Pattern
(Say that 10 times!)
A downloadable PDF of this pattern is available on Ravelry.com.
MATERIALS
Red Heart Loop-It Yarn color Turq’s and Caicos. 1-2 balls (100g / 3.5oz, 7 m / 7.6 yds)
Wide eyed tapestry needle
Lockable stitch marker(s)
Scissors
Measuring tape
Toggle(s) or button(s) for closures – Sample toggles 1 ⅞” length with ¼” holes
ABBREVIATIONS
K = Knit: With working yarn in back, pull the working loop through next project loop from back to front.
WL = Working Loop: The next loop on your working yarn coming from the ball
GAUGE
8 sts x 6 rows in 4”x4” (10cm x 10cm) in stockinette stitch
SKILL LEVEL
Easy
SIZES
Customizable. See notes for more sizes or lengthening.
MEASUREMENTS
Customizable.
Sample fits 6 ring binder style planner approx 8” x 9.25”
Finished pouch size: Approx. 10.5” wide x 9.5” high x 2.5” thick
PATTERN NOTES
- Beginning edge starts with chains as in crochet to create a foundation row.
- After the foundation row pattern is worked in-the-round.
- Rounds can be worked either right to left, or left to right. Keep the right side of the work facing you.
- Pattern calls for 1-2 balls of yarn. My sample used just over 2 balls. A smaller pouch would only need 1 ball while a larger one will need 2 or more.
- Join a new ball by pulling both the last loop of the previous ball and the first loop of the new ball through the next stitch. When you reach this doubled stitch on the next row, pull the new loop through both loops as if they were one stitch. (NOTE: If you need to join a new ball at the end of your project add it 2 rounds before your bind off round ro prevent a bulky bind off edge.)
- Sample Planner Pouch is shown using stockinette stitch. You may use any stitch pattern you desire in this pattern. See this playlist for more loop yarn stitches and techniques: http://bit.ly/2W2LUzG
- Sample Notes are marked within brackets [ ]. This will allow you to make one identical in size to my sample and using the same stitch count.
INSTRUCTIONS
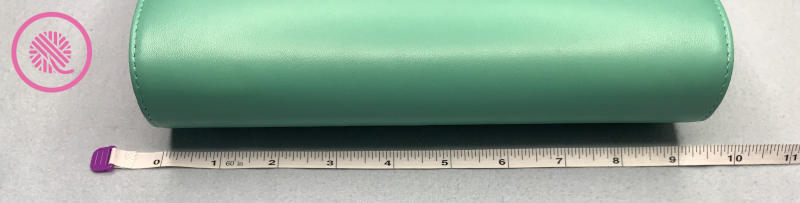
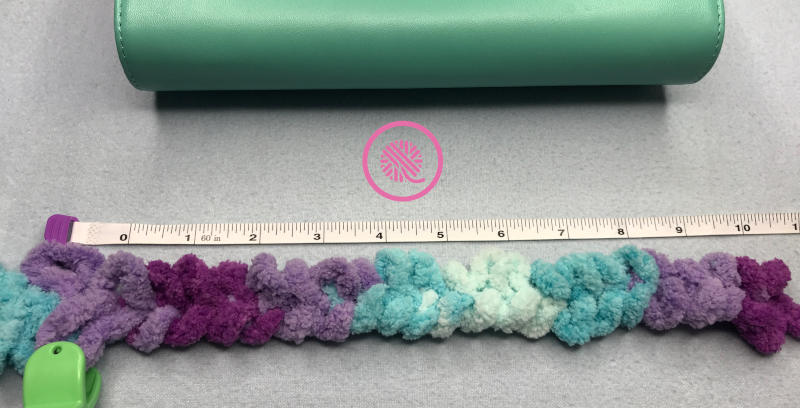
Measure across binding and add 1” to measurement. This is your foundation width. Lay loop yarn on work surface and measure out your foundation width. (Measure across the base of the loops.) Add 1 loop and mark this loop with a lockable stitch marker or clip. [Sample Notes: Sample planner measured 9.25” long. I added 1” ease for 10.25” total. Measuring at the base of the first loop to 10.25” I counted 22 loops. I added one more and placed a marker in the 23rd loop.]
Foundation chain
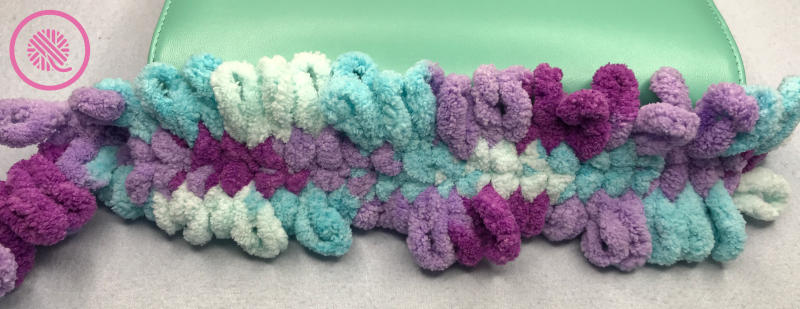
Start with the first loop. Pull the next loop, or working loop (WL), through your first loop to create the first chain. Continue pulling the next WL through each as you chain one stitch at a time until you reach the marked loop. Remove marker and pull through last loop worked. Place marker back on this loop. [Chain has 23 loops. See photo].
Increase Round
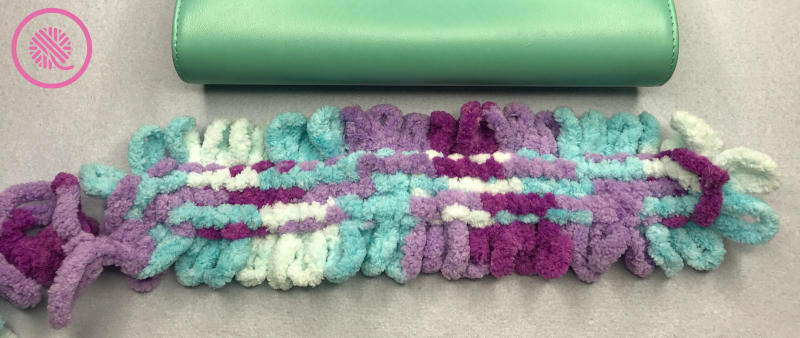
Round 1: Using your working yarn insert next WL into side of marked loop and K1. *Insert next WL into next chain loop (next loop along the bottom the chain) to K. Repeat from * down chain until you reach last loop at end of chain. In last chain pull through 3 loops to increase**. Insert next WL into other side of each chain loop (top loops of chain) and continue to K each loop. At marked loop pull through 2 loops to increase**.
**A planner with a narrow binding may only require 2 loops at the end of the chain and 1 loop when you reach the marked loop at the end of the round.
[Completed Round 1 has 48 loops; 3 on each end loop and 2 on each side of the 21 middle loops. See photos for outside and inside views respectively].
Round 2: Remove marker and K1. Place marker on new loop to mark beginning of round. *K into next loop from previous round. Repeat from * to marker. [Completed Round 2 has 48 loops as there were no increases this round.]
Inspect Base – Checking size
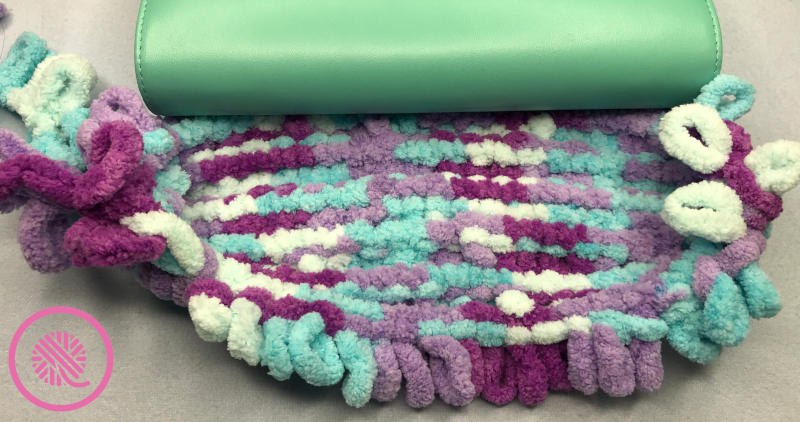
Place binding or ring edge along inside the pouch to ensure a good fit. This is where you can go back a round and add or subtract a loop on the ends to make a better fit. [Completed round 2 checking fit. See photo.]
Round 3: Repeat Round 2 until desired length or until knitting covers opening of planner. Add yarn as needed. [See photos for outside and inside views respectively.]

Bind off / Finish
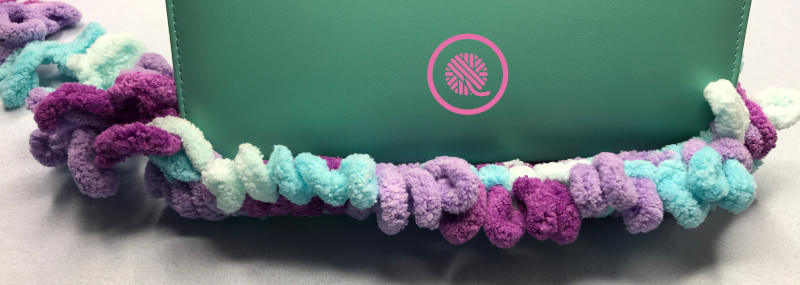
Remove marker. Cut working yarn leaving 3-4 loops. Cut thread between loops to open them which leaves a long tail. Leave tail. [Completed sample has 10 rounds including loops in bind off. See photo.]
Mark placement of toggle loop(s) on one side of opening with stitch marker(s). Mark placement of toggle(s) on opposite side of the opening with stitch markers. Toggles can be worked in during bind off or sewn in with scrap yarn after completing bind off. (See video and test with scrap loop yarn and toggle before attempting.)
Bind off as follows:
- Beginning on the opposite end from the tail, pull second loop through the first loop to form your first chain. This binds off one stitch and makes a chain.
- Repeat until first toggle loop. Do not work this loop. Move it toward the inside and work the next loop so that the chain covers the toggle loop.
- Repeat bind off chain until next toggle loop. Do not work this loop. Move it toward the inside and work the next loop so that the chain covers the toggle loop.
- (OPTIONAL) To attach toggle during bind off continue to chain one stitch at a time until you reach desired toggle location (opposite toggle loop). *Using a tapestry needle thread the loop through both holes of the toggle before working the bind off chain. Continue binding off to next toggle location and repeat from *.
- Continue chain bind off until last loop remains.
- Pull tail through loop.
- Weave tail through beginning chained loop to connect in the round and weave in tail.
- If you did not attach toggle(s) during bind off stitch them to pouch opening with scrap yarn.

Watch the full tutorial to make a Finger Knit Planner Pouch of your own!

