
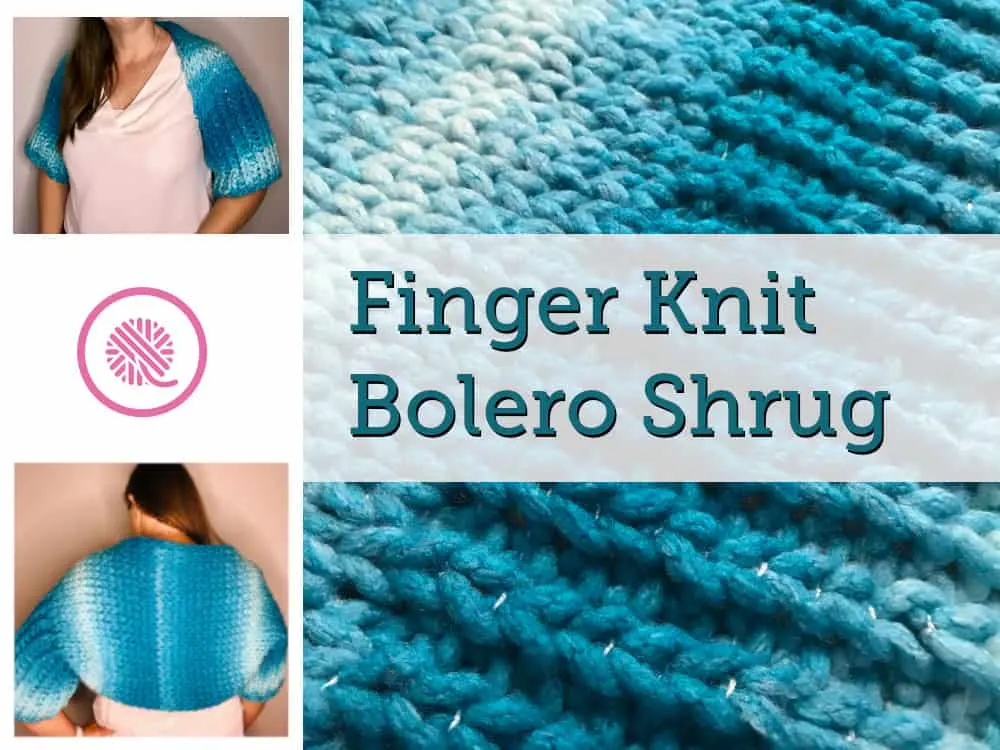
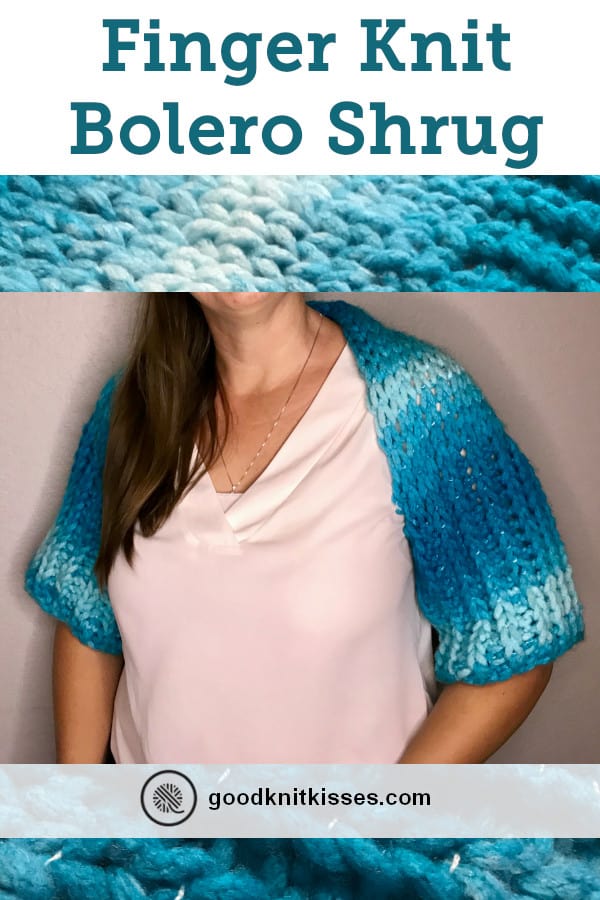
Finger Knit Bolero Shrug with Loops Yarn
By Kristen Mangus
Make a beautiful addition to your wardrobe in a pinch. A bolero jacket is a great way to add a bit of style and warm up those shoulders from the chill without a heavy coat. Without needles or hook, this quick Finger Knit Bolero Shrug is easy to make for a beginner. Especially since I’ve got a full video tutorial for you if you scroll to the bottom of the post.


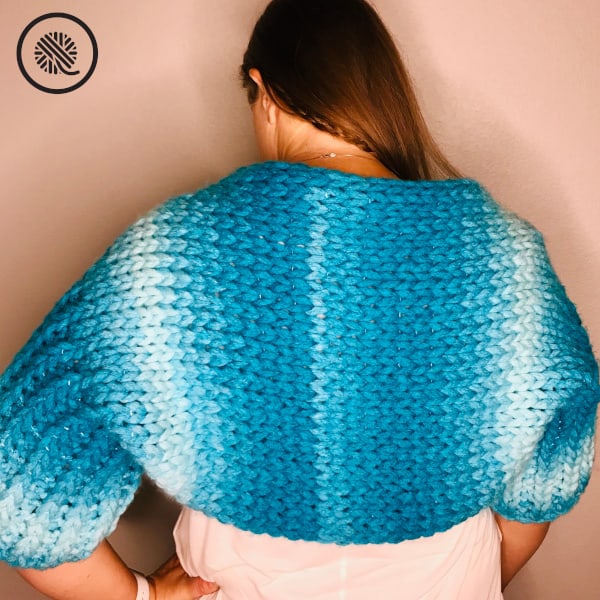
This easy shrug features 1×1 ribbed sleeves and a stockinette back. It is in knit in one piece as a flat panel and the sleeves are seamed afterward. The pattern comes in 3 sizes – M/L, XL/1X, 2X/3X.
Using Loops and Threads Loops yarn you can knit with just your fingers. This loop-style yarn has prestitched loops attached to central thread. This means the stitches are already formed so all you have to do is link them together. The gauge is always exactly the same so you can be sure your shrug will fit perfectly. If you’re interested in more loop yarn patterns I’ve got a Loop Yarn Seed Stitch Cowl pattern and you can read my yarn review for Loops.
PIN IT!

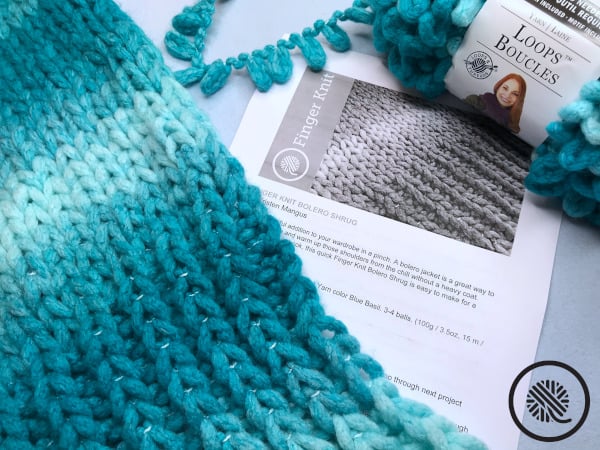
MATERIALS
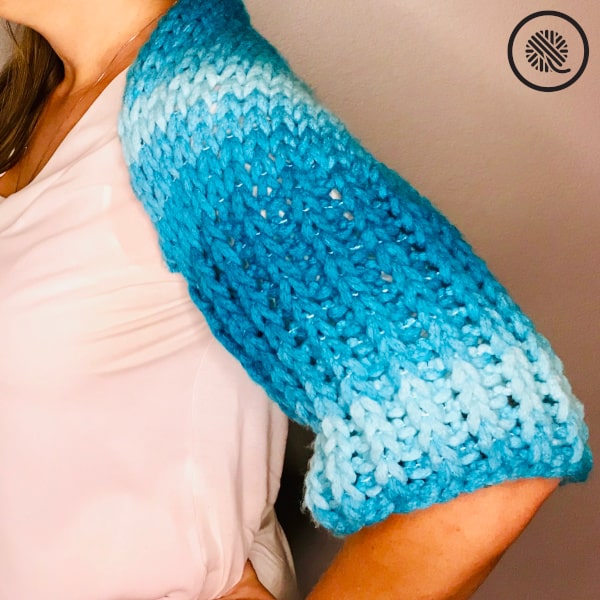
Loops & Threads Loops Yarn color Blue Basil. 3-4 balls. (100g / 3.5oz, 15 m / 16.4 yards ea ball)
Wide eyed tapestry needle
Stitch marker (lockable)
Scissors

ABBREVIATIONS
Loop Knit: With working yarn in back, pull the working loop through next project loop from back to front.
Loop Purl: With working yarn in front (on top of project), push working loop through next project loop from front to back.
Working Loop: The next loop on your working yarn coming from the ball
GAUGE
5.5 sts x 6 rows in 4”x4” (10cm x 10cm) in stockinette
SKILL LEVEL
Easy
SIZES
M/L (XL/2X, 3X/4X) Fits as a short sleeve sweater. See notes for more sizes or lengthening.
MEASUREMENTS
M/L – 38” (96.5 cm) x 20” (51 cm) approx.
XL/1X – 39.5” (96.5 cm) x 23” (51 cm) approx.
2X/3X – 41” (96.5 cm) x 26” (51 cm) approx.
PATTERN NOTES
• Rows are worked either right to left, or left to right, always with the right side of the work showing. You do not turn your project over at the end of the row.
• Join a new ball by pulling both the last loop of the previous ball and the first loop of the new ball through the next stitch. When you reach this doubled stitch on the next row, pull the new loop through both loops as if they were one stitch.
• Pattern calls for 3-4 balls. Sample used 3 balls exactly for Medium size but you may want an extra to be safe. If you want a longer sleeve or more length for larger size simply add in an extra ball to the Stockinette section. 1 ball for the Medium size works approximately 21 rows which is about 13” or 33 cm.
INSTRUCTIONS
1. Open up 7 loops to create yarn tail by cutting thread on first 7 loops. This will be used for sewing first armhole later.
2. Count out 31 (35, 37) loops. Place marker on last loop.
3. Lay loops flat to untwist.
4. Make a Loop Knit as follows: With working yarn in back, pull the working loop through the marked loop from back to front. When pulling through the new loop make sure not to twist.
5. **Make a Loop Purl as follows: With working yarn in front, push working loop through next project loop from front to back.
6. Make a Loop Knit again by placing working loop behind next loop and pull through.*
7. Repeat Loop Purl** followed by Loop Knit*, as in Steps 5 and 6, until 1 complete row has been worked and the last loop is knit. This completes one row of ribbing. Do not turn project.
8. 1×1 Ribbing: Repeat Step 7 for a total of 15 rows working back and forth across knitting without turning project over.
9. Stockinette: Next row work the Loop Knit stitch across all stitches to form one row of stockinette.
10. Repeat Step 9 for total of 35 (37, 39) rows. (See pattern notes how to add yarn.)
11. 1×1 Ribbing: Repeat Step 7 for a total of 15 rows.
12. Count out 7 loops and cut yarn. Open up these 7 loops by cutting thread to create a yarn tail. This will be used for sewing second armhole.
13. Bind off: Beginning on the opposite end from the tail, pull second loop through the first loop to form your first chain. This binds off one stitch.
14. Continue to bind off one stitch at a time until last loop remains.
15. Pull tail through loop.
16. Sew Armholes: Using tail, sew two edges together from same end of knitting until 1×1 ribbing section ends to form an armhole. Weave in remaining tail.
17. Finishing first armhole: The first armhole has a different edge than the second so we add a chained trim.
a. Count out 34 (38, 40) loops and cut yarn from ball. Open up last two loops on each end of the strand leaving 30 (34, 36) loops in between.
b. Along the edge of the armhole you’ll see connecting ladders between the stitches. Bring up 1st loop, from inside armhole, between two stitches along the ladder yarn. Move to the next ladder and pull up 2nd loop. Repeat around the armhole circle until all loops have been used.
c. Bind off as in Step 13 working each loop. Using tapestry needle, pull tail up through where the first loop began and up though though last loop. Fasten down by going around outside of loop and back through same first loop beginning. Weave remaining tails.

A PDF download of the Finger Knit Bolero Shrug is available in my Ravelry store for a nominal price.


Kerry
Friday 22nd of October 2021
can u do this in loom
Kerry
Friday 22nd of October 2021
can u do this pattern on a loom thank Kerry
Maria L Price
Sunday 27th of September 2020
I am having a hard time finding the named yarn in this video. Do you know where I can find it or is it no longer made? Thank you for all your fun crafting videos.