This is my journey for Week 3 Mystery Stitch Along for the KAL (Knit Along)
Week 3 Mystery Stitch Along
Monday arrives and I check out the Facebook Event Page. Now the participants are up again to 14,272K people. Yay, hopefully that means more knitters!
This week’s clue 3 is a level up to intermediate. We will work with a cable needle.
I decided to use one of my double pointed needles (DPN) instead of a cable needle.
Week 3 Mystery Stitch Along –
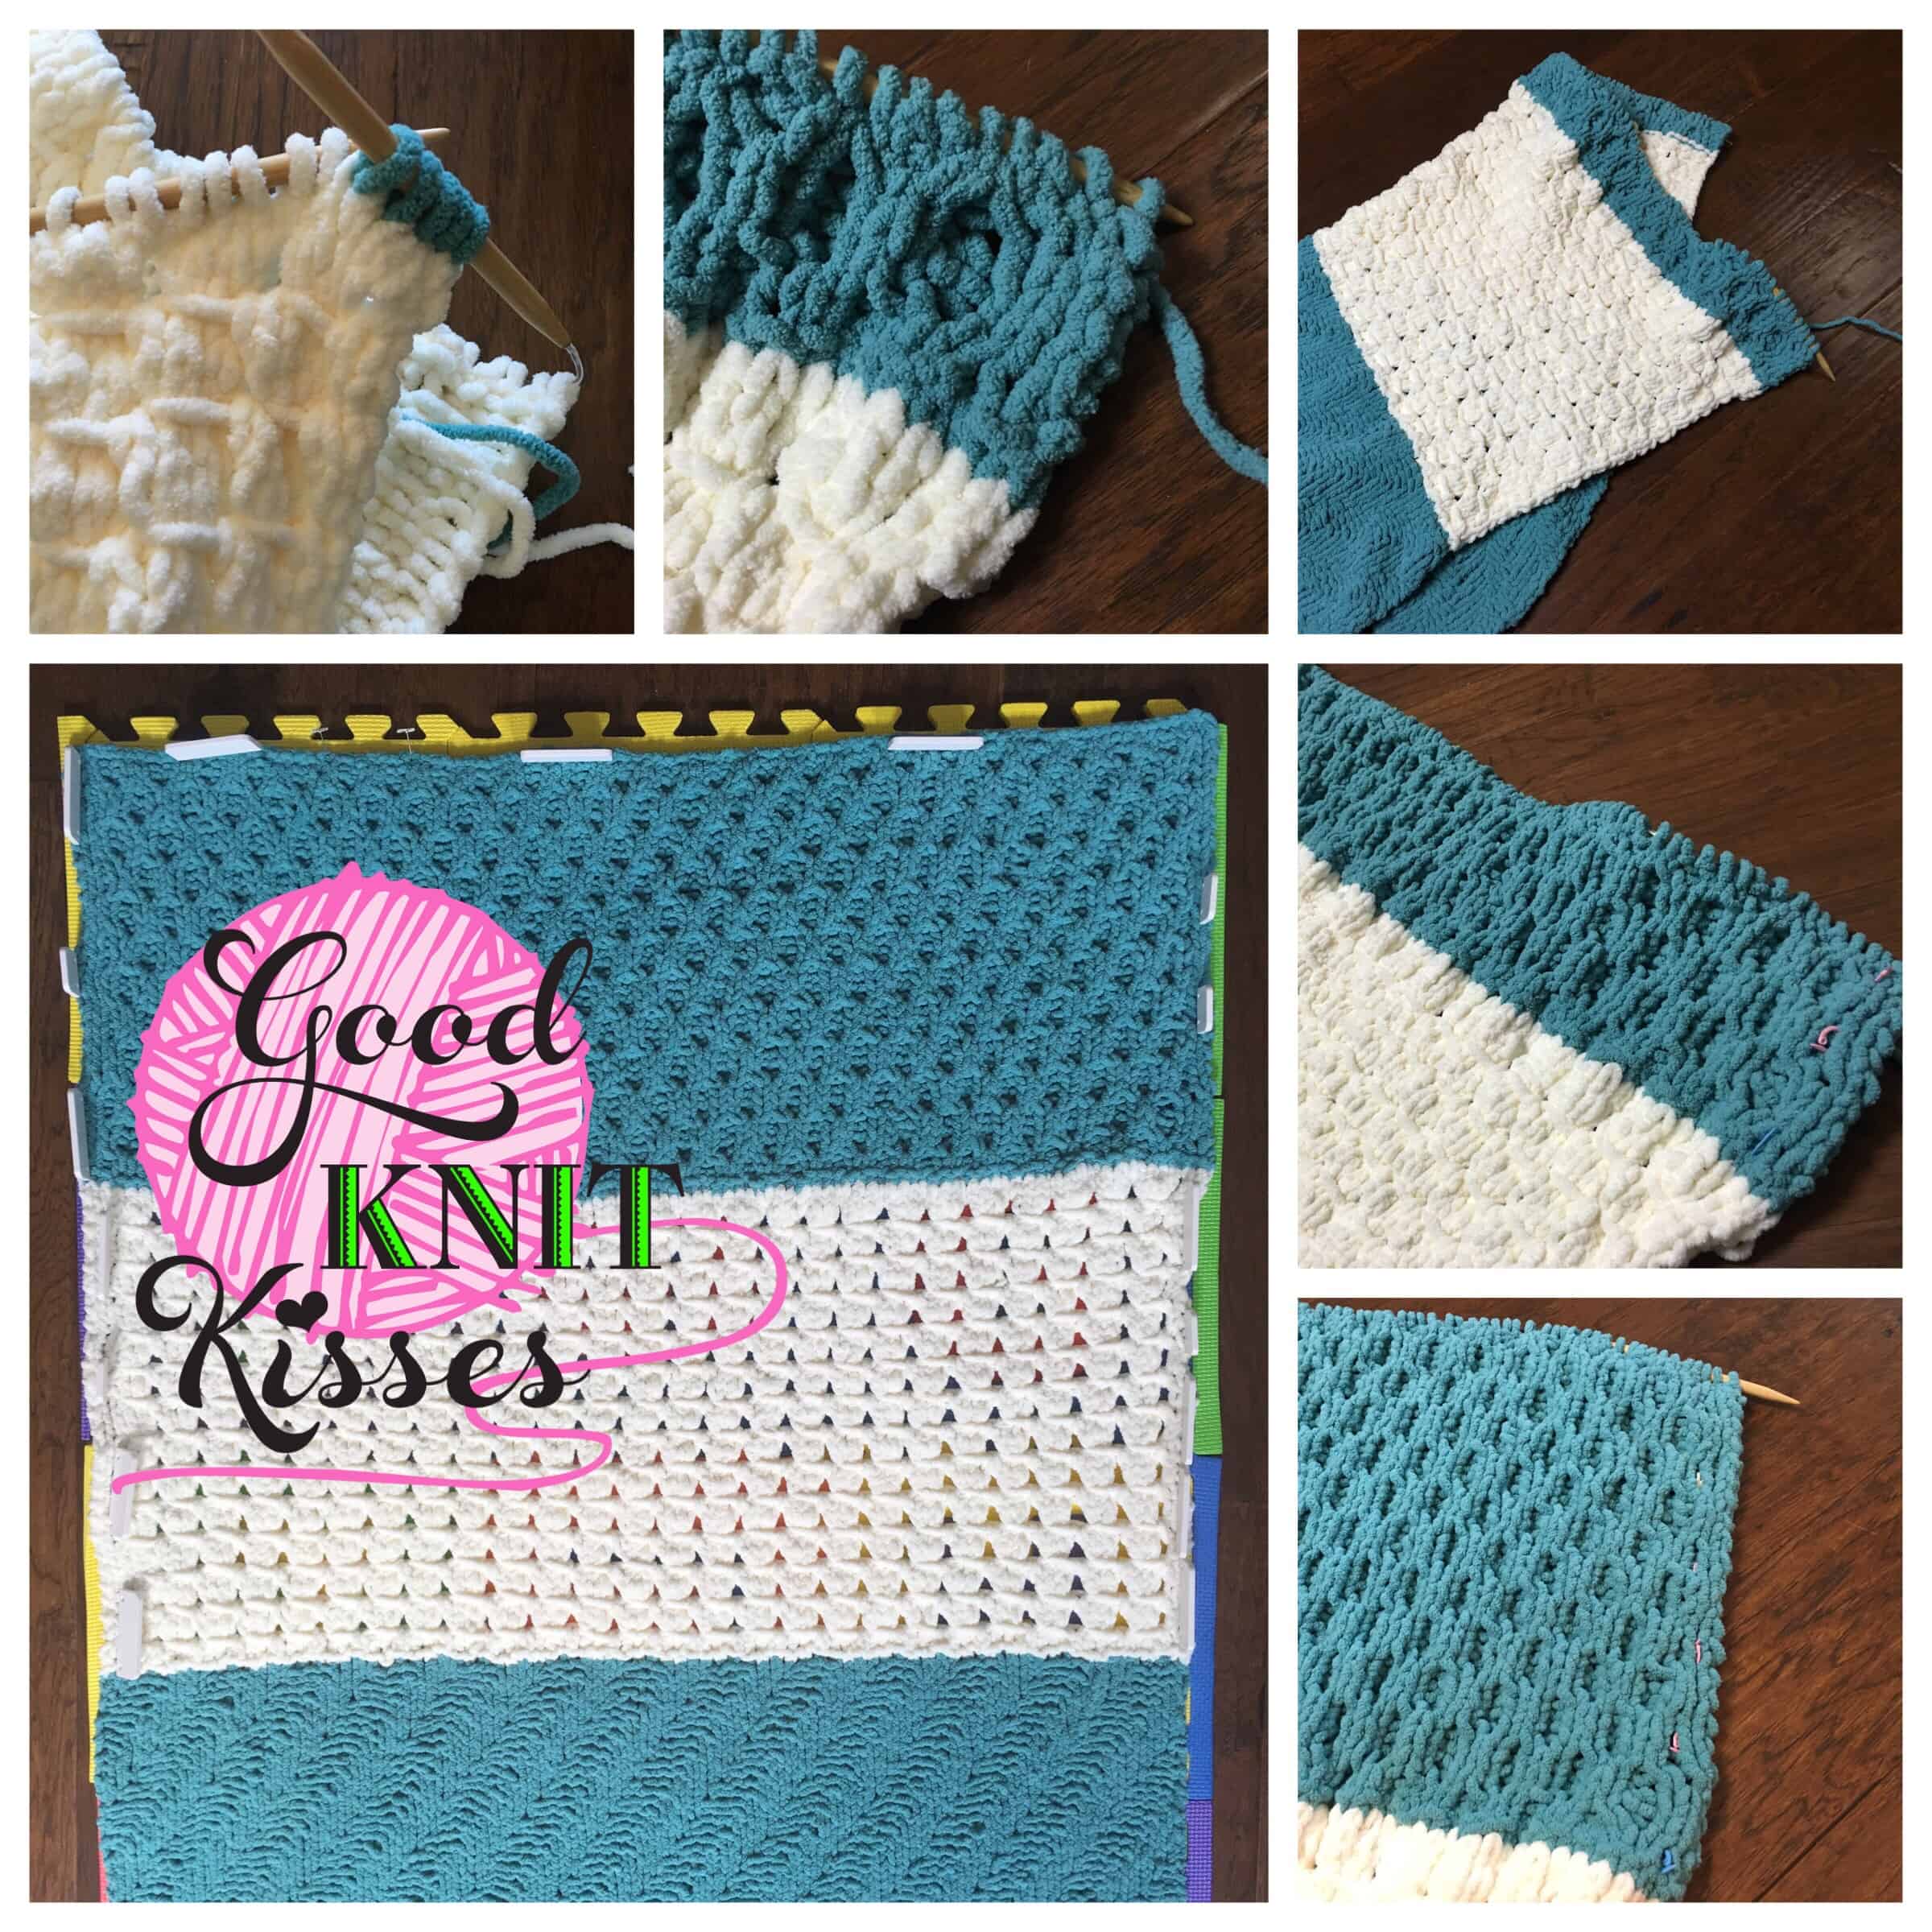
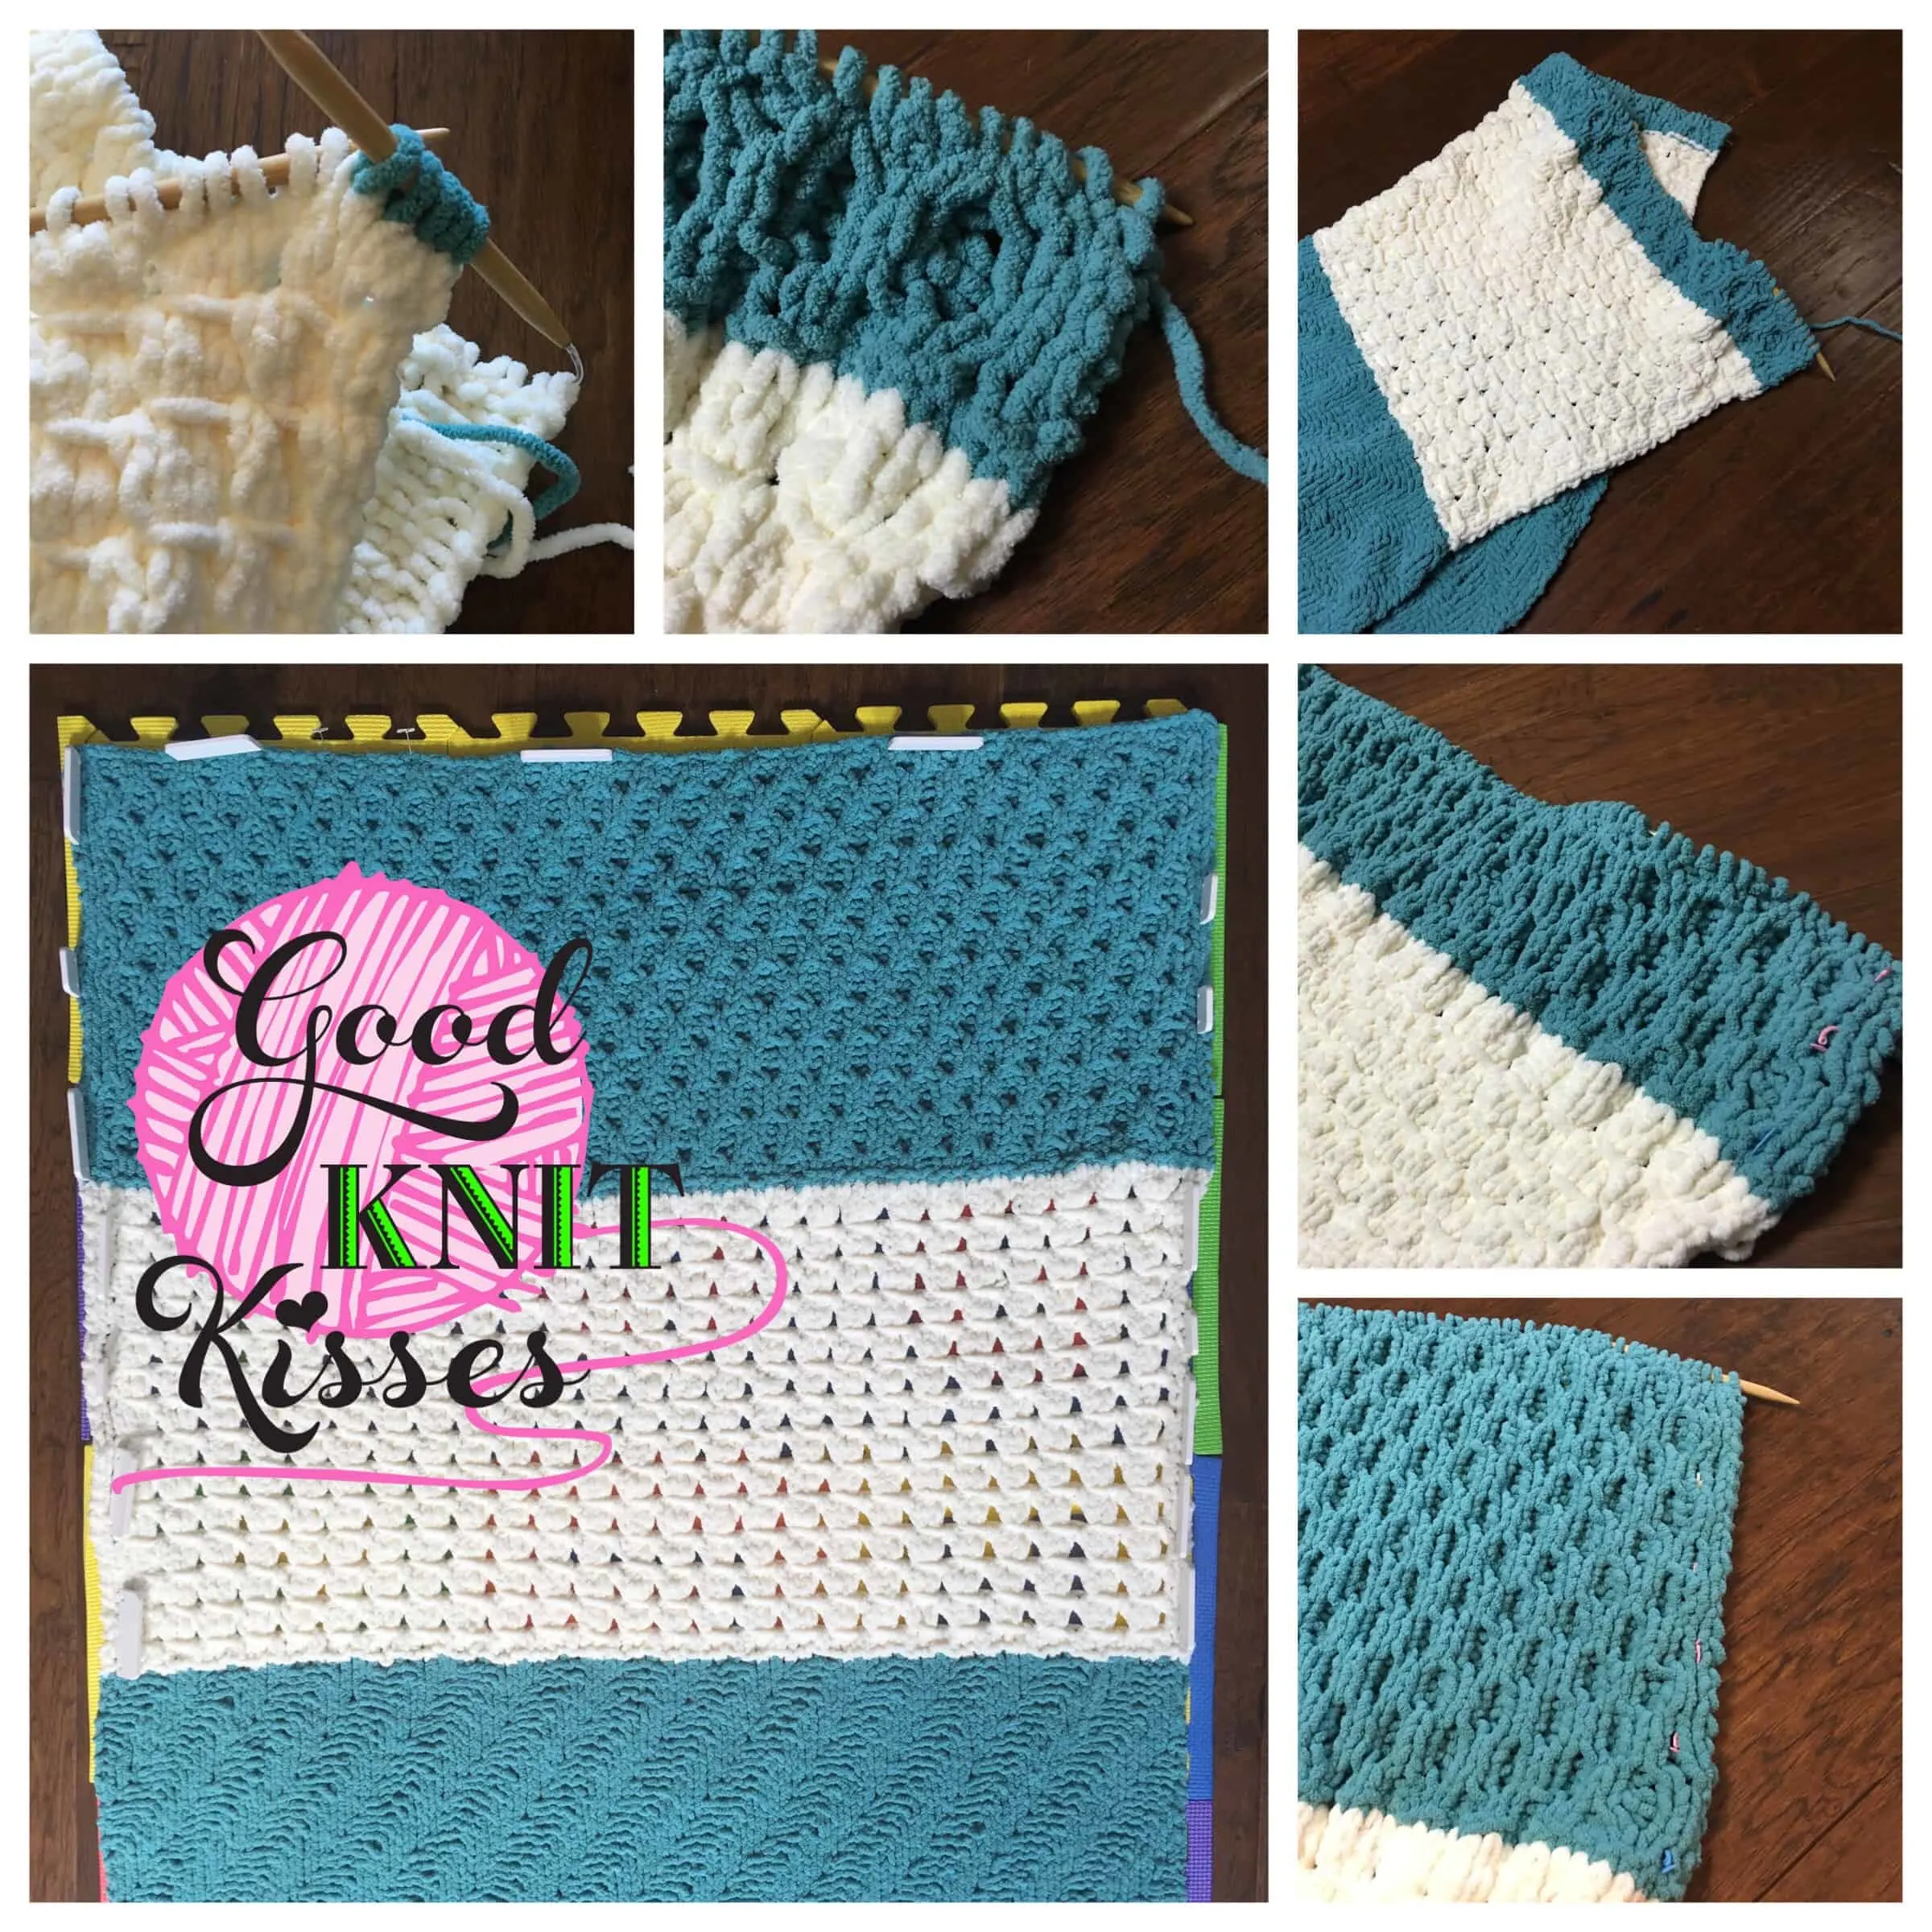
Color Change for Clue 3 and Setup.
We change back to the first color Contrast A this week.
This week we reduce stitches to get started. Basically you work the first 12 stitches. Now reduce by a stitch by using a k2tog. The way it is written could be confusing since the repeat breaks out by 12s. Simply put, after that first 12 and k2tog you just work 24 knit stitches and then reduce by 1 again and repeat.
The reducing is just a k2tog (knitting 2 stitches together).
Basically you work that until the whole row is knit but work that repeat of knitting 24 and then k2tog. Pretty simple, yay!

Week 3 Mystery Stitch Along –
The Honeycomb Stitch.
The name of the stitch is the Honeycomb.
I’ve made this stitch on a knitting loom before and it’s actually done quite easily when using a double rake (ex. long loom, knitting board) with no cable needles or even purling needed. However it can also be done twisting stitches, as done on needles this week, with a cable needle. Another knitter friend, Joann Gay, has been helping me translate it to the loom but has experience with needles, too. We’ll be working on showing how to attempt the stitch patterns on the loom as well after this stitch along so you can come back and follow the pattern as well.
For this Week 3 Mystery Stitch Along blog here though I worked completely on needles and experienced this stitch for the first time. I did want to mention the loom though because it is interesting to compare the two tools (needles vs loom) on this stitch in particular. I’ll go more into that at another time for those interested in loom knitting.
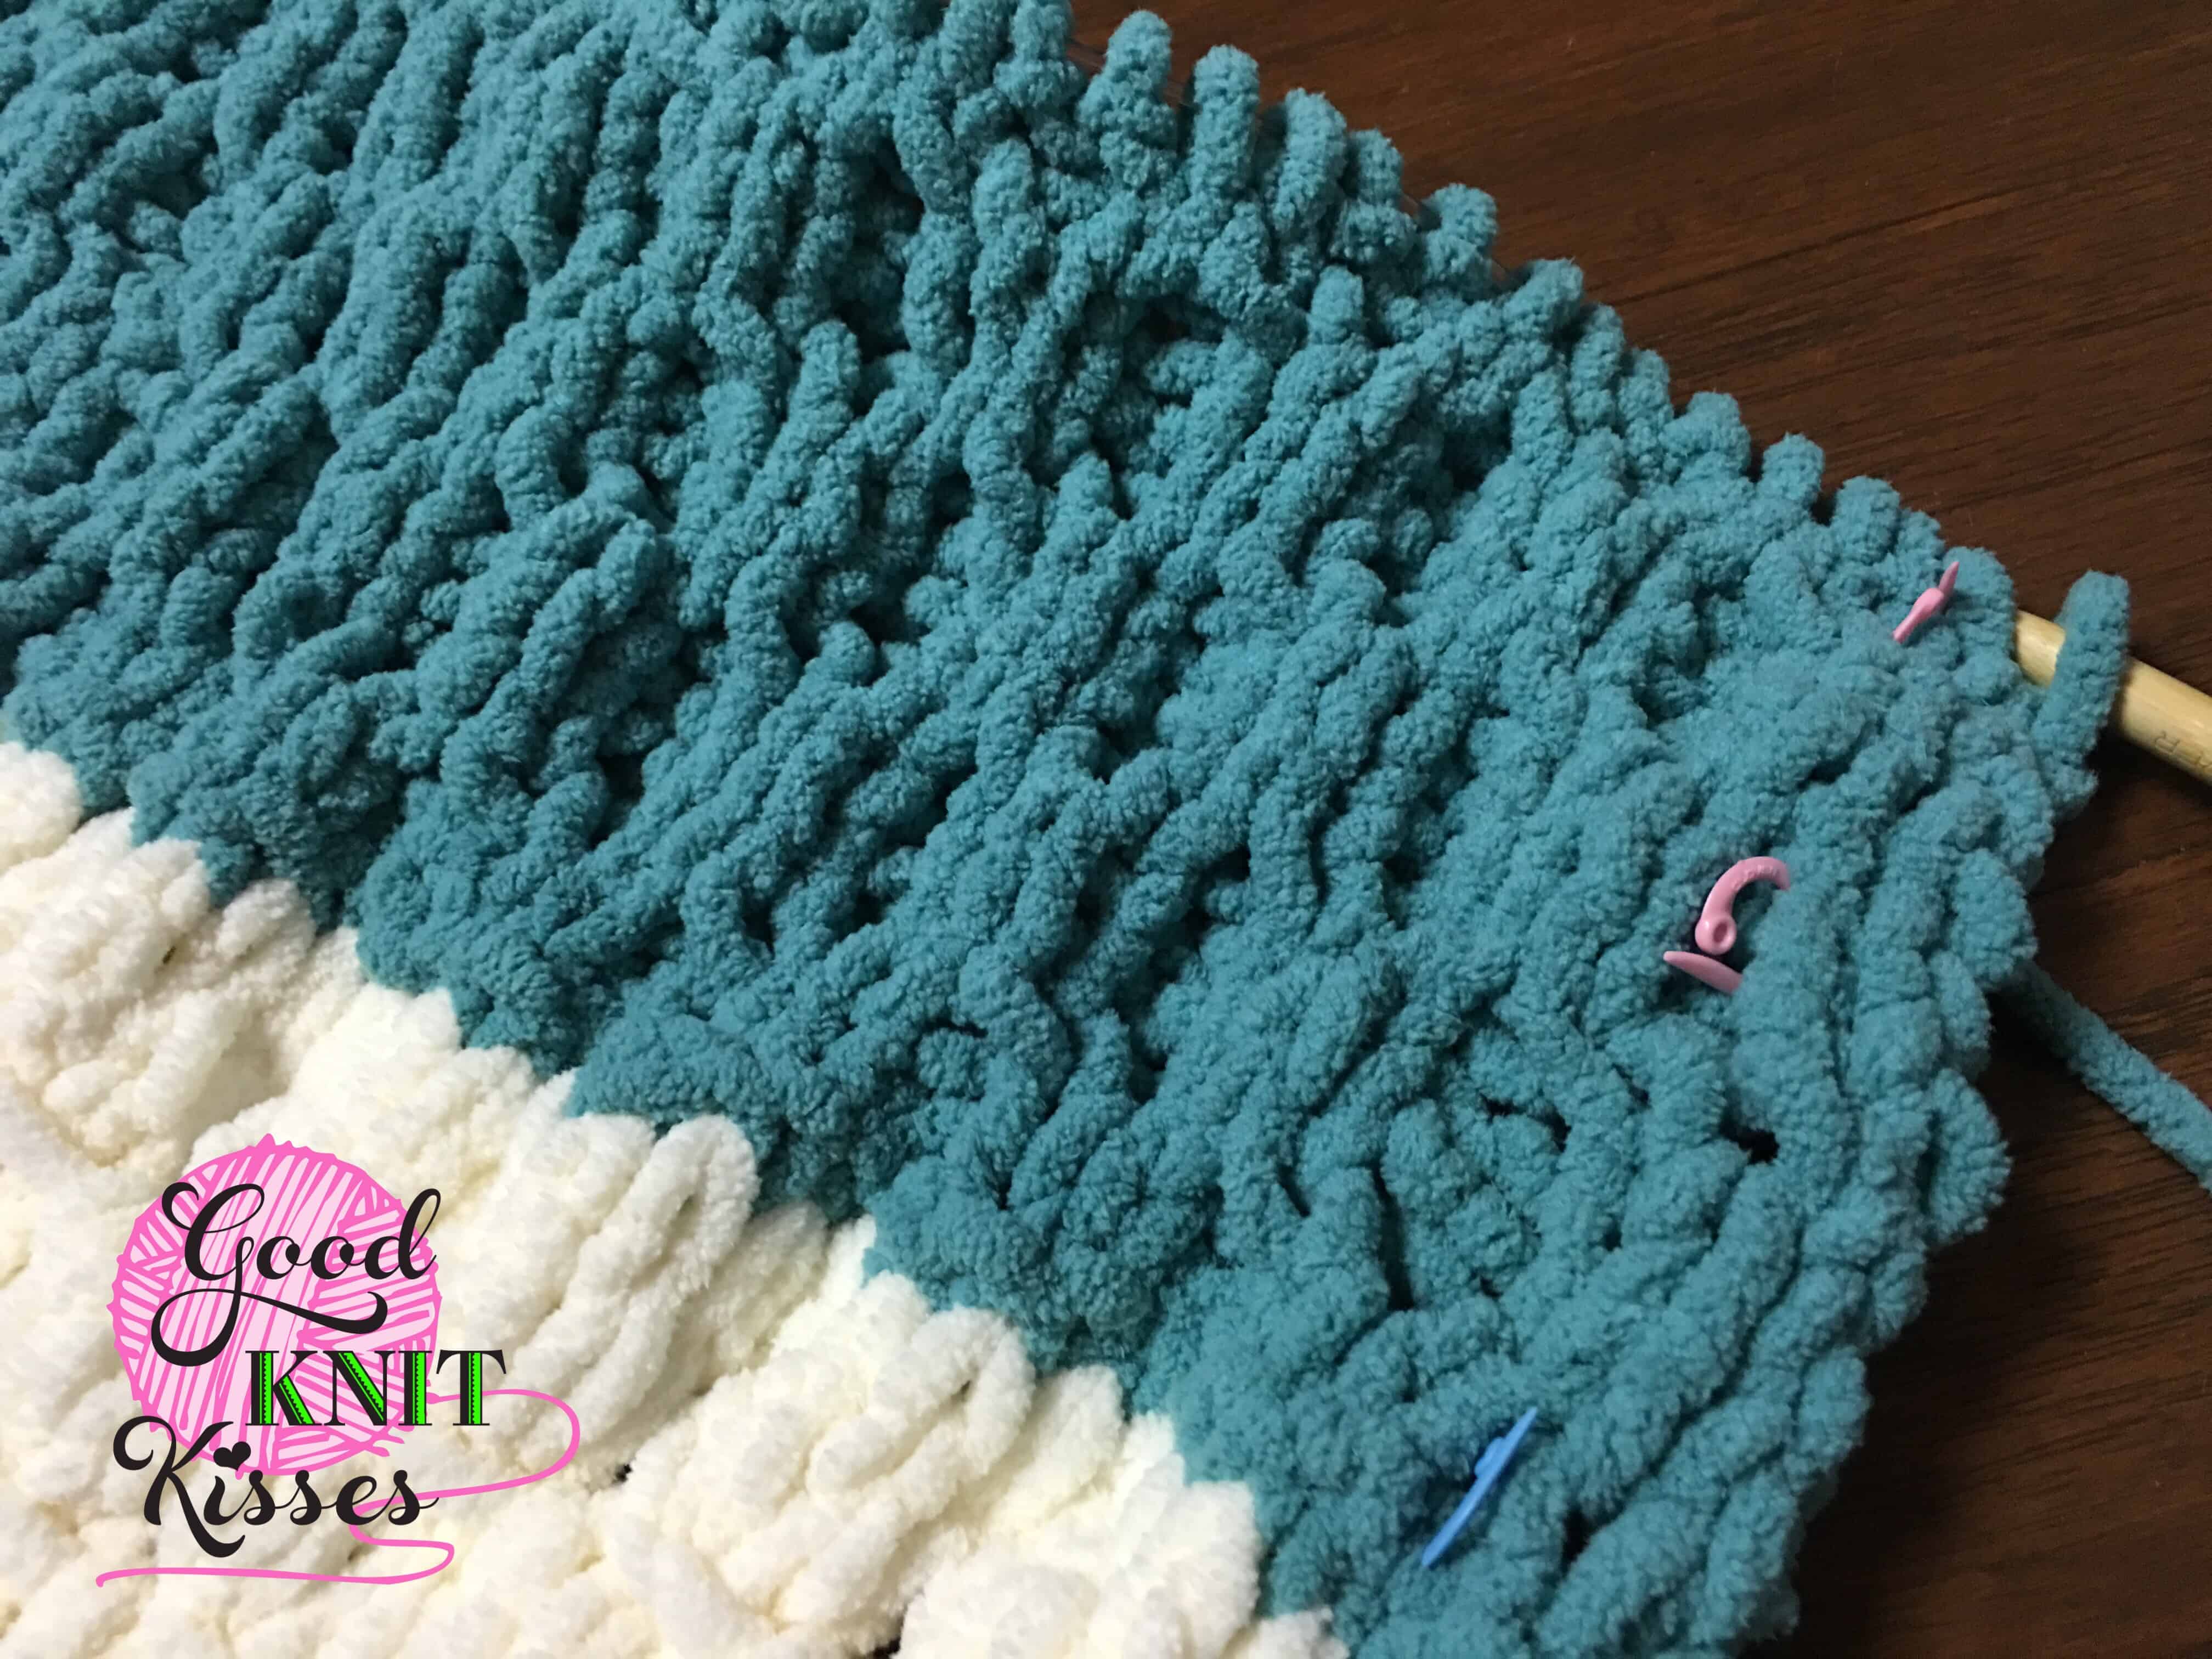
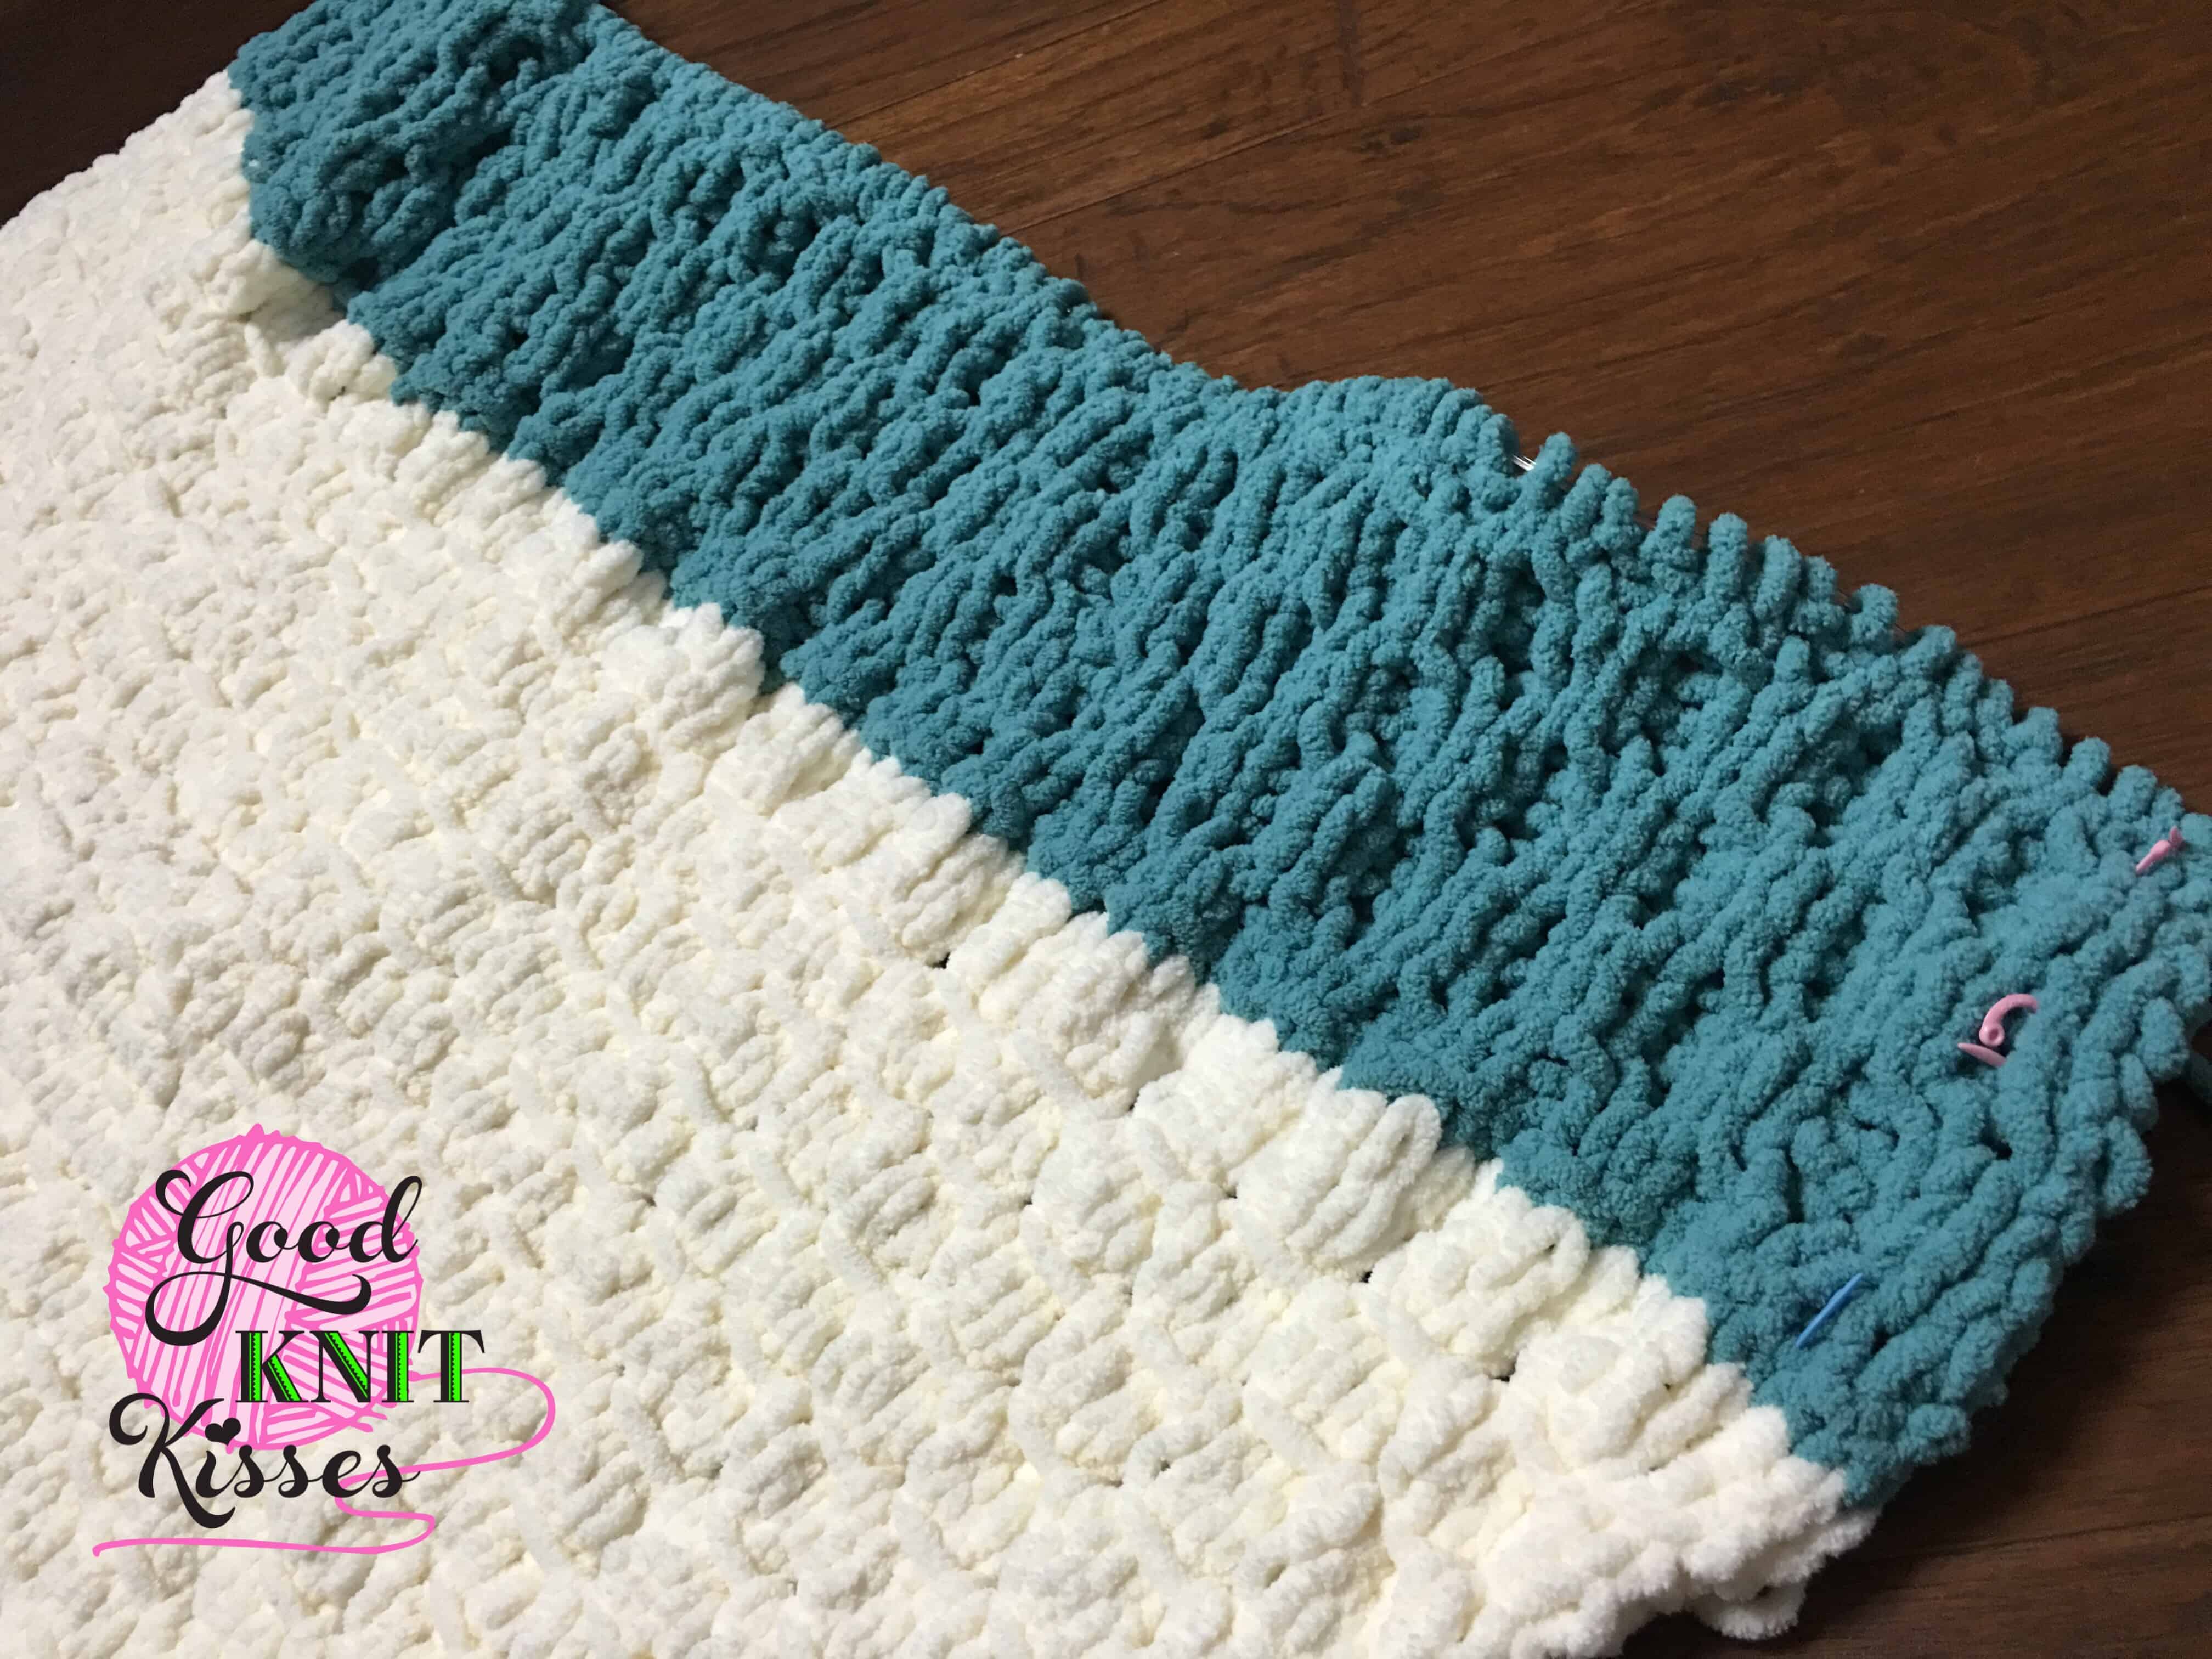
The Honeycomb looks like a 2×2 ribbed stitch that pulls apart and then comes together and shifts on either side of it to open and close as well. It creates a sort of raised latticework in stockinette. It’s as if the purled stitches fall in the back and the more forward knit stitches lay out a diamond-shaped lattice grid in stockinette.
The pattern also includes a chart in addition to the video being available on the site for reference.
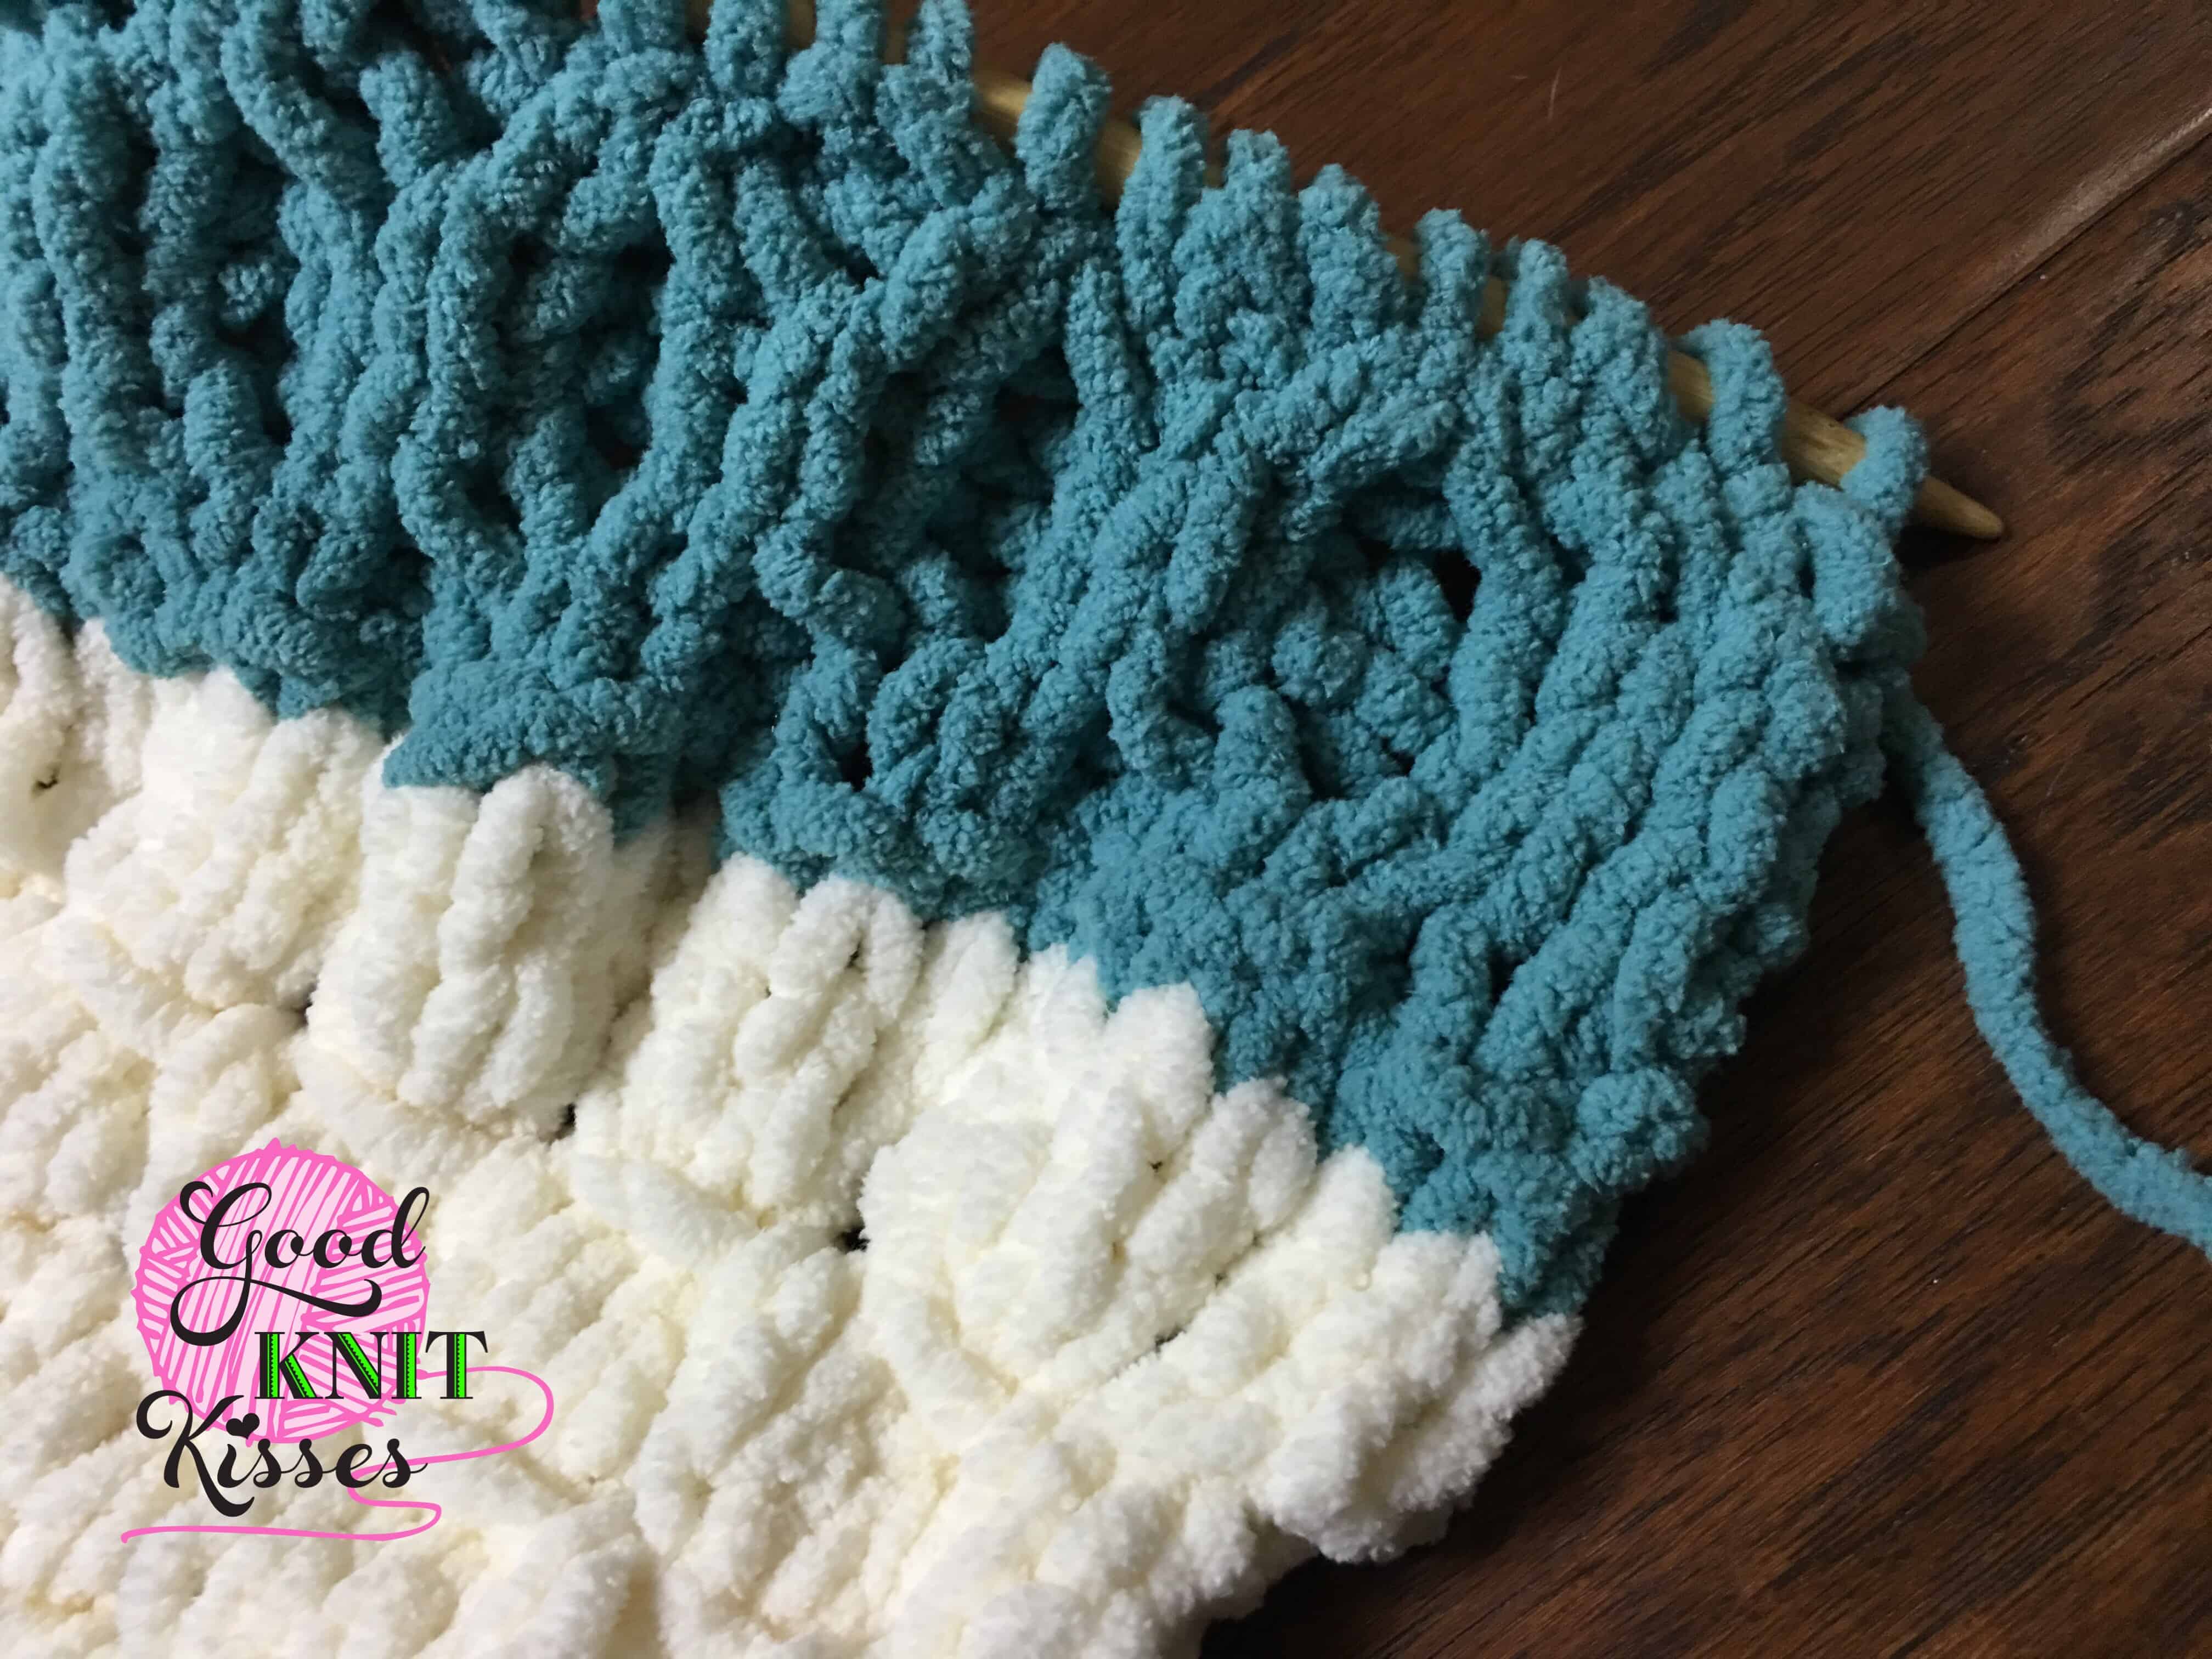
This photo above shows the first full pattern repeat worked. Do you see how it pinches together and then spreads out and comes together again like a diamond? It will appear to shift again on the next repeat and look like a stacked honeycomb.
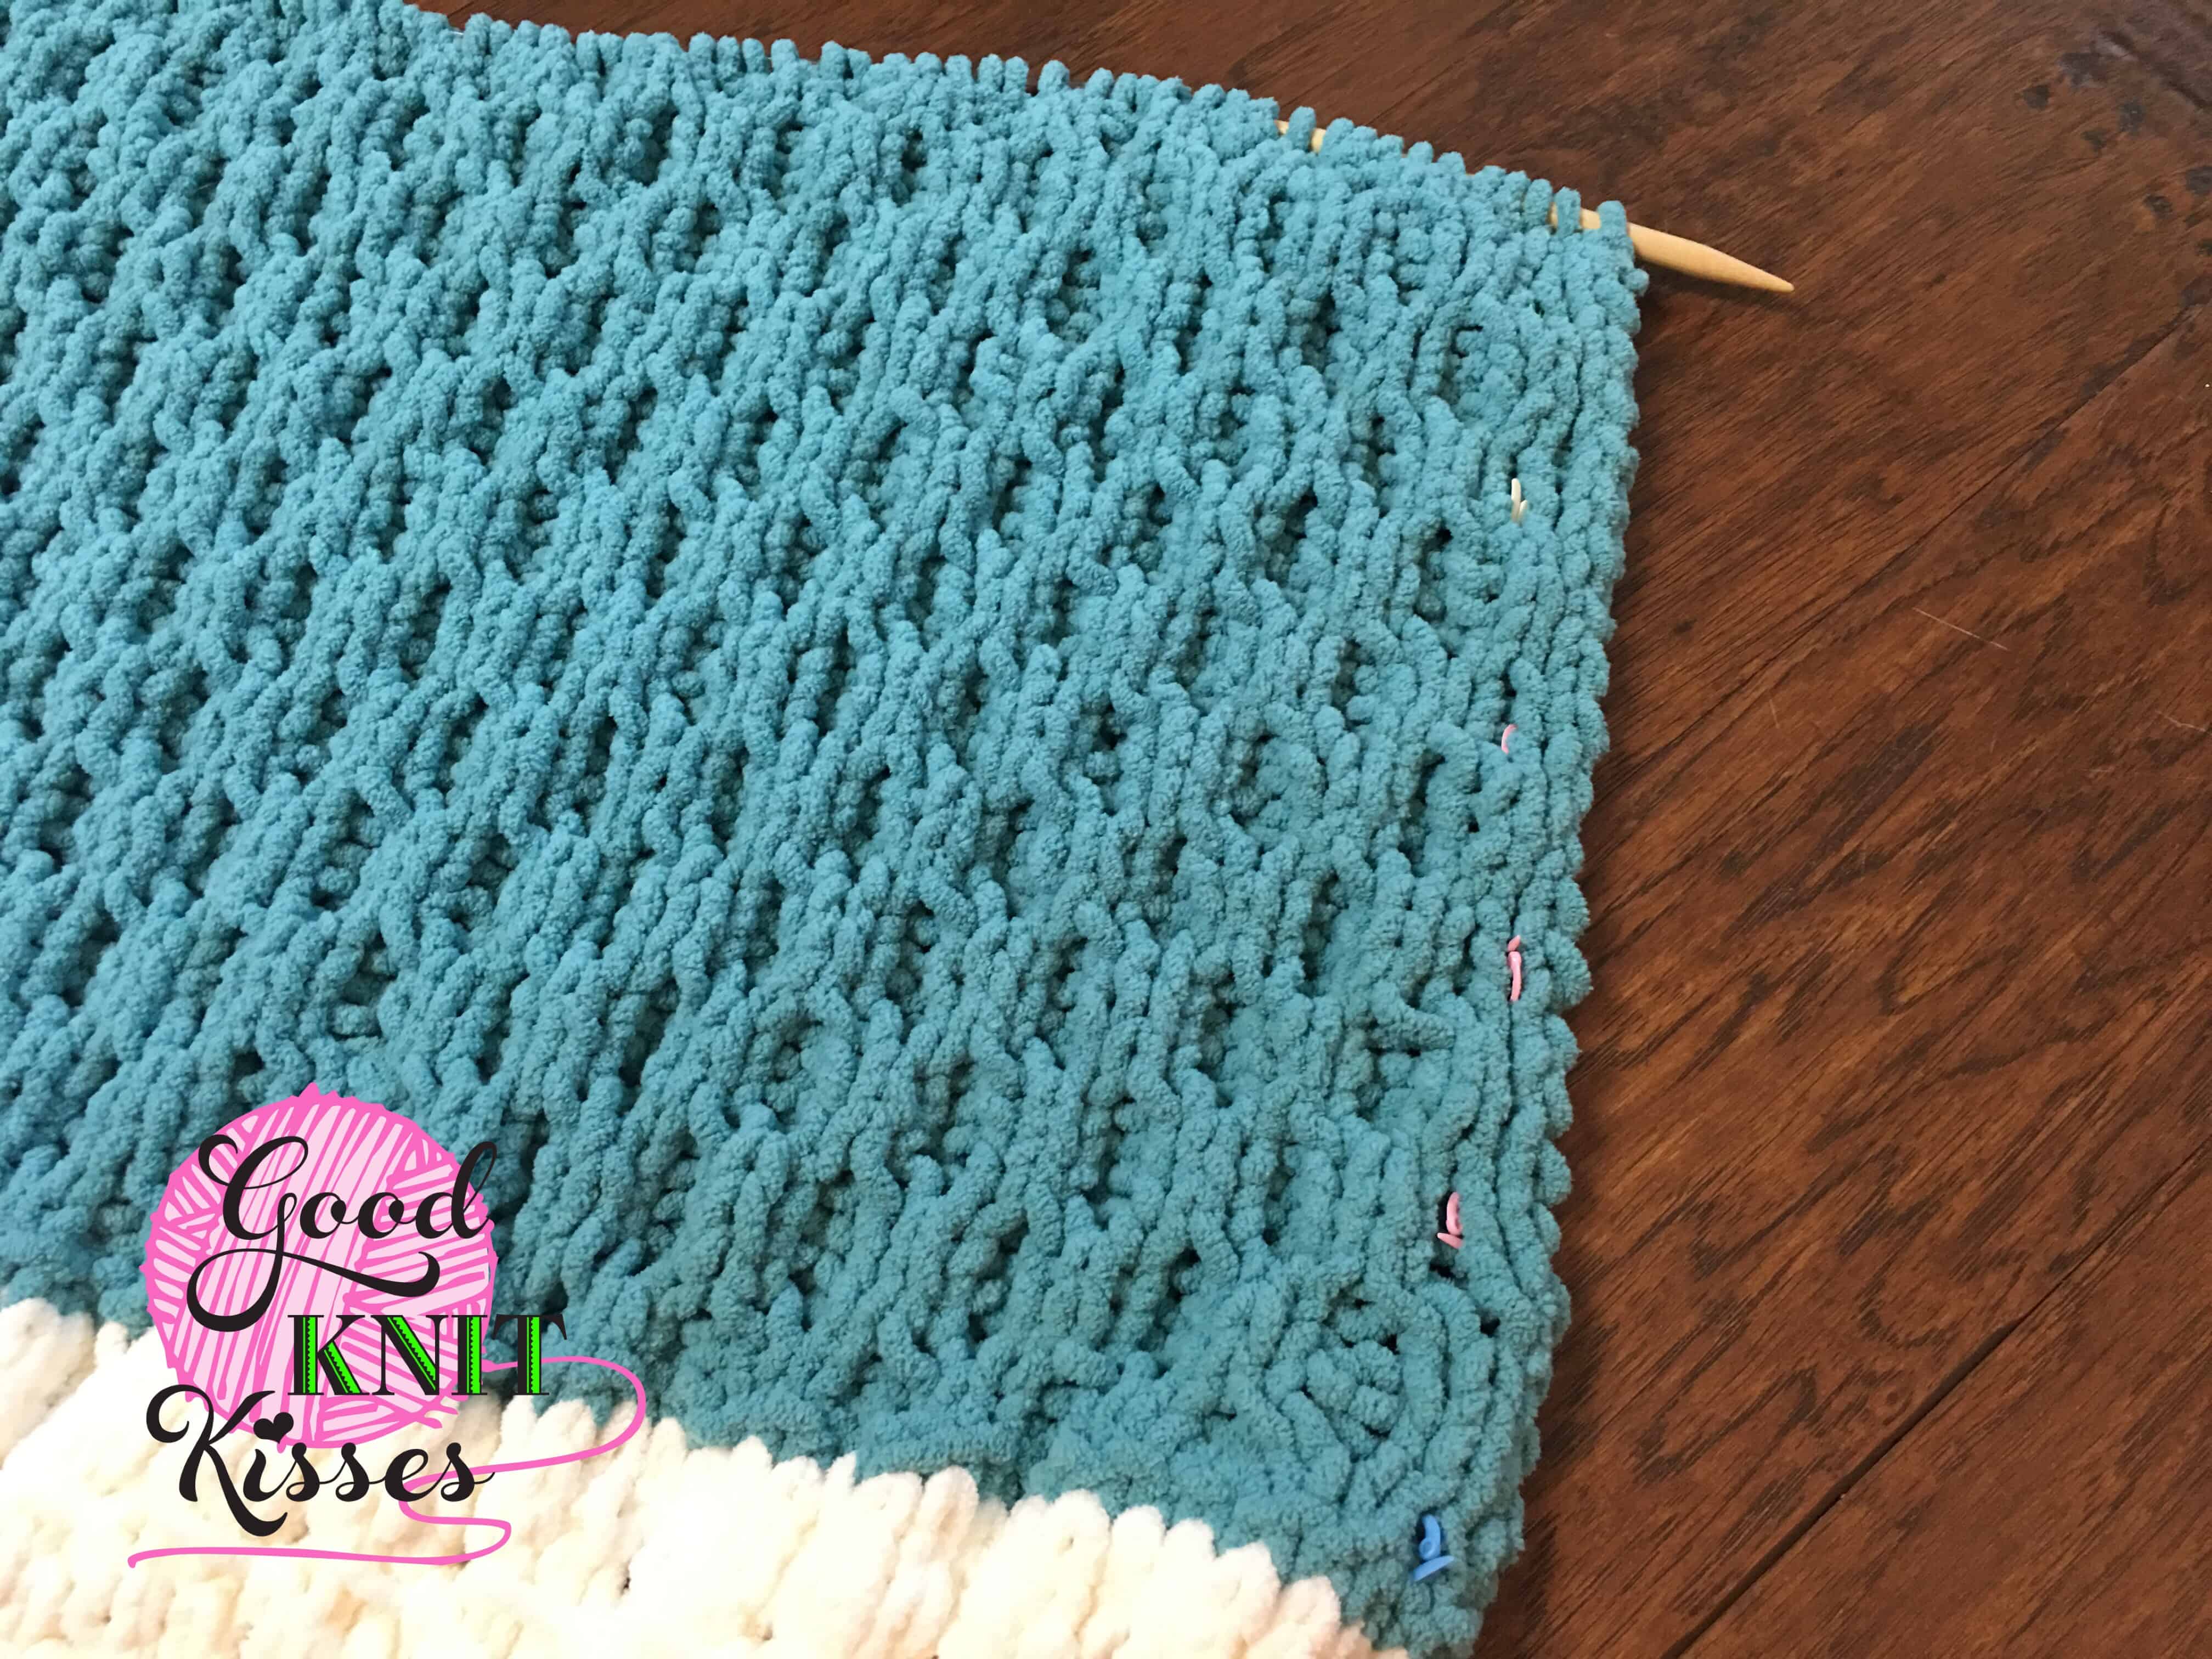
The 8 row repeat.
Below is a photo of the WIP after 2 full pattern repeats are complete. The blue stitch marker starts after the 2 setup rows and the first pink marker starts after the first set of 8 rows is complete and so on. Use stitch markers as needed.
Week 3 Mystery Stitch Along –
The Mantra for memory help.
In this honeycomb stitch pattern notice that everything is in groups of 2; either it’s in groups of 2 purls or 2 knits.
Even when working to the back or front and cabling the stitches (switching which is worked first) there is a grouping of 2 knits or 2 purls that happen side by side. As long as the first set of T2B or T2F is paid attention to, after the selvedge, then you can really fly on a working row.
For someone who has not done the honeycomb stitch before, the following is me breaking down my steps and memory devices:
When it came to the hardest rows (rows 3 and 7), the mantra seemed to be double-checking the 3rd stitch of the row on the written pattern. This allowed me to see if it was as a knit or purl and then how it related to the next stitch.
The cabling breakdown:
- If the row starts with T2B I know that the 1st stitch in those 2 will be in the back on the cable needle. (I chose to use a DPN instead). I knit the left needle as it is closer to me, K for “klose”, if it makes that easier to remember the K represents knitting. I know that’s not how you spell “close” but can be easier to remember if needed.
- Then purl back stitch.
- Next put the next stitch in front for the T2F with the cable needle, or DPN in my case. The previous stitch was a purl and so my left needle needs to ALSO be purled to match that pair of 2 purls together for the honeycomb.
- The last stitch left in the 4 stitch repeat is a knit since I’ve already purled twice in a row. So I knit the stitch on the cable/DPN. (And again here the closer stitch to me is on the cable/DPN and I need to knit: K for knit and K for “klose”/close).
- I repeat on the next stitch in good faith now, without looking to my pattern, since I know that I just cabled front before so I cable back now, and then I need to repeat the last type of stitch on my left needle as I just did. So I just knit from left needle to complete that pairing of 2 knits next to each other. And so I repeat steps 2-5 in the same manner until there are the selvedge stitches left.
I hope that helps someone, I know it does for me!
The WIP.
You can see my stitch markers below showing where the 8 row repeats fall.
I found it assuring to mark the beginning of every “row 1” in case a need arose to frog back so I would know where in the pattern in fell if needed.
It DID come in handy once when learning the mantra from above! I’d gotten off track while watching the kids at the park….and then when I watched maybe a show too complex. Who would’ve thought, right? ha-ha!
Week 3 Mystery Stitch Along –
The Finish.
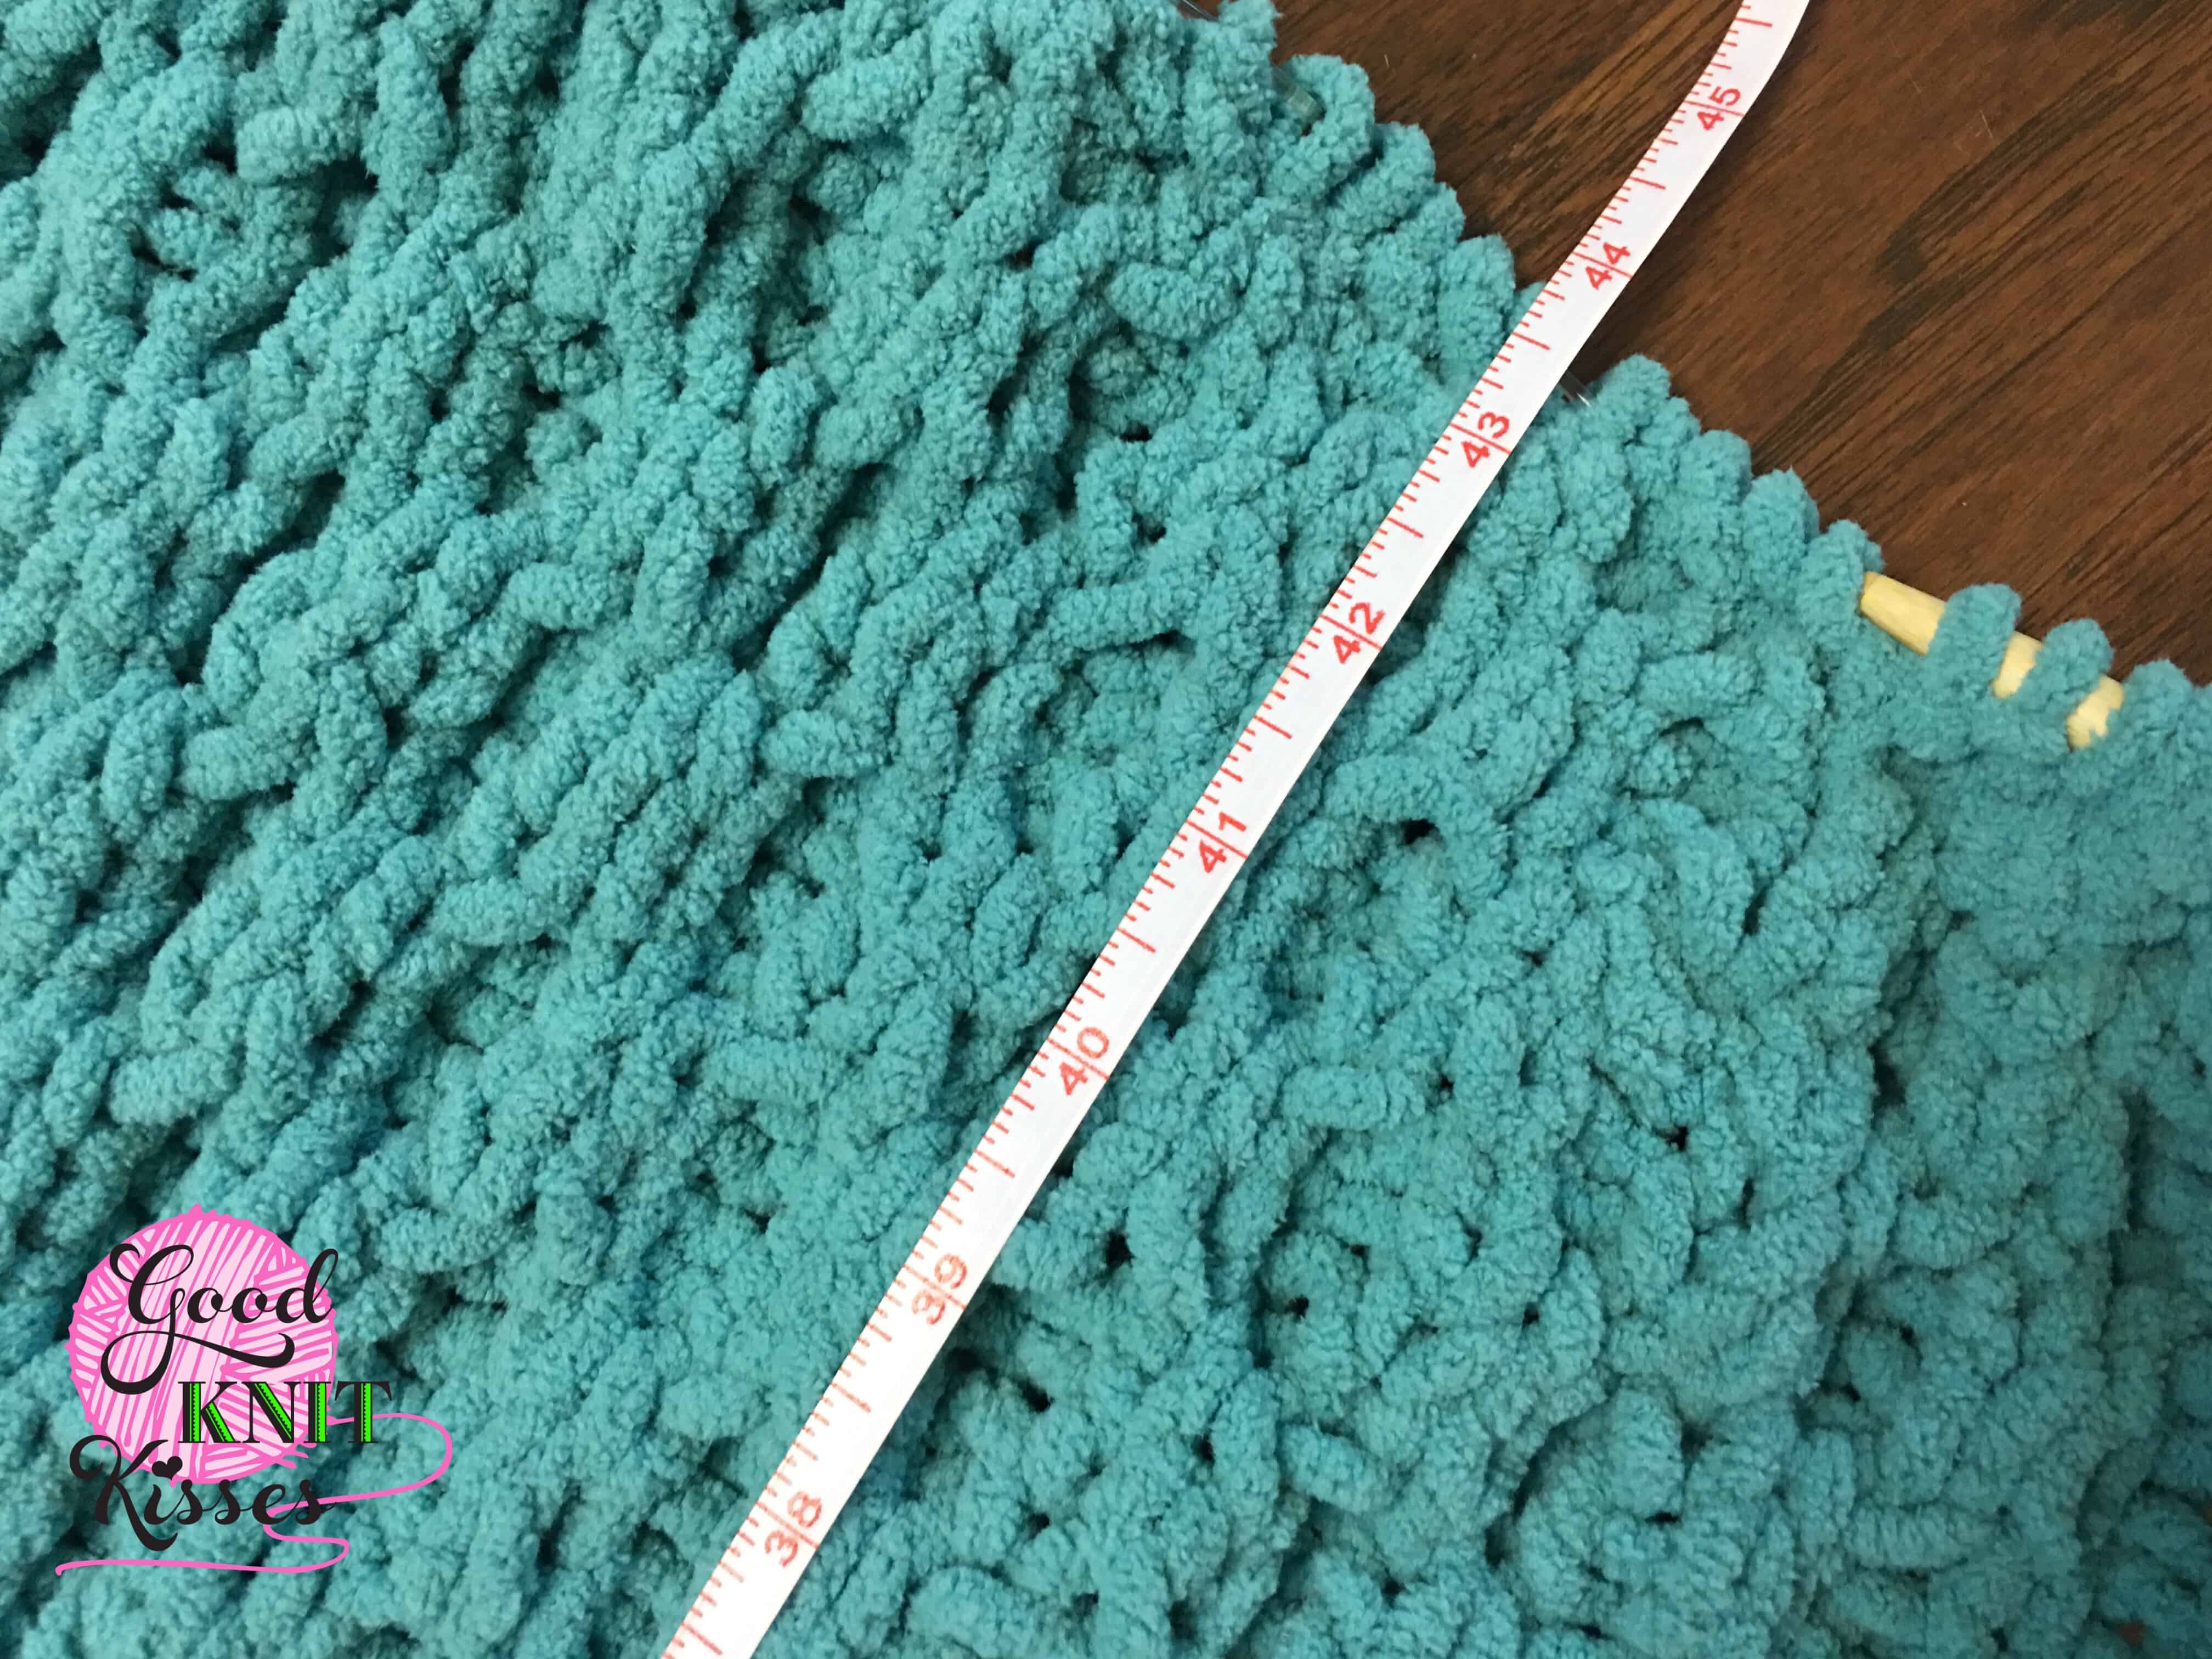
I’m at the measured 44″ and done. Now bind off.
I ended this week on Row 5. In total there were 5 full repeats of the 8 row pattern plus the 5 rows. Do you see the stitch markers indicating a “row 1” start?
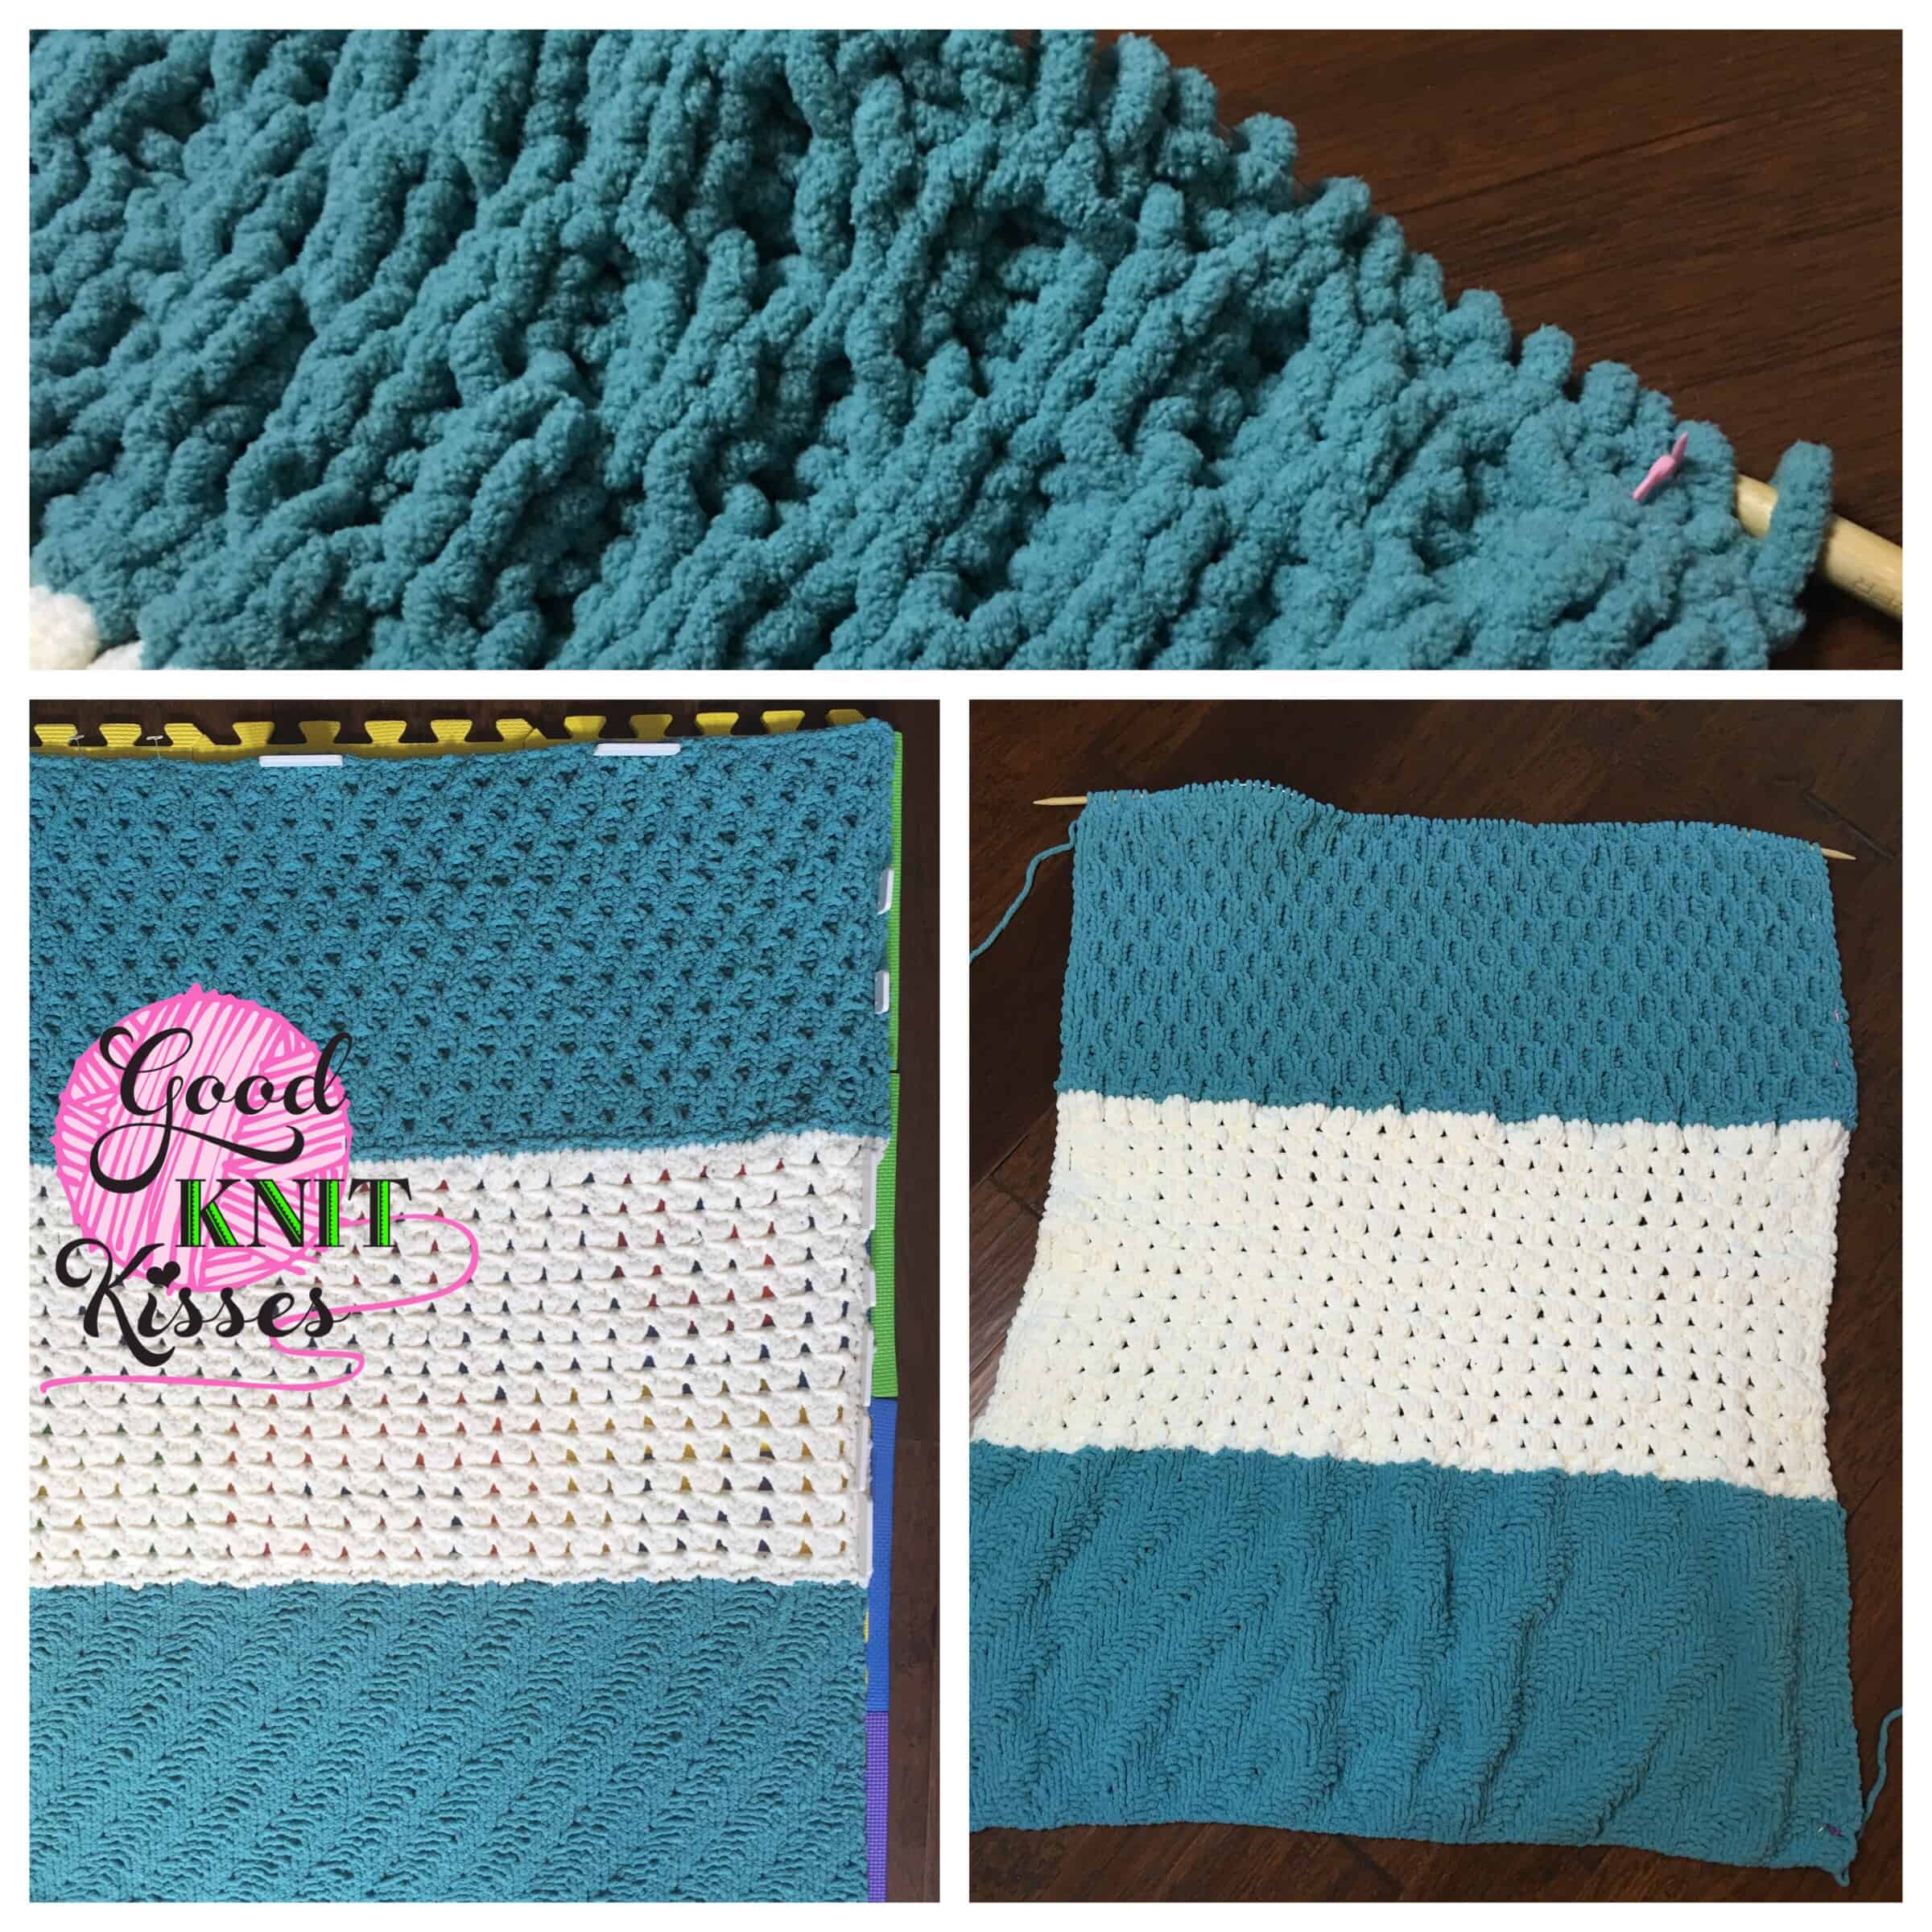
Now after week 3 I know more about how the blanket is behaving with bunching up (see above photos). Last week I mentioned that therefore decided to wet block this blanket since it isn’t laying as well. Due to the thick yarn it did take more than a day to dry. I didn’t steam block for fear of “killing” the acrylic yarn. Next week I’ll show the result of the blocking with Clue #4 coming.
Overall, I enjoyed the honeycomb stitch. It really is a pretty pattern. I’d love to have a scarf or cowl out of it for sure!
I’m headed now to search for more knitters joining me on Facebook, I want to see YOUR work there!
Come on, Week 4, it’s the home stretch!
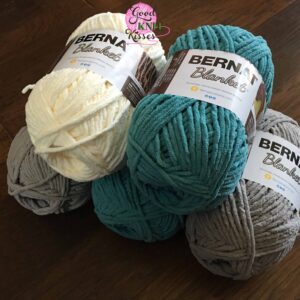
Are you ready to create this fun mystery project with Bernat Blanket Yarn with me? Rather, will YOU follow along? You are therefore invited to the Jo-Ann and Bernat Blanket Stitch Along!
Most importantly, supplies and current weekly patterns and videos, click here: http://www.joann.com/mystery-stitch-along/
Reminder: Post also on Facebook, Instagram, Twitter or Pinterest and use the hashtag #handmadewithjoann as much as you like.
P.S. If you are joining me for the first time, thank you! I am a YouTuber teaching how to loom knit, needle knit and crochet in addition to other fun crafts. Therefore, please join me on the GoodKnit Kisses FB Page for my daily broadcasts and weekly on YouTube. Happy Crafting!

This blog is a Sponsored Post and may contain affiliate links. Using these links helps this website creator, me! LOL