
Inside: Needle or loom knit instructions for the Pebble Pop Pillow featuring the raspberry stitch. Includes tutorial video.
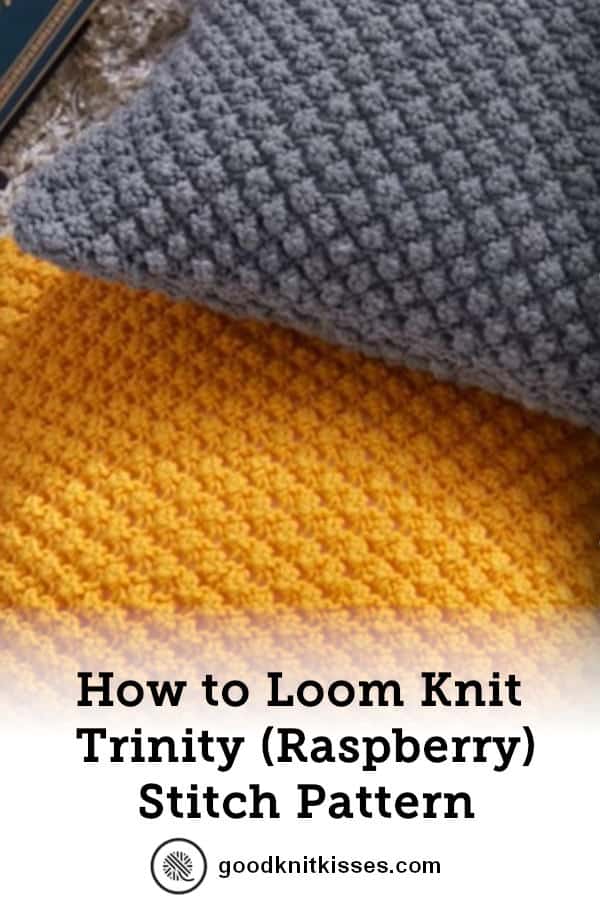
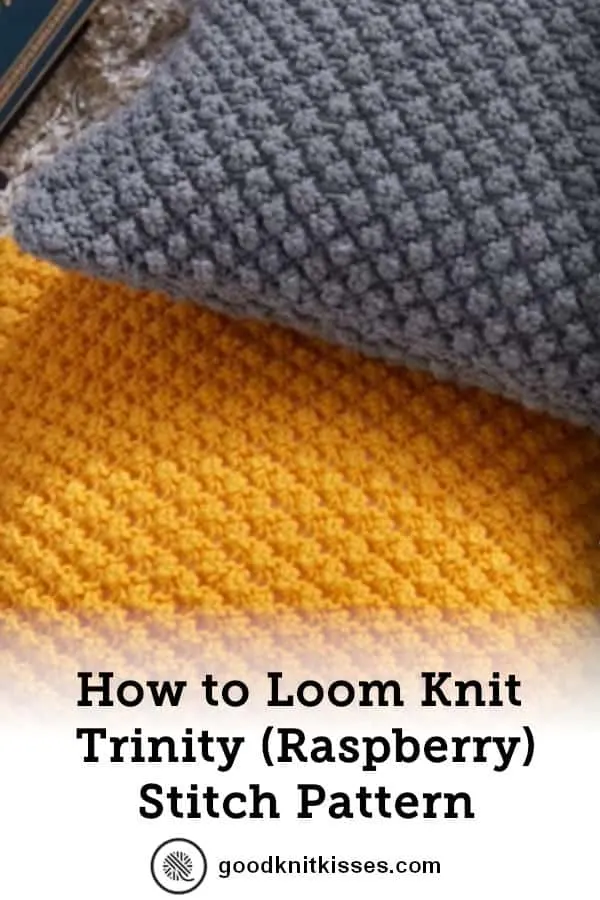
Let’s go berry picking with the Pebble Pop Knit pillow! The raspberry stitch pops in this pillow design from my sponsor, Yarnspirations. The texture is so easy to do, also catches your eye, doesn’t it?
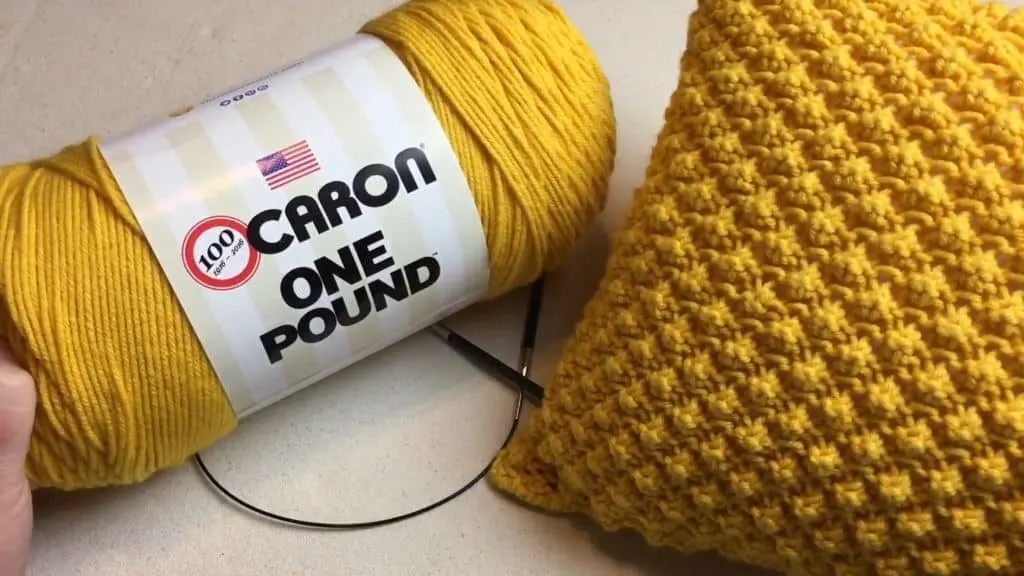
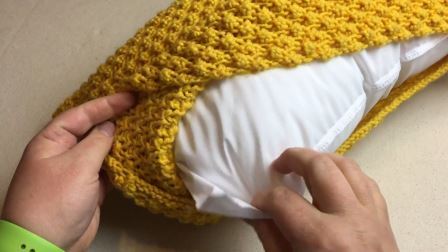
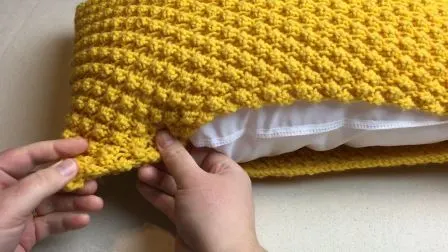
I decided to change it up on this pattern and instead of a square pillow I went for a rectangle shape and I LOVE it for a super big pop of color in Sunflower! The design is quite flexible since it is a flat panel that you make in the width of your pillow. Just double the length and stitch the sides. Add a pillow and seam the rest. It is a breeze to assemble and I’ll take you through it in the video.

I’ve got great news for you loom knitters out there! You can loom knit this pattern. Scroll all the way to the bottom of this post for the supplies, notes and loom knitting tutorial video.
Pin IT!


Pattern
Click here to get the Pebble Pop Knit Pillow pattern from Yarnspirations.
Yarn
1 ball of Caron One Pound color Sunflower

Needles & Supplies
US 9 (5.5mm) needles
Stitch Marker
Scissors
Tape Measure
Blunt Wide Eyed Yarn or Tapestry Needle
20×20 Pillow insert (Mine was 12×24 – http://go.magik.ly/ml/3kd2/)

Skill Level
Intermediate
Size
Approx 20″ [51 cm] square. (or change to fit your pillow insert).
Pebble Pop Knit Pillow –
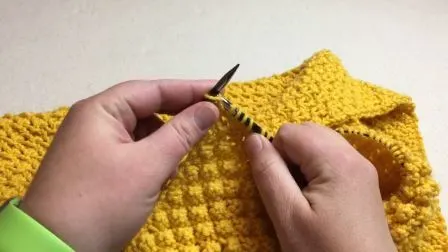
Skills Demonstrated in Tutorial
Cast on – Backwards Loop (Thumb cast on)
Knit stitch
Purl Stitch
K1. P1. K1. in same stitch (Also called KPK or Inc1to3)
P3tog
Bind off (Cast off)
Weave tails
Sew seams on knit pillow
If you need a slower video on the main stitches or techniques, please check out my slower tutorials on GoodKnit Kisses YouTube playlist.

NOTES FOR LOOM KNITTERS
Supplies:
3/8″ Small Gauge (SG) loom with at least 82 pegs
Skills and techniques covered:
U-Knit stitch
True/ Traditional Knit
Purl Stitch
P1. K1. P1. in same stitch (Also called an Inc 1 to 3)
K3tog
Reading a needle pattern to convert to the loom
NOTES
(p1, k1, p1) in next st: A 1 to 3 increase stitch worked over 3 pegs from 1 peg. Move the existing stitch to middle peg so that it is between two empty pegs. 1. Bring working yarn to the front of the peg just moved as though to purl. Insert loom tool above top loop on peg and pull working yarn up to make a loop. Flip loop over onto empty peg toward last stitch worked. Gently tug working yarn toward the back of the loom between the pegs to tighten stitch. 2. Bring working yarn to the front of the same middle peg as though to knit. Insert loom tool below loop on peg and pull working yarn down to make a loop. Make loop a little larger and hold with non-dominant hand. 3. On the same middle peg again, bring working yarn to the front of the peg just moved as though to purl. Insert loom tool above top loop on peg and pull working yarn up to make another loop; work toward the side of the loop on the peg since still holding the knit loop. 4. Hold both loops in same hand pulling upward to release the old loop off the middle peg. Place the knit loop on middle peg and purled peg on empty peg. Gently tug working yarn on both loops to tighten stitches.
K3tog: For this pattern the K3tog is worked differently on Rows 2 and 4 depending on whether it is before or after the increase. It requires the stitches to be moved in a specific order for Row 2 and different unique order for Row 4. Peg numbers 1-4 refer to each 4 stitch repeat of the Raspberry stitch pattern.
- Row 2: Move loop on peg 3 to peg 4. Move loop on peg 2 to empty peg 3. Move loop on peg 1 to empty peg 2. Lastly, move loop on peg 3 to peg 4. Peg 2 will be the “middle” peg for the increase st. Peg 4 will be k3tog after increases.
- Row 4: Bring working yarn behind pegs 1 & 2. UK peg 3. Move st to peg 2 and lift bottom loop over top to work the stitch. Move st to peg 1 and work st. Move loop on peg 4 to peg 3; peg 3 will be the “middle” peg for the increase st.
Raspberry stitch (multiple of 4 +2)
Row 1: P all sts
Row 2: P1 (edge st), *(p1, k1, p1) in next st, k3tog; rep from * to last st, k1 (edge st).
Row 3: Rep Row 1.
Row 4: P1, *k3tog, (p1, k1, p1) in next st; rep from * to last st, p1.
Repeat Rows 1-4 until desired length ending on a Row 2 or 4. Bind off, weave in tails and seam.