
By Kristen Mangus
Do you feel like you have deja vu? Don’t worry, this cup cozy is supposed to look familiar and you have seen it before! Last week I published the needle knit version. I always like to release both a needle knit and loom knit version of a pattern whenever I can. I want my loom knitters to know that we can make needle knit patterns. The Basic Loom Knit Cup cozy is a perfect example of a straightforward pattern conversion.

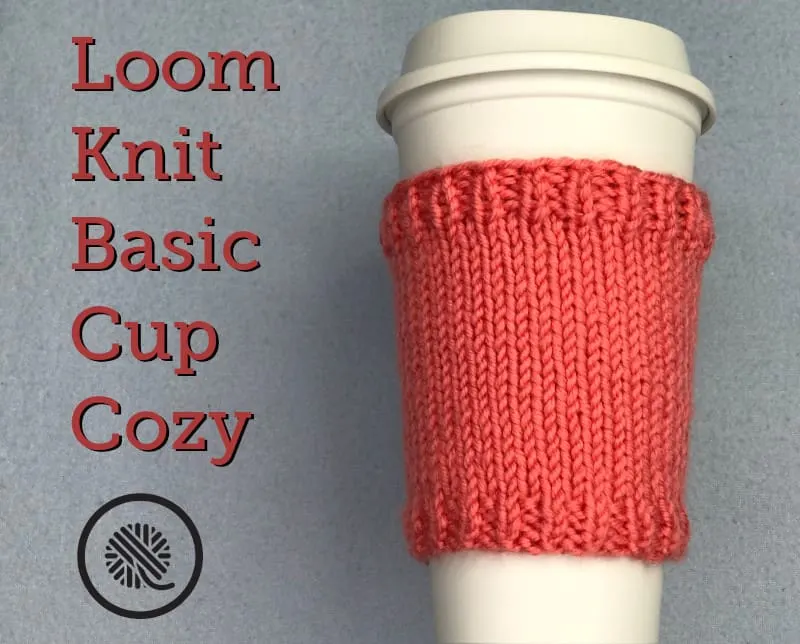
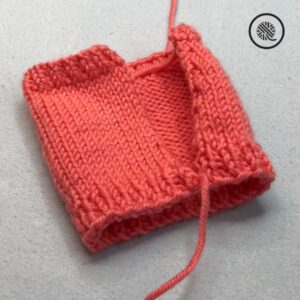
The Basic Loom Knit Cup Cozy is a one-piece cozy that slides onto a cup with ease. That means no fiddling with buttons while you’re trying not to spill your drink in the car. It fits a standard take-out cup for your coffee, tea or hot chocolate.
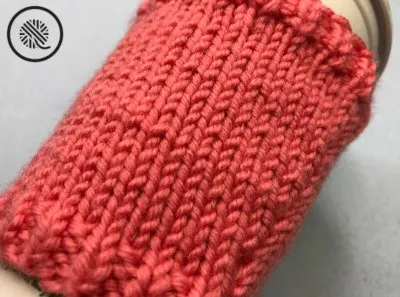
It’s basic in a couple different ways. I wanted a pattern that was simple. Ribbing at the top and bottom for extra stretch allows you to get the right size. A stockinette body in the middle creates a blank canvas for you to add your personal stamp. With a basic knit cup cozy you can make a bold color or add stripes but still have that flat smooth stockinette texture. With the duplicate stitch or some basic embroidery you can add your monogram or a cute picture design to personalize each cup cozy.
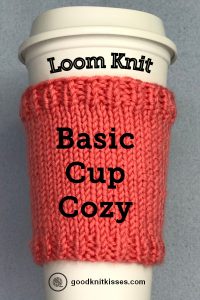
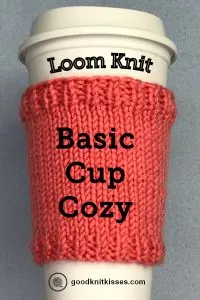
PIN IT!
Basic Loom Knit Cup Cozy Pattern
A downloadable PDF of this pattern is available in my Ravelry store. 
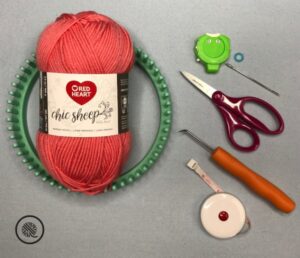
MATERIALS
Materials list may contain affiliate links to products I use.
Red Heart Chic Sheep (100g / 3.5oz, 170 m / 186 yards) any color; sample – Mimosa.
⅜” small gauge (SG) loom with at least 38 pegs. KB Looms 56 peg Baby Knit Loom used in sample.
Tapestry needle
Stitch marker

ABBREVIATIONS
INC = Increase as follows: Knit peg and move stitch 1 peg toward edge of work to create an empty peg. (NOTE: If there are previous stitches in the row you will also need to move those over. Each peg should have 1 stitch only.) Pick up stitch from previous row (purl bump on back of work below the empty peg). Place onto empty peg, wrap and knit over.
K = Knit; use traditional knit stitch or very loose Uwrap knit stitch to obtain gauge
P = Purl
Rep = Repeat
St(s) = Stitch(es)
P = Purl
PM = Place Marker
Rep = Repeat
St(s) = Stitch(es)
GAUGE 4.25 sts x 8 rows in 1” in stockinette stitch
SKILL LEVEL Easy
SIZES One Size
MEASUREMENTS Approx 9.5” [24 cm] wide x 4” [10 cm]. Smallest width is 7.75” [20 cm].
NOTES
This pattern works well with a loose Uwrap knit stitch or a traditional knit stitch (reverse purl) in the main stockinette body of the pattern. If your Uwrap knit stitches are typically tight, and you do not want to work the traditional knit stitch try the following. Uwrap knit your first stitch and continue holding down the stitch just knit with your loom tool. The tool is keeping you from pulling the extra slack out of the previous stitch. Lift loom tool and knit over this stitch; repeat. If your tension is uneven simply block your knit before sewing edges together. The ribbing at the top and bottom of the cozy can be tighter so you can omit this method on those rows.
Gauge is important to this pattern as your cozy will be fitted to a tapered cup. That means the cup is wider at the top than the bottom. The pattern starts the bottom of the cozy at 7.75” [20 cm] and works up to approx 9.5” [24 cm] wide. If you substitute a different yarn you will need to check your gauge and adjust your cast on stitches accordingly. My online Interactive Knitting Calculator can help you do the math.
The cozy is approx 4” [10 cm] tall so that you have a wide space to add special elements like stripes or a duplicate stitch design. If shorter cozy is desired, simply stop at your desired height and work the last 3 rows of the pattern.
INSTRUCTIONS
Longtail cast on 35 sts.
1st to 3rd rows: K1. *P1. K1. Rep from * to end of row.
4th to 6th rows: Knit.
PM under last peg worked.
7th row: K1. INC. Knit to end of row.
8th to 15th rows: Rep 4th to 7th rows 2 more times. 38 sts (3 extra outside of stitch marker placed) when complete.
16th to 25nd rows: Knit. Measures approx 3.5” [9 cm] when taken off the loom on scrap yarn; making sure to stretch lengthwise as the width is stretched to far.
26th to 28th rows: K1. *P1, K1. Rep from * to end of row.
Cast off in pattern leaving a long tail for sewing; approx 12-16” [30-40 cm].
Block to even out tension as needed before sewing.
Sew side edges together.

Pauline
Thursday 13th of February 2020
Hi, I have a question in regards to the increase. I want to make sure I understand it correctly. After the first increase, do I knit two more rows before I do another increase and then knit another two more rows before I increase again instead of doing the three increases consecutively?
Thank you,
Pauline
Joann Gay
Friday 21st of February 2020
Hi, Pauline! That's correct. You go back and knit three more rows before the next increasing. By spacing out the increases the width changes gradually giving you a smoother edge. I hope this helps!
Darlene
Friday 30th of November 2018
Please convert this to a loopy yarn knit pattern
Darlene
Friday 30th of November 2018
Please convert this to a loopy yarn knit pattern