
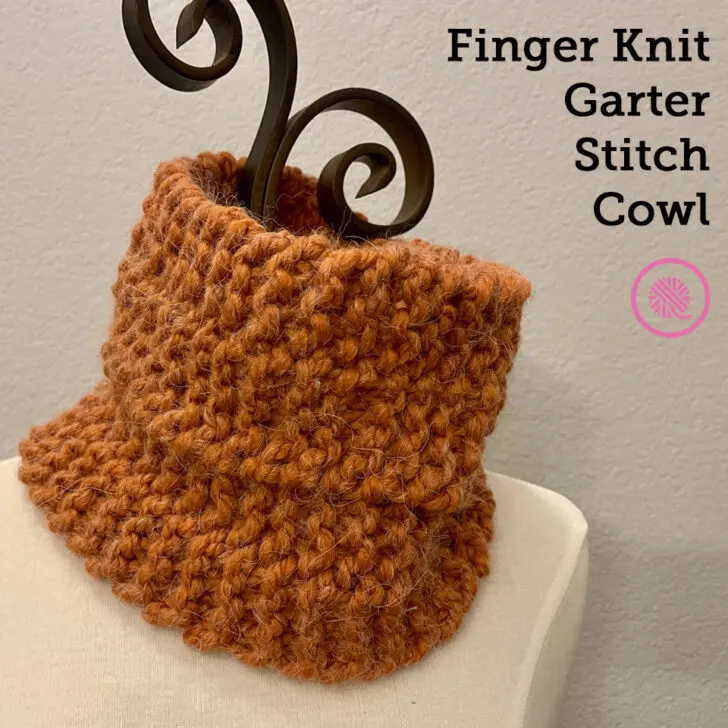
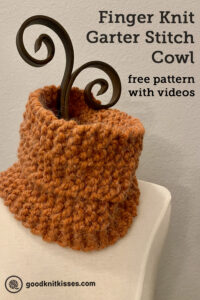
Inside: How to make a finger knit Garter Stitch Cowl. Pattern includes written instructions with tips to adjust size and tutorial videos for both right and left handers.
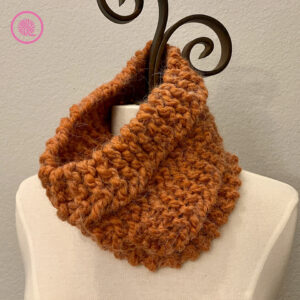
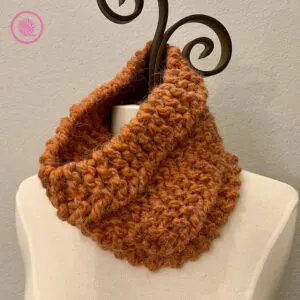
The Finger Knit Garter Stitch Cowl needs only yarn and 4 fingers to make! This easy beginner project uses no knitting needles or hooks. This cozy neck warmer works up quickly and since you join the panels as you go there is only one short seam to finish it up. I’ve also got tips to help you customize both the length and width so you can get a perfect fit.
Pattern includes written instructions for 2 sizes and links to fully captioned tutorial videos for both right and left handed knitters.
Try my other finger knit patterns:
Finger Knit Blanket
Finger Knit Bolero Shrug (Loops yarn)
Finger Knit Chevron Blanket (Loops yarn)
Finger Knit Garter Stitch Cowl
By Kristen Mangus
An ad-free downloadable PDF of this pattern is available for purchase in my GoodKnit Kisses online store or on Etsy at the links below:


MATERIALS
Yarn
Bulky (#6) weight yarn
Buttercream Luxe Craft Alpaca Solid (6oz/170g/130 yds/119m) in color Pumpkin used in sample; 1 ball.
Wide eyed tapestry needle
Scissors
Measuring tape
ABBREVIATIONS
FK = Flat Knit: With working yarn above loop, lift bottom loop up and over working yarn.
P = Purl: With working yarn below loop, pull up a new loop, take old loop off finger and place the new loop on finger. Tug working yarn to tighten.
P2tog = Purl 2 together
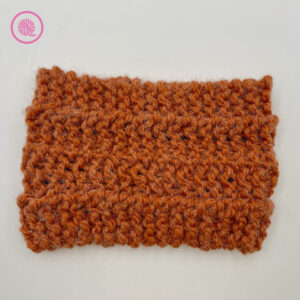
GAUGE 9 sts x 14 rows in 4”x4” (10cm x 10cm) in garter stitch
SKILL LEVEL Easy+
SIZE Short [Long]
MEASUREMENTS Approx 7.25” x 21” [24”] (18.5 x 53 [61] cm)
NOTES
Cast On: I used the cable cast on, but you may use any cast on for this pattern. See video for cast on.Start cast on to end 4th stitch on 4th digit or last finger (aka pinkie or short finger). Row 1 begins there.
Length: Stretch out first panel to measure by tugging on fabric. When panels are added final length will be approx 3” shorter than your measured length. Long cowl instructions are marked with brackets [ ]. You can make this pattern to any length. For example, make a 60” panel for an infinity scarf.
Width: Measure width after 2 panels are connected. Double that number to get final width. If you want a wider cowl, I recommend adding 2 additional panels to keep the seams symmetrical.
Connecting Panels: Place edge purl bump from previous panel onto index finger. With working yarn below both loops, pull up a new loop, take old loops off finger and place the new loop on finger. Tug working yarn to tighten.
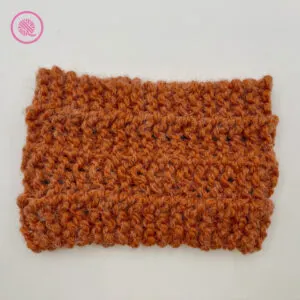
Seams: Every other connected panel makes a seam on one side. The connecting seam flips from Right Side to Wrong Side every other connecting panel and appears as a bump. This project has 4 panels and 3 visible seams. 1 center seam is visible on one side and 2 seams are seen on the other. You can wear the cowl on both the right and wrong sides.
Tips: 1. Keep yarn at fingertips for a smaller gauge and less holes between stitches.
2. To put down knitting for later, use a large stitch holder or scrap yarn to hold stitches until ready to knit again.
INSTRUCTIONS
Cast on 4 stitches ending at pinkie finger.
Foundation Row: P4.
Row 1: FK4.
Row 2: P4.
Repeat rows 1-2 until 24” [27”] or until desired length.
Bind off 4 stitches leaving last loop on finger. Move remaining loop to index finger.
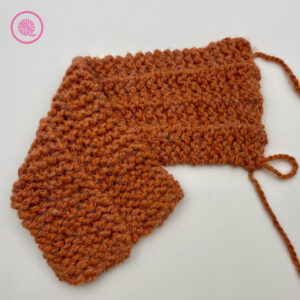
Connect Panel
With Cable cast on, cast on 3 more stitches until all 4 fingers have a loop.
Foundation Row: P4.
Row 1: FK4.
Row 2: P3. Pick up purl bump from previous panel and P2tog.
Repeat Connect Panel Rows 1-2 until all ridges of previous panel are connected.
Row 3: FK4.
Row 4: P3. P2tog with last cast on stitch to connect edge.
Bind off 4 stitches leaving last loop on finger. Move remaining loop to index finger.
Repeat Connect Panel instructions 2 [4] more times or until desired width.

Bind off / Finish
Measure out 3 times the width of project with working yarn to create a long tail for seaming. Cut yarn and pull the loop until cut end comes through. Using a whip stitch, seam the cowl ends together. Weave in tails.
Optional: Sew buttons along one edge for a button up cowl. Make sure buttons are small enough to fit between a stitch but large enough to stay fastened.
PIN IT!

Finger Knit Garter Stitch Tutorial Videos
Select videos are available to GoodKnit Kisses YouTube members only. To get exclusive access to GKK VIP-only content, free PDF patterns, weekly Zoom meetup and more, sign in to YouTube and join as a VIP Member today! Find out more about GKK Membership HERE!
The following tutorial videos teach you how to cast on, purl, connect panels, seam and general troubleshooting.