
Inside: Detailed instructions and videos about how to use a Kiss Loom. Includes putting together the loom, adding end pairs and washers to adjust gauge, cast on, knit stitch, and purl stitch.
Have you heard of Kiss Looms?
They make the only truly adjustable gauge knitting loom and you’re going to love the versatility. There are some adjustable looms on the market that allow you to change the number of pegs you’re using to get multiple sizes from the same loom. The adjustable Kiss looms let you do that, but you can also change the loom gauge!
Joann’s Pro Tips: Hey, everyone. It’s Joann with GoodKnit Kisses. I am an avid Kiss Looms user and have been dedicated to the brand for years. I’ll be including some of my own tips and recommendations throughout this post.
The loom gauge determines how big your stitches are. On a traditional knitting loom we measure the distance from the center of one peg to the center of another peg. We call this the center-to-center, or C2C, measurement. So a 1/2″ gauge loom has pegs that measure 1/2″ from C2C. Most looms have 1 set gauge. If you need to change the gauge, you need a different loom.
All looms except for Kiss Looms, that is! Their adjustable gauge looms allow you to change this measurement.
That means you can make a 3/8″ small gauge (SG) scarf on the same loom you use for a 5/8″ regular (RG) gauge hat.
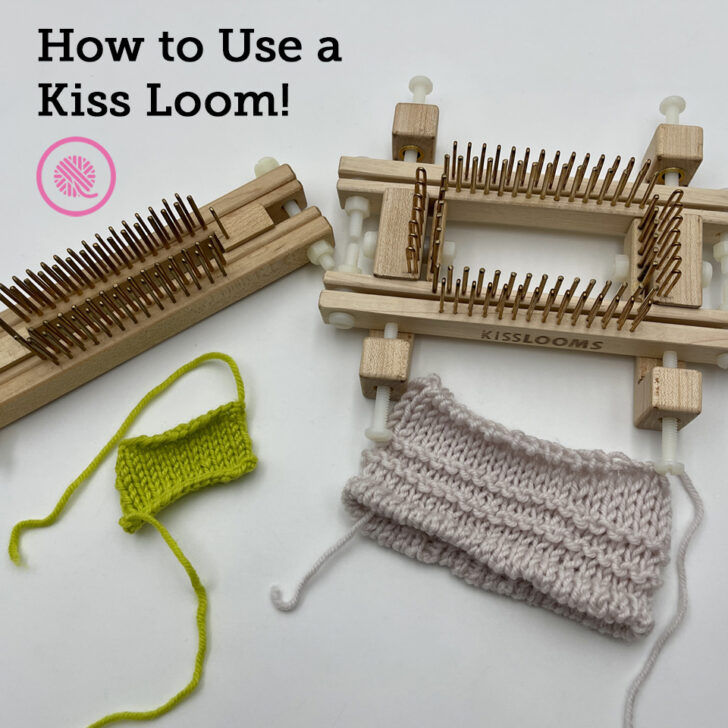
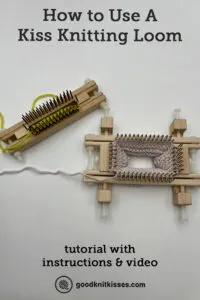
I’m here to teach you how to use a Kiss loom from the basic setup through getting started on a project. First, let’s look at a Kiss Loom.
Go check out all their amazing knitting and weaving looms. They are a wonderful family-owned and operated business!
1. What’s special about a Kiss Loom?
At first glance, you can see some big differences in the Kiss loom than a standard knitting loom.
with 7-peg end pair (on left)
One of the first things you notice is that the loom has nuts and bots so it can be taken apart. This is what give the adjustable loom it’s versatility. Let’s take a closer look at the parts.

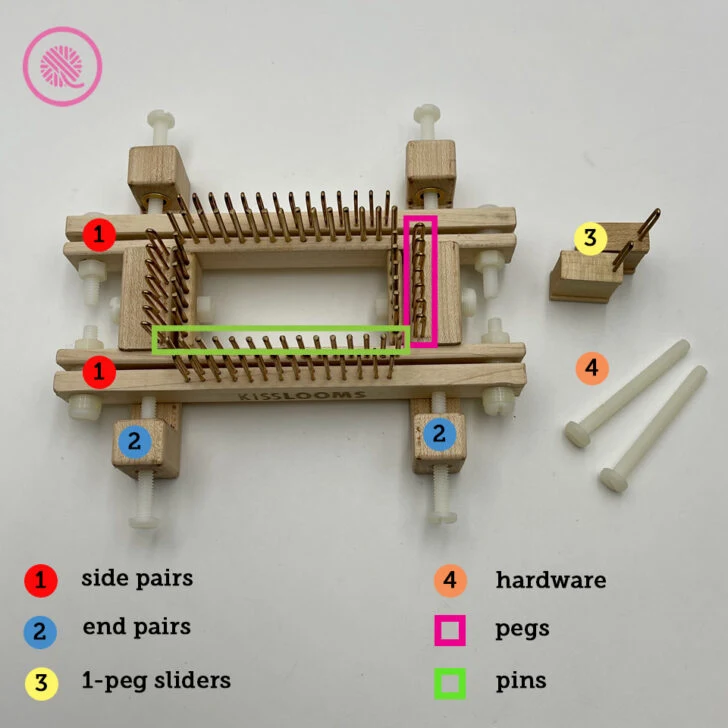
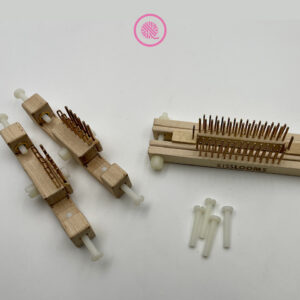
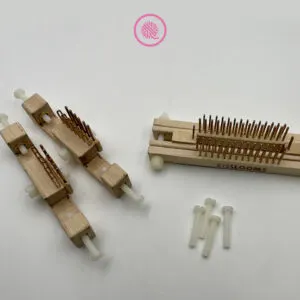
Parts of a Kiss Loom:
1: Side Pairs – Long straight sides
2: End Pairs – Straight ends with clamps to attach to sides
3: 1-Peg Sliders – Short piece with 1 peg that can be used with Side Pairs instead of attaching an End Pair
4: Hardware – This includes bolts and nuts for attaching pieces and washers for adusting gauge
5: Pegs (shown in pink) – The pegs are shaped like an upsidedown U
6: Pins (green) – Straight posts in a row behind the pegs
The first thing you need to know about how to use a Kiss Loom is that you will always use one Side Pair with either an end pair OR a set of 1-peg sliders. You never use the sliders with an end pair. There are many lengths of side pairs and end pairs giving you a large variety in the number pegs on the loom. All the different length side and end pairs are interchangeable.
Next, you might be wondering what the pins are for. The pins are what makes the gauge adjustable. The pegs and pins are on separate boards and you can add nylon washers between the boards to separate them. This distance increases the gauge of the loom and the size of your stitches.
Because of the unique peg-pin system using a Kiss Loom is little different than a traditional knitting loom. But more about that later.
2. How to Set Up a Kiss Loom
All Kiss looms have 4 sides and form a square or rectangle. This does not affect the shape of your knitting. You can get a round hat froma square loom.
A basic adjustable Kiss Loom comes with a side pair with two 1-peg sliders. End pairs are sold separately, but are well worth it.
Joann’s Pro Tip: I highly recommend starting with one side pair and one end pair. Yes, you can use the slider, but the loom is more stable to hold and work with when you use an end pair.
My personal favorite is the 60-peg Small Gauge with 31-peg end pair. This gives me a maximum of 120 pegs to use. I’ve made hats, gloves, scarves, cowls, shawls, and blankets on this one loom using lace weight up to bulky weight yarn. It’s that versatile!
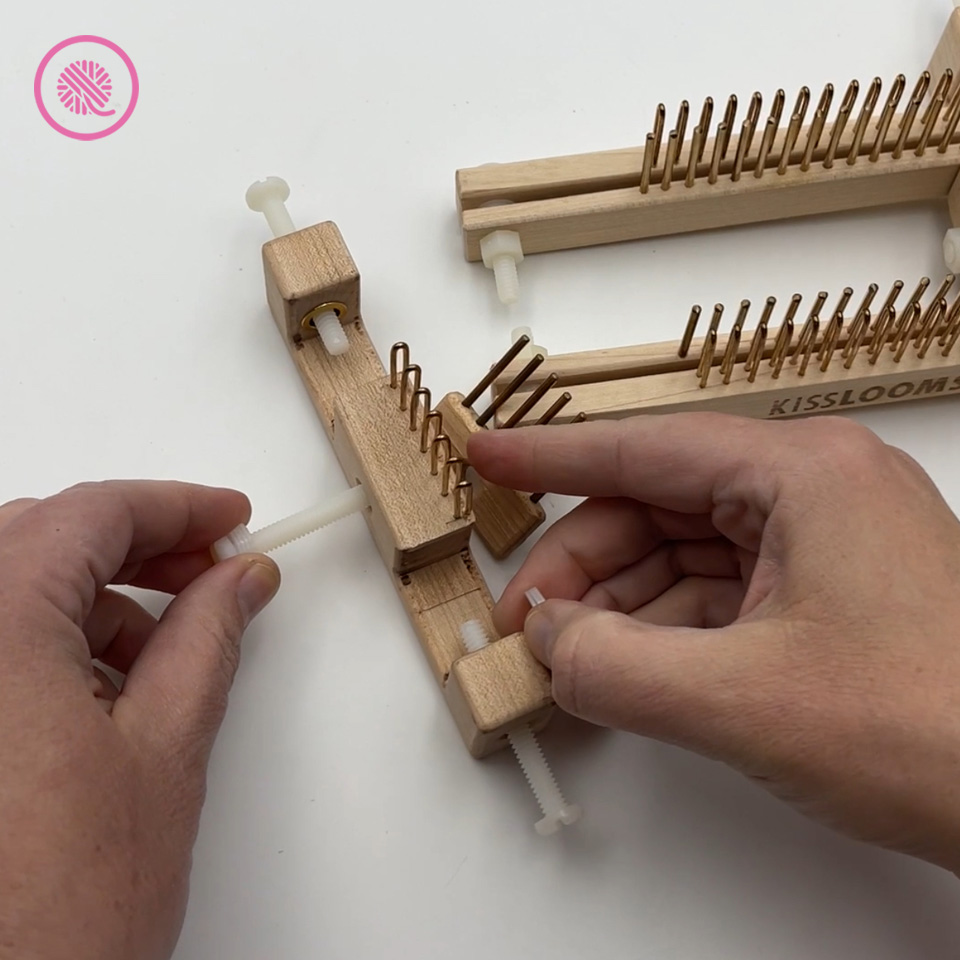
How to Add an End Pair

- Unscrew the bolts at either end holding the sides together.
- Using the shorter bolts, secure both ends of the peg and pin boards of each side. You will need 2 pair of nuts and bolts for each side.
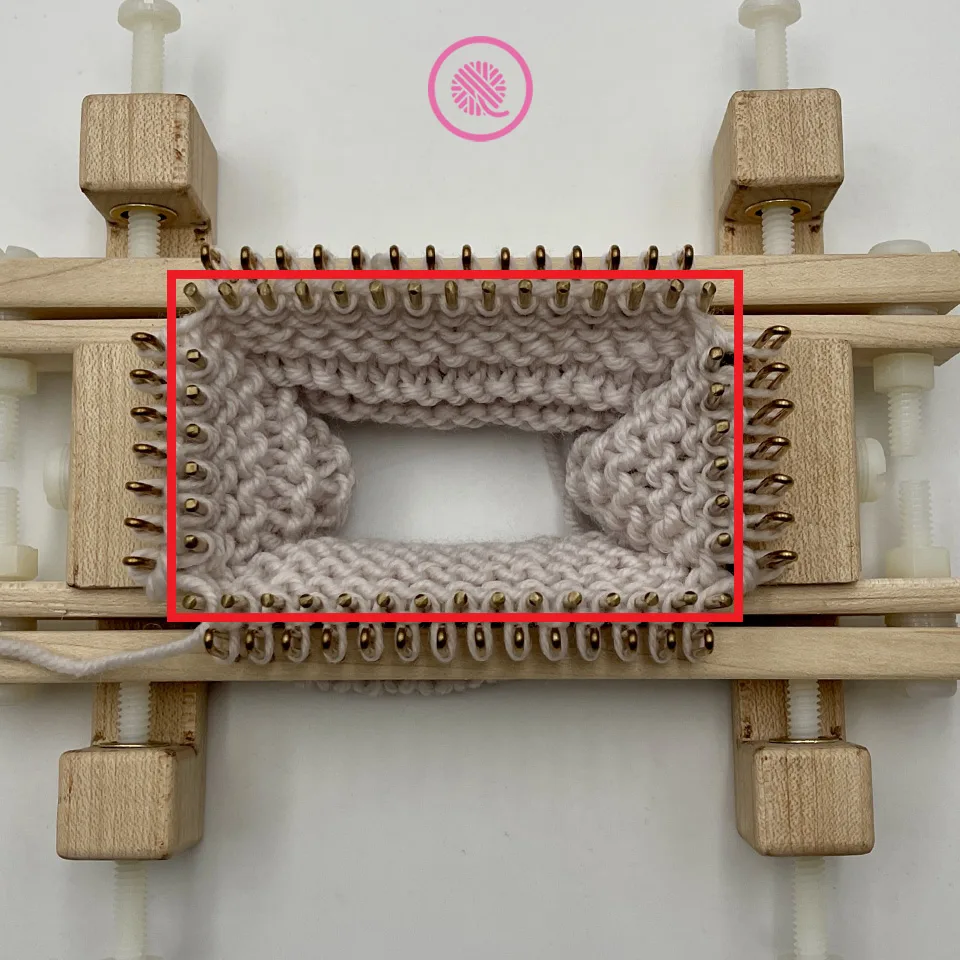
- Place the sides into one of the end pair pieces with the pins on the inside. Align the pins of the end pair with the pins of the sides. (shown in red) Tighten bolts until loom is secure. Do not overtighten!
- Attach the other end pair in the same manner.
You may notice that the pegs do NOT align. This is fine. Since the pins control the gauge it’s important that they are lined up correctly. I know it looks like the corner pegs are too far apart, but, just trust me, your knitting will be consistent with no gaps.
How to Add Washers (Increase Gauge)

- Remove the bolts securing the peg board to the pin board.
- Pull the number of washers you need off the bolt and put the bolt back through the peg board only.
- Add your washers to the bolt.
- Place the pin board on the bolt and secure with the nut.
- Repeat for the remaining sides.
NOTE: Longer side/end pairs will have small posts along the length of the board to put washers on. This ensures a consistent gauge across the whole loom. The short loom I am using does not have these posts.
Joann’s Pro Tips: You can face the bolts either toward the inside or outside of your loom. I prefer to have the nuts on the outside of my loom so the end of the bolt can’t snag my yarn. I also picked up some shorter bolts at the hardware store to make my loom even more compact.
PIN IT!

3. How to Use a Kiss Loom
Now we get to the fun part! Loom knitting!
Before we start working on the loom, repeat after me…
In front of the peg, behind the pin!
When you use a Kiss loom, it’s important to understand this. When you are moving from one peg to the next, your yarn needs to go behind the pin before you start working the next peg. This holds true for casting on, knitting, purling, and binding off.
Below I show you the basics of how to knit, purl and work the double e-wrap cast on on a Kiss loom.


Double E-Wrap Cast on
- Place a slip knot of the first peg leaving the yarn tail in the center of the loom. Keep the working yarn toward the back.
- Move the working yarn behind the next pin and e-wrap the next peg twice.
- Lift the bottom loop over the top loop to cast on.
- Repeat Steps 2 and 3 until all stitches are cast on.
Note: When casting on around a corner move the working yarn behind the corner pin before casting on to the first peg on the next side.
Joann’s Pro Tip: When getting started on a Kiss loom, periodically check your pins to make sure you haven’t caught your yarn on a pin. Look bewteen the pegs at the base of the pins. You should see all shiny metal. If you see yarn in front of a pin, use your loom tool to pick up the loop and lift it behind the pin. Use your finger to stabilize your stitches in front so you don’t drop a stitch off a peg.
How to Knit
Kiss looms use the U wrap knit stitch. Unless a pattern calls specifically to a twisted, or E-wrap, knit stitch, use this method. Because of the pegs and pins you can u-wrap your entire loom before knitting over the stitches. This is a game changer!
- Wrap your working yarn in front of the peg above the existing stitch.
- Next move your working yarn behind the next pin then forward to wrap the front of the next peg.
- Contine wrapping the working yarn around the front of each peg. This forms a zig zag pattern across the row.
- When you wrap the last peg, knit the bottom stitch over the top on the last peg.
- Go back to the beginning or your row and knit over all stitches.
NOTE: Use the thumb and index finger of your other hand to hold the working on the pegs/pins while you’re wrapping.
Joann’s Pro Tip: Unless a pattern requires a twisted knit stitch as part of the design I use this u-wrap method for all my knit stitches. This loom is so consistent that it looks machine knit even when my tension is off.
There is a learning curve to wrapping a Kiss loom. But if you stick with it, you will develop muscle memory and be able to wrap your loom without looking at it. It’s true!


How to Purl
Purling is done the same way you do on a traditional loom except after each stitch you need to wrap your working yarn behind the pin before moving on the next peg.
- Place your working yarn below the stitch on the peg.
- Using your loom tool, pick up a loop of working yarn and pull it up through the existing stitch.
- Grab the loop with your fingers and pull upwards to remove the old stitch from the peg.
- Place this new loop on the peg making sure not to twist it.
- Tug working yarn gently to tighten then move working yarn behind the pin and to the front of the next peg.
- Repeat Steps 1-5 until all stitches are purled.
Joann’s Pro Tip: When placing the new loop on the peg, be careful not to catch it on the pins. The tendency when purling is open up the loop wide to fit it over the top of the peg. Howver on a Kiss loom that can mean catch it on of the pins. I either use my loom hook to place the loop or use my fingers to keep it narrow enough to fit between the pins.
PIN IT!
How to Use a Kiss Loom Tutorial Videos
Select videos are available to GoodKnit Kisses YouTube members only. To get exclusive access to GKK VIP-only content, free PDF patterns, weekly Zoom meetup and more, sign in to YouTube and join as a VIP Member today! Find out more about GKK Membership HERE!
Deb Peters
Friday 21st of March 2025
Thank you for these instructions and tips! I love my new Kiss loom and now you've taken some of the mystery out of using it.