
Inside: Knit Mitered Square pattern with tutorial video.
Which way does it go?
Mitered squares looks unique because the row changes direction in the middle. This eye-catching design is most noticeable when you use stripes, but a solid mitered square has it’s place in the knitter’s toolbox too.
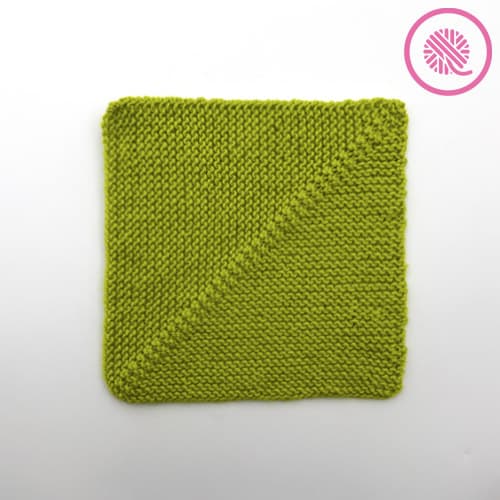
This classic knit mitered square pattern creates a perfect square without having to calculate stitch or row gauge. Why knit a swatch if you don’t have to?
You can use the same pattern for any yarn or needle size and always create a perfect square.
The best part of the knit mitered square pattern? It’s easy enough for a beginner knitter to master.
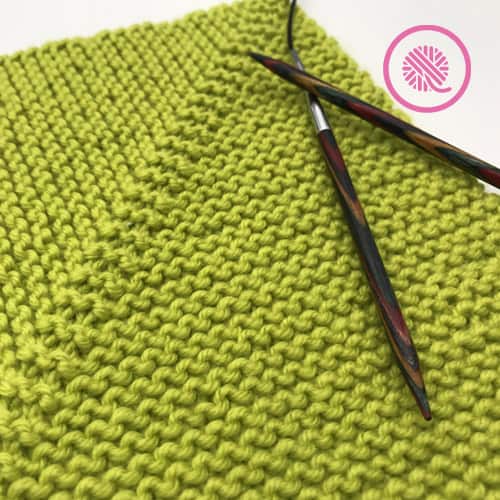
Knit a mitered square by casting on two sides of the square then working a series of decreases in the middle of the row. Those central decreases cause the stitches on either to lean toward the center. This creates the visual turn each row takes from horizontal to vertical.
Mitered squares make great washcloths or baby lovies on their own. I love combining them into a larger project. Dozens of small squares make a beautiful colorblock blanket or poncho.
After you knit your first square you’re going to have hard time stopping!
Traditional Knit Mitered Square Pattern
By Kristen Mangus
An ad-free downloadable PDF of this pattern is available for purchase in my GoodKnit Kisses online store, Etsy or Ravelry at the links below:



MATERIALS
Links below are affiliate links to products I used to create this pattern/video. Clicking the links costs you nothing, but helps support GoodKnit Kisses.
Yarn
Medium weight (#4) Red Heart Chic Sheep (100g / 3.5oz, 170 m / 186 yards)
Color Green Tea used in sample.
Needles
US 8 – 5mm
Knitters Pride Dreamz Interchangeable used in sample.
Stitch marker(s)
Tapestry needle
ABBREVIATIONS
Approx. = Approximately
K = Knit
K2tog = Knit 2 together
Pm = Place marker
Rem = Remain(ing)
Rep = Repeat
RS = Right side
Ssk = Slip, slip, knit
St(s) = Stitch(es)
WS = Wrong side
New to knitting? I’ve got a How to Knit Beginner Video Series to teach you ALL the basics.
GAUGE
19 sts x 40 rows in 4” in garter stitch
SKILL LEVEL Easy
MEASUREMENTS
8” x 8” (20.3 x 20.3 cm)
NOTES
This pattern is adjustable to any size square using any weight yarn. Be sure to cast on an even number.
INSTRUCTIONS
Cast on 76 sts.
Row 1 (WS): K 38, pm, k38.
Row 2: (RS): K to 2 sts before marker, k2tog, slip marker, ssk, k to end of row.
Row 3: K all.
Rep Rows 2-3 until 4 sts rem.
Row 4: K2tog, ssk.
Break yarn and pull tail through last 2 sts. Weave in ends.
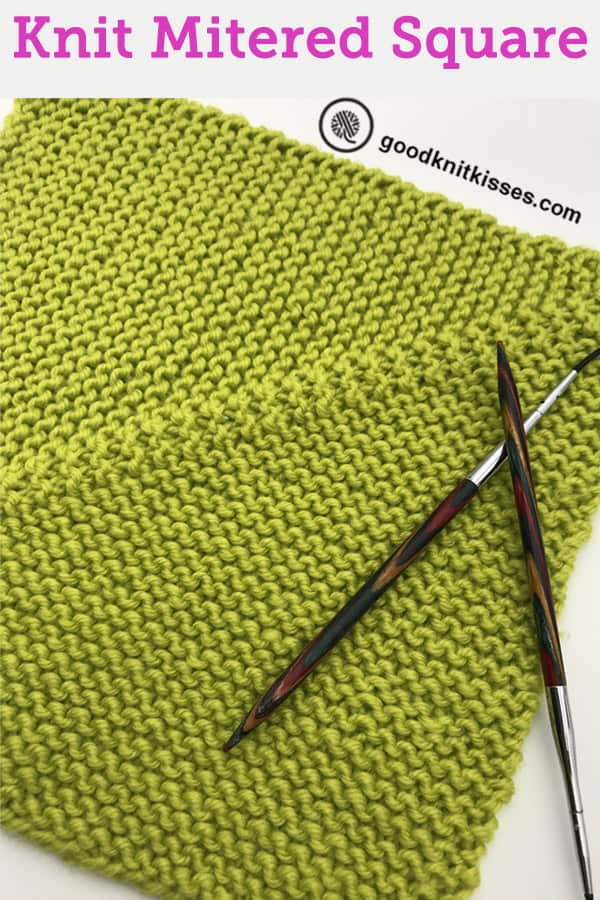
Knit Mitered Square Tutorial Video
Select videos are available to GoodKnit Kisses YouTube members only. To get exclusive access to GKK VIP-only content, free PDF patterns, weekly Zoom meetup and more, sign in to YouTube and join as a VIP Member today! Find out more about GKK Membership HERE!


Thank you always wanted to learn knitting
Thank you. I am lefthanded! Your video is so helpful.
I must be confused. How are you keeping your sides an even count? The k2tog decreases by one and the ssk decreases by two. Am I missing something?
Hi, Andrea.
This is what makes a mitered square unique. Typically when knitting a flat panel you work from the bottom to the top and the sides stay even. But with a mitered square, you’re actually casting on 2 sides at the same time and working to the opposite corner. Each row of the mitered square bends in the center to create a right angle. You are, in fact, decreasing 2 stitches in the center of each row to create that bend.
I hope this helps!
It’s just awesome. Very well explained. Thankyou
Not often to see left hand knitting instruction, thank you
I’m not very tech savvy, & I always have trouble when it comes time to print up a a pattern, is there a easy way. Thank you
Would like to knit Ingles squares
I just discovered this “domino knitting” or mitered square. I would love to learn more.
Would be interested in being a member. As I am an avid knitter
Thank you looking forward to receiving darts.
@June Walker, sorry should be data.
Please sign me up, thank you so much!
Would like to receive newsletter!
Thanks
How to join squares please and thanks?
Loved your video. Helps to see it.
Thank you for signing me up.
Please sign me up, thank you so much!
Your tutorial pace is excellent and the content is very clear.
Loved your tutorial on the mitered square!
Could you please sign me up to your news letter. Many thanks
i do a 55 stiches square so i have 27 on each side
Nunca había visto esta técnica, me ha encantado!
I’m a left handed knitter trying to make this blanket. I am having trouble adding center squares. I am making the squares with a black border as I want the stain glass look. Do you have any suggestions for this technique besides seaming them after they are knit. Currently I am trying to add them to the blanket as I go. Thank you in advance for any advice you can offer.
It’s interesting and totally different than 10 stitch blanket.
I have to knit a blanket for my grand daughter, I think I will try it in four colors.
I was wondering how you go about working out how to scale? I’m going between 4ply and 6ply.
Is it possible to knit this so that the size would be 7×9 ? I knit this size for an organization Warm Up America. Thank you ?
@Susan, reverse the process by casting on four stitches and placing the marker in the center. Continue to increase every other row in the stitch either side of the marker. Increase to desired size and bind off along the sides.
Need to finish a few other projects first but can’t wait to try! Thanks for the written instructions.
Will attempt after I finish all my other projects!
thinking of making a scarf
how do you pick up and start a new square?
any patterns out there?
Hi, Roberta.
You can make the squares individually and seam them using this video How to Seam Mitered Squares.
You could also pick up stitches along one edge of the square then cast on the rest of the stitches for the mitered square. For example if you cast on 40 stitches for your initial square you would pick up 20 stitches along the top edge then cast on another 20 stitches before working your mitered square according to the pattern.
I hope this helps!
Thank you so much for all your short tutorials. I can always find what help I need on your site. I have one suggestion for your mitered square video. When you are binding off & have done the k2tog for the last 2, & you cut your yarn & pull through that is not shown very well on camera. For some reason I always struggle with binding off. I watched it about 4 times before I took the plunge, cut & pulled through.
Anyway, your videos are awesome & so helpful to not so advanced knitters.
Your mitered square video helped me so much! I’ve struggled with them. PLUS, I’ve never been able to master long tail cast on, and thanks to your clear demonstration I think I will! You’re terrific!
If a wanted to not a garter knitt square to mix in with there how many would I need to cast on and how many rows would it need to be
Thank you so much for your tutorial and I like that you do not assume that your students already know something. Some of us need lot of repetition before the light comes on.
I love this mitered square! It’s so easy I can do it on the fly and I like how it looks when done. A+