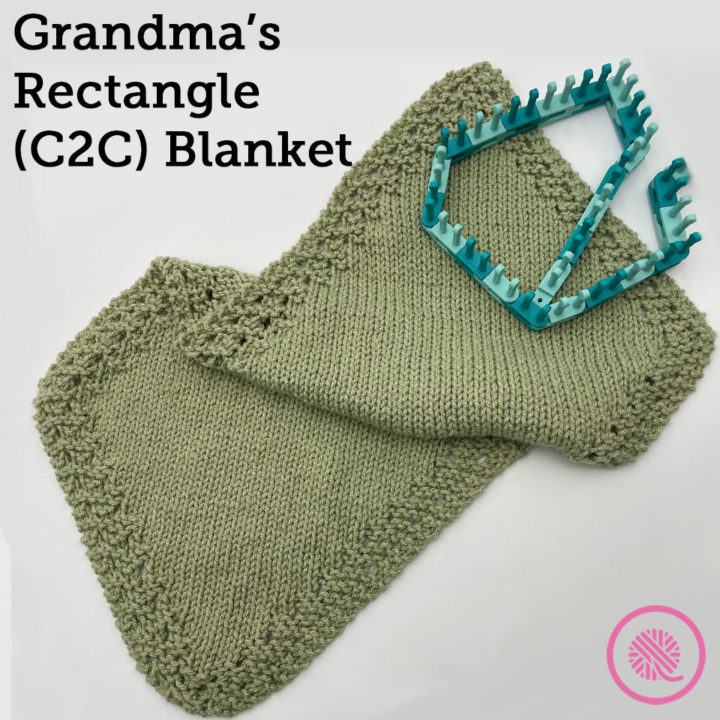

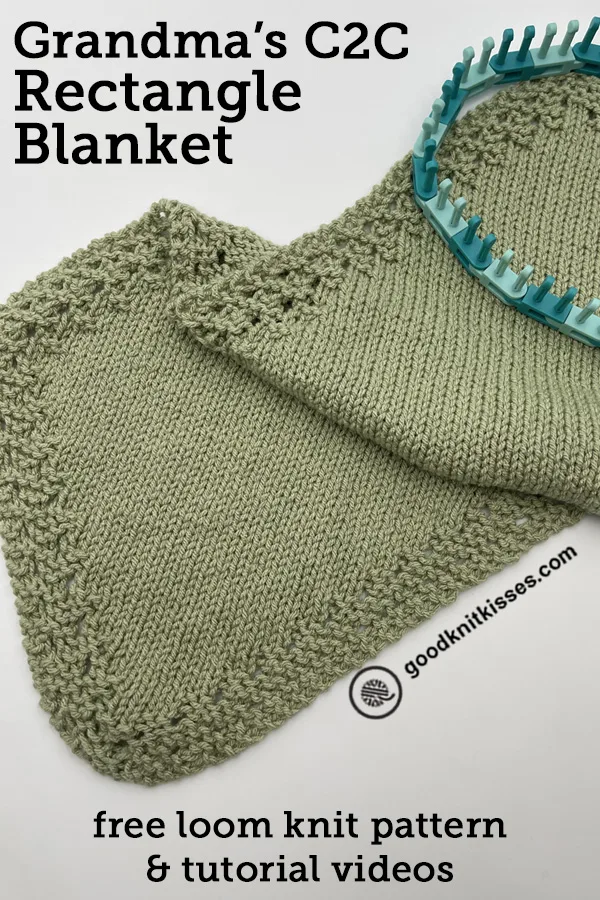
Inside: Free pattern for loom knit Grandma’s Rectangle Blanket that includes written instructions for 2 sizes (crib blanket and twin size) plus details to teach you how to customize the size and fully-captioned tutorial videos to show you each step.
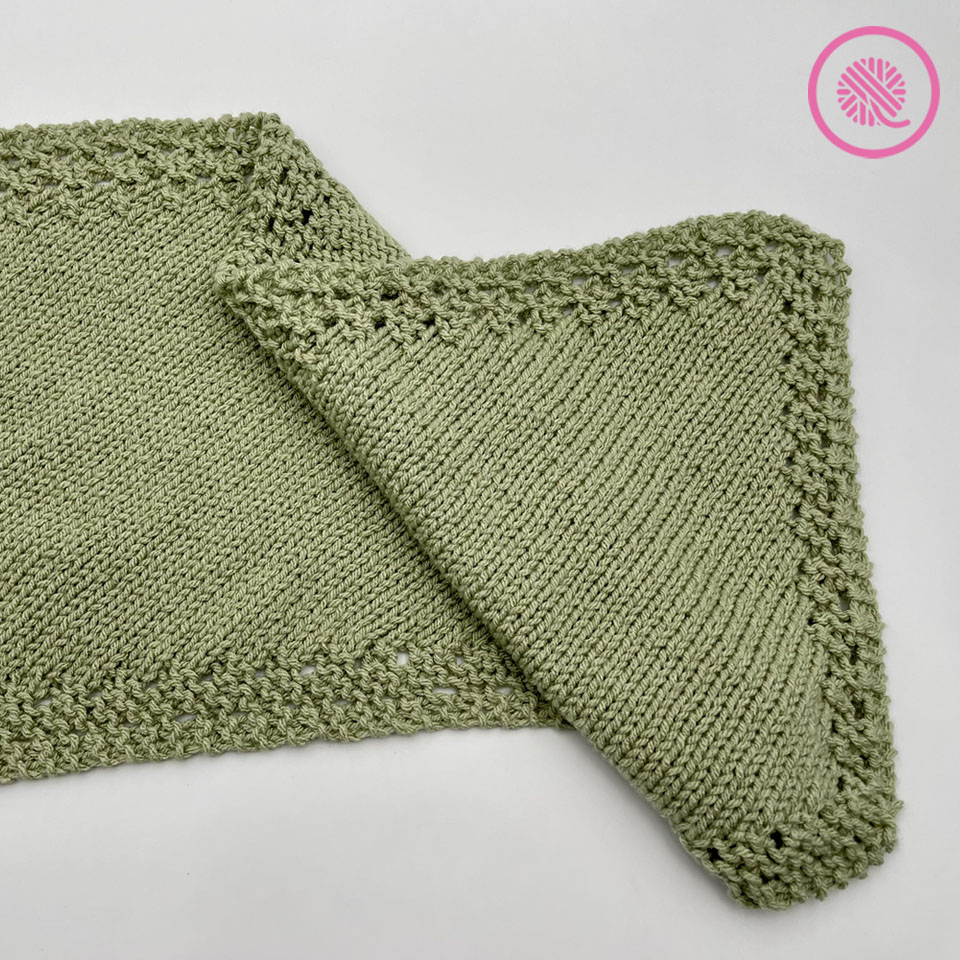
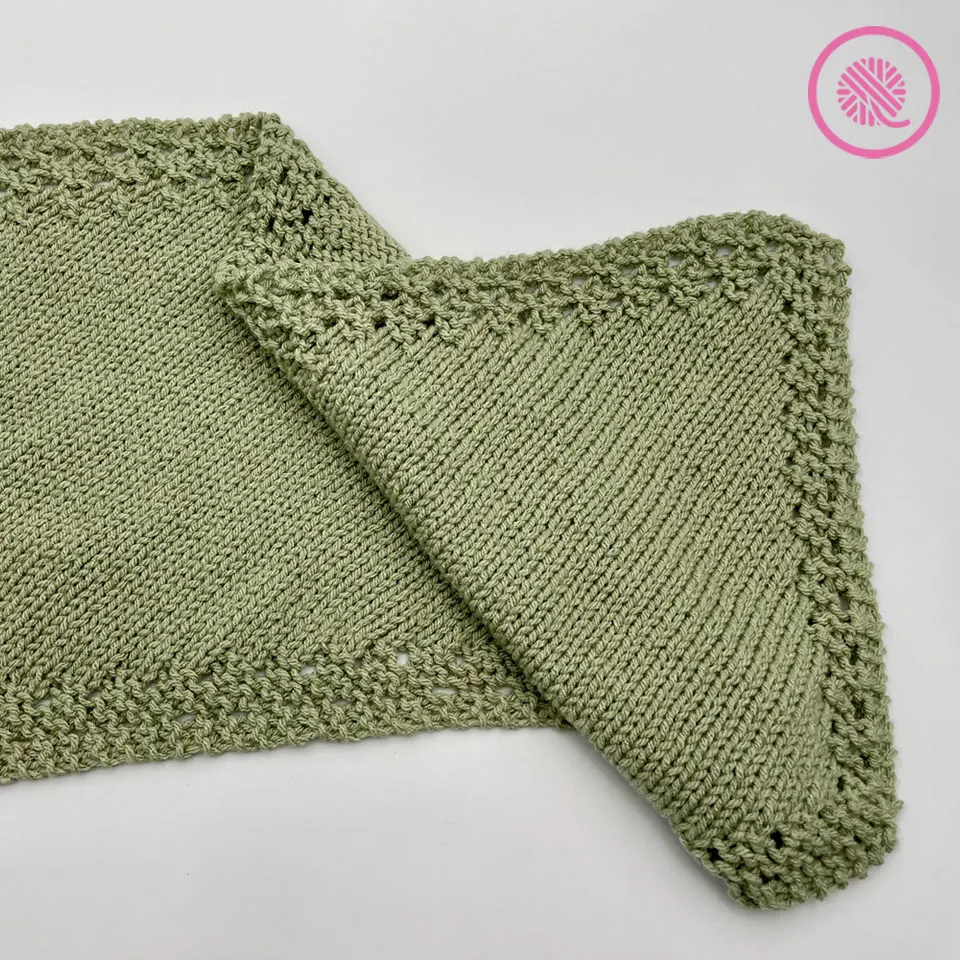
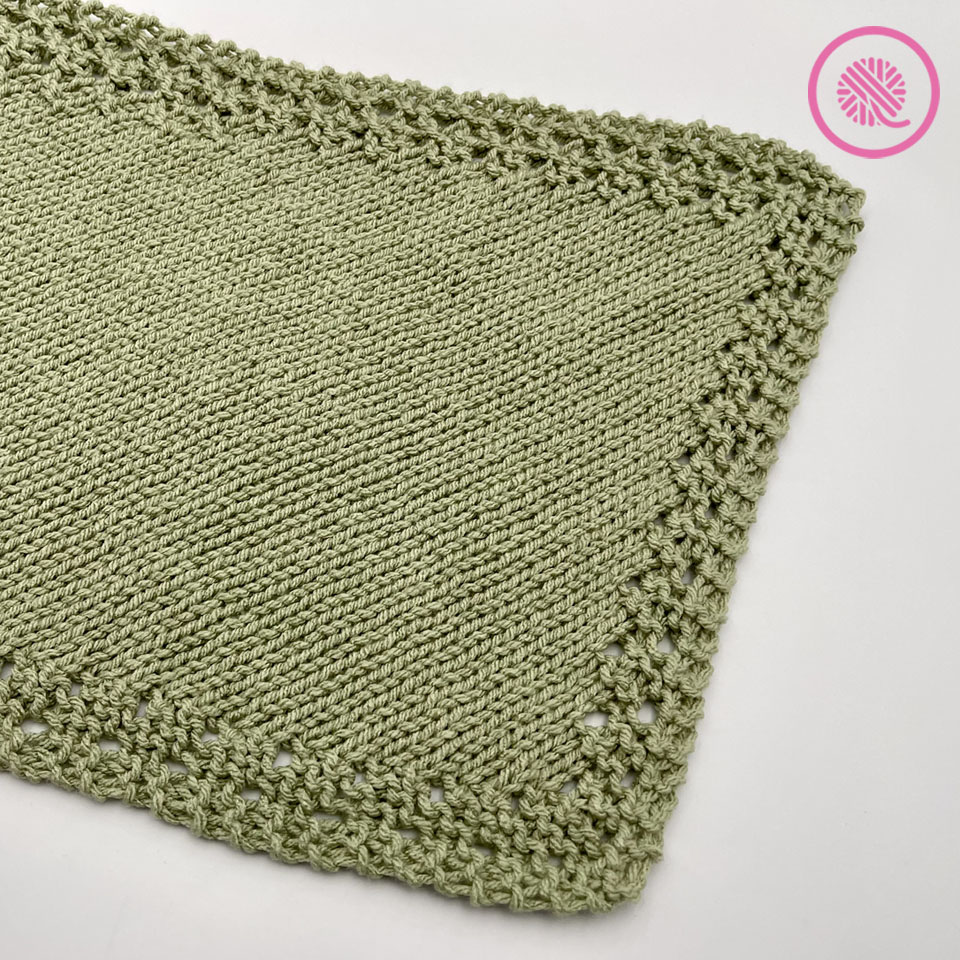
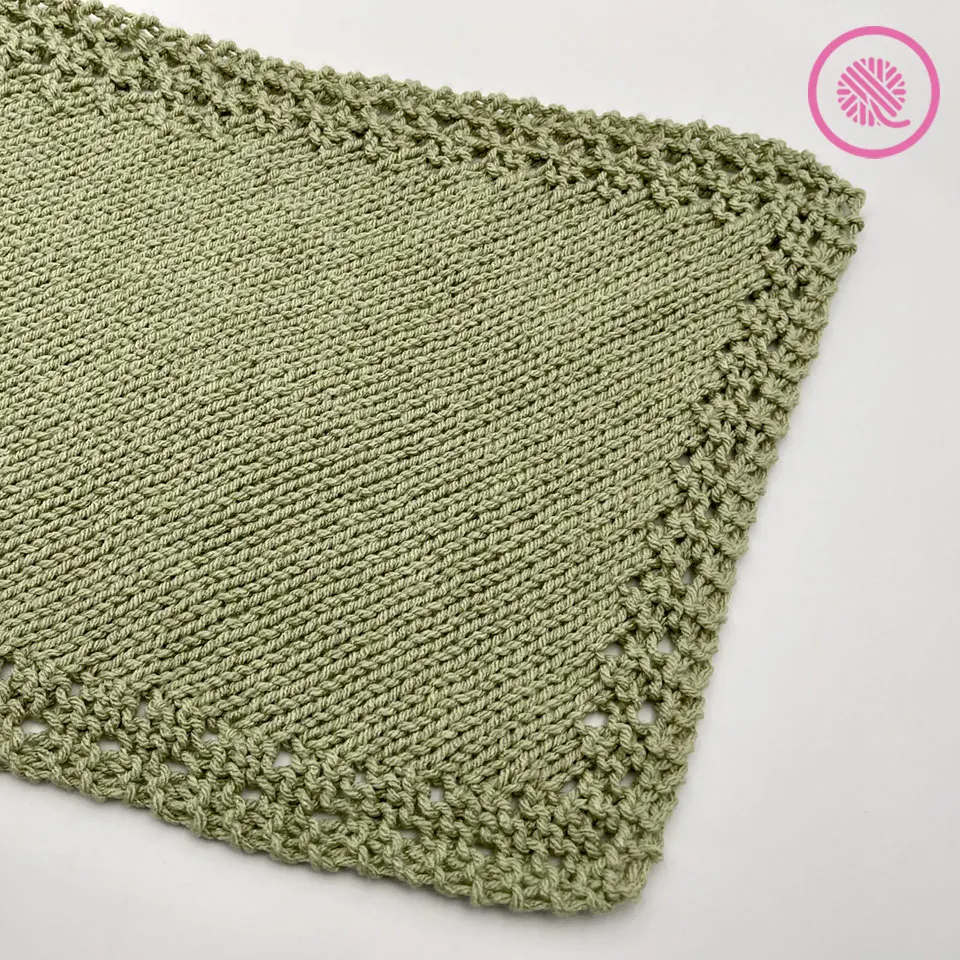
Grandma’s Rectangle Blanket lets you loom knit a simple corner to corner blanket as a rectangle. The double eyelet edge creates a beautiful border for the smooth stockinette center of this easy blanket pattern. I included 2 common sizes, crib and twin size, but you can easily follow this pattern to make ANY size rectangle.
This beautiful pattern is a spinoff of a spinoff that started on a Zoom call with my YouTube VIPs. One Friday when we were knitting and chatting, someone asked about adding a double row of eyelets to a traditional Grandma’s Favorite Dishcloth pattern.
Well, since I love a challenge, I had to figure it out. A beautiful shawl pattern and the lacy-edged square blanket were the result.
Then I was challenged to take the square and turn it into a rectangle… but keep it a corner to corner project!
That was a bit trickier, but I eventually found a way. The best part is that you can make ANY size rectangle with this pattern. From a narrows scarf to a full sized blanket you only need this one pattern. It’s easy to customize the size and you don’t even need to do any math.
So, how do I loom knit Grandma’s Rectangle Blanket?
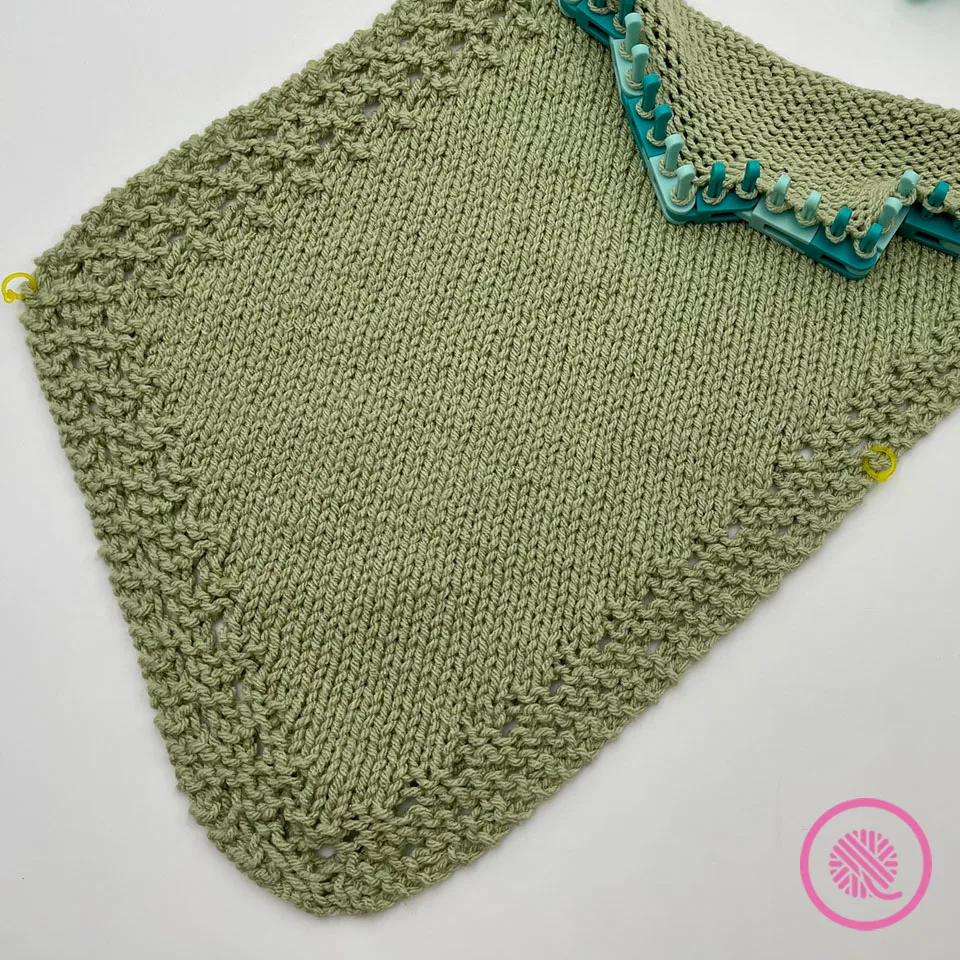
Grandma’s Rectangle Blanket is worked corner to corner (C2C) in sections. (See schematic below.)
Section 1 begins at the cast on corner and is worked as a triangle by increasing on both sides. Loom knit this section until you reach the desired width of the short edge of your blanket.
Then you work Section 2, the middle of the blanket, on the bias. When you knit on the bias you increase on one edge while decreasing on the opposite edge. Your rows stay the same length, but they shift over as you knit. Work this section until your blanket is the desired length on the long edge.
Finally, Section 3 is the decrease section that works back down to your bind off corner. You work decreases on both edges of your knitting until you reach 4 stitches. Then simply bind off at the corner.
If you work only Sections 1 and 3 you will end with a square! These two sections are identical to Grandma’s Eyelet Blanket. It’s the middle sections that turns it into a rectangle.

Pattern contains written instructions for 2 sizes and links to fully-captioned tutorial videos for both right and left handed loom knitters.
Loom Knit Grandma’s Rectangle Blanket
By Kristen Mangus
A downloadable PDF of this pattern is available in my Etsy store or from Ravelry at the links below:


MATERIALS
(Materials list may contain affiliate links to products I used to make this project. Using these links cost you nothing, but helps support GKK.)
Yarn
Bulky (#5) weight yarn
Yarn Bee Soft & Sleek Chunky (211 yds/5 oz., 193 m/142 g) in color Sage used in sample.
Loom
⅝” large gauge (LG) loom with 210 (306) pegs.
KB Flexee Loom Chunky used in sample. 3 (5) full sets needed for size.
Tapestry needle for weaving in ends
ABBREVIATIONS
K = Uwrap knit
K2tog = Knit 2 stitches together
Kfb = Knit into the front and back of the stitch
P = Purl
P2tog = Purl 2 stitches together
Pat = Pattern
Rep = Repeat
St(s) = Stitch(es)
YO = Yarnover
GAUGE
15.5 sts x 25 rows in 4” (10 cm) in stockinette stitch
SKILL LEVEL Easy+
MEASUREMENT
Crib: 45” x 60” (114 x 152 cm)
Twin: 66” x 90” (168 x 227 cm)
NOTES
Use this pattern to make a rectangle blanket with any weight yarn and an appropriate needle size. All measurements and stitch counts for the listed sizes are specific to the yarn listed above.
Grandma’s Rectangle Blanket is worked corner to corner (C2C) in sections. Section 1 begins at the cast on corner and is worked as a triangle by increasing on both sides. Then you work Section 2, the middle of the blanket, on the bias. When you knit on the bias you increase on one edge while decreasing on the opposite edge. Your rows stay the same length, but they shift over as you knit. Finally, Section 3 is the decrease section that works back down to your bind off corner. (Red arrows show direction you are working.)
To make a custom size:
- Work Section 1 until your blanket is the width you want for the short edge. (Measure from the cast on corner to your live stitches on one edge.)
- Work Section 2 until your blanket is the length you want for the long edge. (Measure from the cast on corner to your live stitches along the long edge.)
- Work Section 3 as written.
INSTRUCTIONS
Cast on 4 sts.
Row 1: Purl 4. [4 sts]
Row 2: K1, Kfb, k1, kfb. [6 sts]
Row 3: Purl all.
Row 4: K1, Kfb, k1, kfb, k2. [8 sts]
Row 5: Purl all.
Row 6: K2, yo, k2, yo, knit to end of row. [10 sts]
Row 7: Purl all.
Row 8: K2, yo, k2, yo, knit to end of row. [12 sts]
Row 9: P2, yo, p2, yo, purl to end of row. [14 sts]
Row 10: Knit all.
Row 11: P6. Knit to last 6 sts. P6.
Section 1: Increases
Row 12: K2, yo, k2, yo, knit to end of row.
Row 13: P2, yo, p2, yo, p2. Knit to last 6 sts. P6.
Row 14: Knit all.
Row 15: P6. Knit to last 6 sts. P6.
Repeat Rows 12-15 until you reach 210 (306) stitches or until desired length of short edge, ending after a Row 15.

Section 2: Middle (knit on the bias)
Row 16: K2, yo, k2, yo, k2tog, knit to end of row.
Row 17: P1, p2tog, yo, p1, p2tog, yo, p1, p2tog. Knit to last 6 sts. P6.
Row 18: K1, kfb, knit to end of row.
Row 19: P1, p2tog, p4. Knit to last 6 sts. P6.
Repeat Rows 16-19 until long edge measures 60” (90”) or until desired length ending after a Row 19.
Section 3: Decreases
Row 20: K1, k2tog, yo, k1, k2tog, yo. Knit to end of row.
Row 21: P1, p2tog, yo, p1, p2tog, yo, p2. Knit to last 6 sts. P6.
Row 22: K1, k2tog, k1, k2tog. Knit to end of row.
Row 23: P1, p2tog, p1, p2tog, p2. Knit to last 6 sts. P6.
Repeat rows 20-23 until 14 sts remain.
Row 24: K1, k2tog, yo, k1, k2tog, yo. Knit to end of row.
Row 25: P1, p2tog, yo, p1, p2tog, yo, p2. Purl to end of row.
Row 26: K1, k2tog, k1, k2tog. Knit to end of row.
Row 27: P1, p2tog, p1, p2tog, p2. Purl to end of row. [10 sts]
Row 28: K1, k2tog, yo, k1, k2tog, yo. Knit to end of row.
Row 29: P1, p2tog, p1, p2tog. Purl to end of row. [8 sts]
Row 30: K1, K2tog, k1, k2tog. Knit to end of row. [6 sts]
Row 31: P1, p2tog, p1, p2tog. Purl to end of row. [4 sts]
Bind off remaining sts. Cut yarn and pull tail through. Weave in ends and block.
PIN IT!

Loom Knit Linen Grandma’s Rectangle Blanket Video Tutorials
Select videos are available to GoodKnit Kisses YouTube members only. To get exclusive access to GKK VIP-only content, free PDF patterns, weekly Zoom meetup and more, sign in to YouTube and join as a VIP Member today! Find out more about GKK Membership HERE!
The following tutorial videos show all the skills you will need to make this pattern.
Sections 1 and 3 are taken from Grandma’s Eyelet Blanket. Section 2 is shown in a dedicated video demonstrating only the middle section that is worked on the bias.