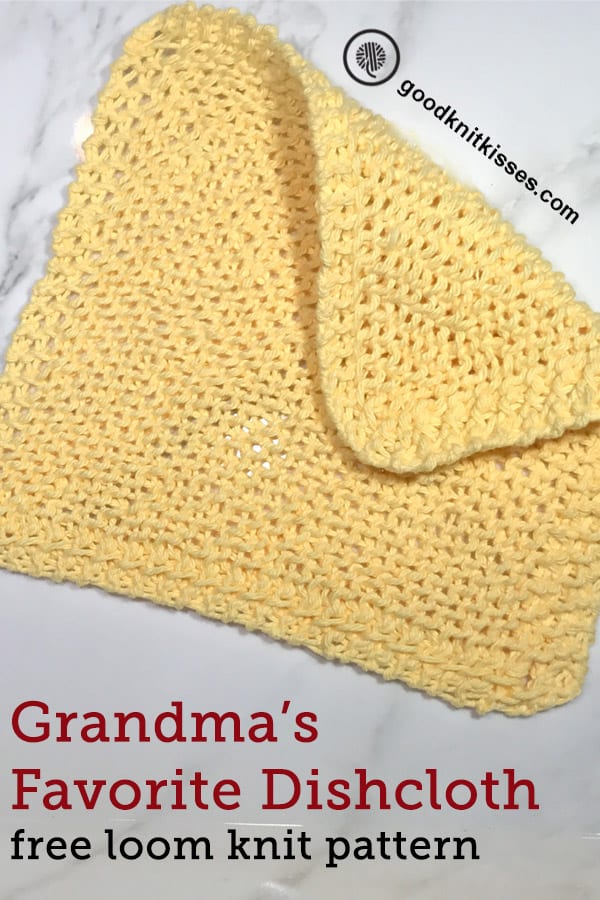
Inside: Loom knit Grandma’s Favorite Dishcloth with the free pattern and tutorial videos.
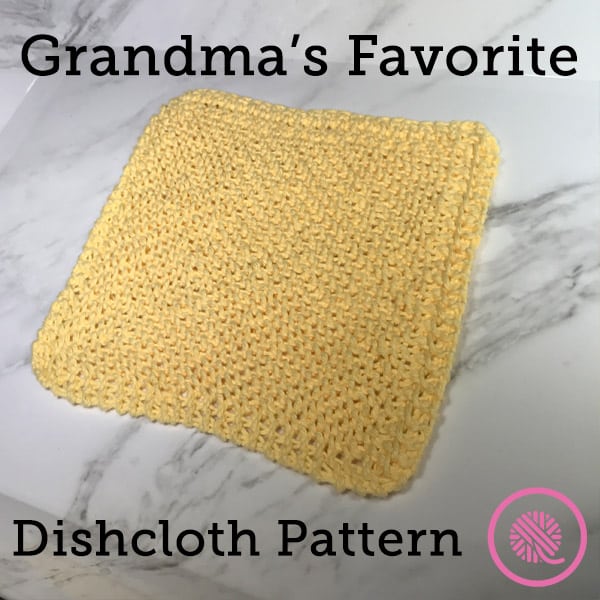
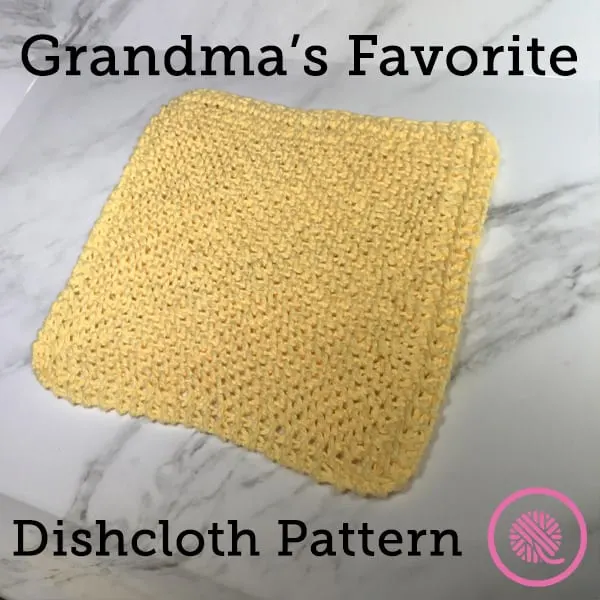
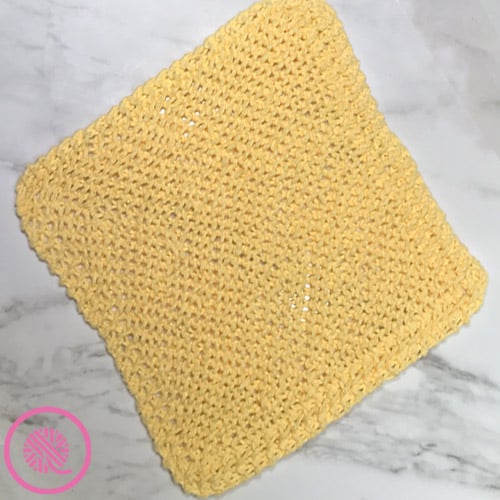
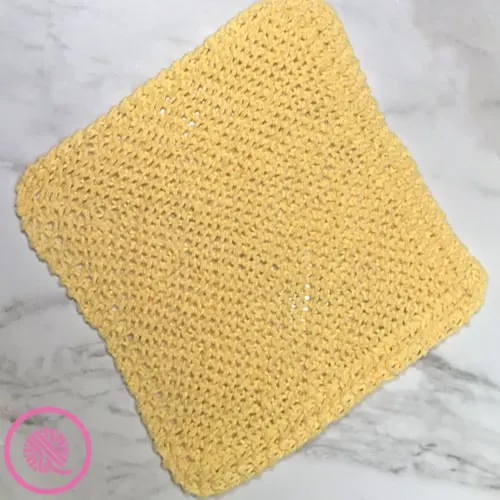
Classic, timeless,and able to handle the toughest jobs. That’s Grandma. We can also say that about Grandma’s Favorite Dishcloth pattern.
Loom knit this iconic dishcloth from corner to corner in garter stitch by using some simple increases and decreases. Once you learn the techniques this pattern will be sure to become your favorite too.
The patterns include written instructions and a video link to GoodKnit Kisses’ YouTube channel to show you all the skills you need to make this project.

Grandma’s Favorite Dishcloth Pattern
By Kristen Mangus


MATERIALS
(Materials list may contain affiliate links to products I used to make this project. Using these links cost you nothing, but helps support GKK.)
Yarn: Medium weight (#4) cotton yarn
Peaches & Creme in color Sunshine used in sample. (2.5 oz/70.9g/ 120 yds/109 m). Makes 2.
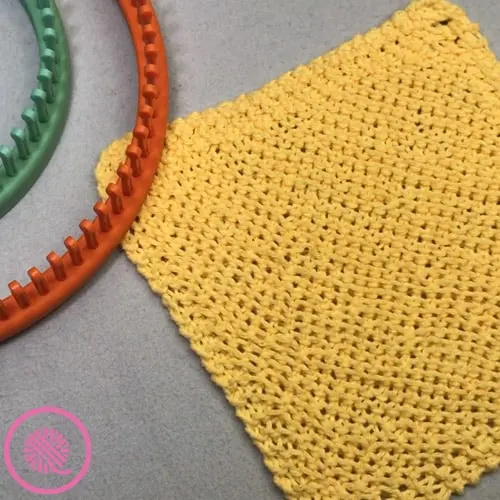
Loom: ⅜” small gauge (SG) loom with at least 48 pegs
Knitting Board Baby Knit Loom with 56 pegs used in sample.
Tapestry needle
Measuring tape
SKILL LEVEL Beginner+
GAUGE
16.5 sts x 40 rows = 4” x 4” (10 x 10 cm) in garter stitch (before washing)
MEASUREMENTS
Approx 8” x 8” (20.5 x 20.5 cm)
ABBREVIATIONS
Approx = approximately
Beg = Beginning
Cont = Continue
K = U Wrap Knit
K2tog = Knit 2 together.
P2tog = Purl 2 together. Right leaning decrease
P = Purl
Ssk= Slip slip knit. Left leaning decrease
YO = Yarnover
Pat = Pattern
Rep = Repeat
Rnd = Round
St(s) = Stitch(es)
NOTES
You may make this pattern using the Ewrap knit stitch instead of the U knit stitch. Note that it will make the dishcloth slightly larger and stitches more loose and open than if you use the U knit.
YO – Yarnover Increase: Wrap empty peg as if to Ewrap knit.
This pattern calls for you to increase AFTER the first two stitches in the row. To do this, work the first 2 pegs as listed. Then move the stitch on the first peg over one to the empty peg. Next move the second stitch over one peg to create an empty peg. This is your increase. Ewrap this peg and continue with the row.
Decreases: move stitches inward on this pattern.
- P2tog moves the left stitch onto the right and purl both stitches together.
- Ssk moves the right stitch onto the left and knit both stitches together.
If you want a refresher on loom knitting basics see the blog posts below to get started:
13 Questions for Beginner Loom Knitters
How to Loom Knit Basics
How to Loom Knit Basic Stitch Patterns
How to Loom Knit in the Round
INSTRUCTIONS
Cast on 3 sts.
Foundation Row: Purl 3
Row 1: K2, yo, k1. [4 sts]
Row 2: P2, yo, p2. [5 sts]
Row 3: K2, yo, knit to end of row.
Row 4: P2, yo, purl to end of row.
Repeat rows 3-4 until 48 sts on the loom ending after a row 3 or continue until desired length (about 4.5”) and even number of stitches.
Row 5: P1, p2tog, yo, p2tog, purl to end of row. [47 sts]
Row 6: K1, ssk, yo, ssk, knit to end of row. [46 sts]
Repeat rows 5-6 until 5 sts remain.
Row 7: K1, k2tog (twice) [3 sts]
Purl bind off sts. Weave in ends.

Linda Perry
Wednesday 15th of January 2025
So Beautiful ? Thanks so Much for Sharing your patterns. I Love ❤️ your work. And your Big Knowledge and making Sure for all of us to Understand what is going on.
melissa
Tuesday 9th of June 2020
I also love this in many ways. I love that it comes out square no matter how big you make it. No measuring, calculating or guessing. I also love that this is done on a smaller gauge loom. I have the Martha Stewart loom set and most videos are done on larger gauge looms. I did finally end up making swatches of a bunch of stitches so that when I look at a project online or try to come up with a project, I can visualize the stitch (and be able to measure stitches) on my loom. But thanks again for this. It is a good one.
Yolanda Quimby
Wednesday 5th of January 2022
@melissa, GREAT idea...I'm going to begin a stitch swatch sample ring. It helps me to be able to see what what I'm doing actually looks like. Happy 2022. Yolanda "Peaches" Quimby
Kelly Marie Quesenberry
Thursday 7th of May 2020
How to make things like this in pooling
Cindy
Sunday 19th of April 2020
Holy freaking cow! That's awesome that you used the knitting board 3/8 gauge Loom with 56 pegs because a few months ago I bought that whole set of the baby net Looms! And I also have a rather large horde of cotton yarn... Yeah