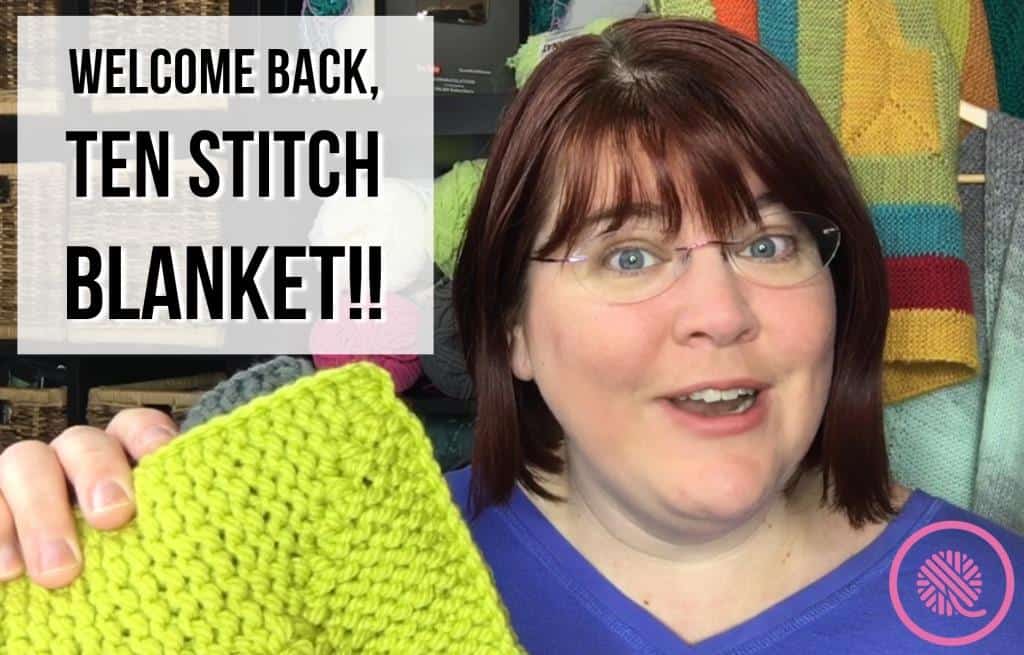

Easy Loom Knit Ten Stitch Blanket Pattern & Video Tutorial
Hey, loom knitters, I’ve got big news for you today! Well, it’s bigger than big. Huge! Monumental! There’s a new loom knit Ten Stitch Blanket pattern in town and it’s better than ever.
The ten stitch blanket changed the world of loom knitting because it can be done on any loom in any gauge with any yarn! All you need is a loom with 10 pegs and yarn. Frankie Brown took the knitting world by storm when she pblished her needle knit Ten Stitch Blanket 10 years ago. Since that time the pattern was converted to the loom, but sadly, it is no longer available.

I decided now is the time to bring it back! I got permission from Frankie to convert the pattern from needle to loom. You may not know it, but Frankie has over 400 patterns available for free on Ravelry. Her patterns are free, but she welcomes donations to the Children’s Liver Disease Foundation, a cause near and dear to her heart. You can show her your appreciation by getting more details on Frankie’s Ravelry page.
Rather than work from someone else’s conversion I decided to start over with original pattern. My assistant, Joann Gay, and I worked to make the directions easier to understand and smoother to knit on a loom. This is NOT the same ten stitch pattern you’ve used before. Seriously, you’re going to love it!
What’s new?
- THE CORNERS – We rewrote the instructions for the corners to make them easier to follow. Also, you have the option of working corners two ways: wrapping the peg or German short rows. See which one you like best!
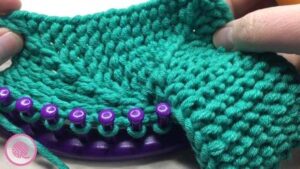
- THE JOIN – You know that thick ridge as you join your edges? It’s now smoother and flatter. You also don’t have an extra (11th) peg to deal with. We think a loom knit ten stitch blanket should use 10 pegs!
- THE CALCULATOR – We’ve got a Ten Stitch Calculator to help you figure out how big your blanket will end up. It can also tell you how many rounds to knit to reach the size you want.
- THE CHART – I’ve also designed a new downloadable chart for you plan your blanket. But more about that later…
- THE PDF DOWNLOAD – The pattern is available as a downloadable PDF so you can load it onto your phone or tablet and have it available anywhere you go.
- THE VIDEOS – I’ve filmed a video showing the new techniques just for you. I know videos can be hard for left-handed loomers to follow so I have a special video just for you lefties to watch!
PIN IT!
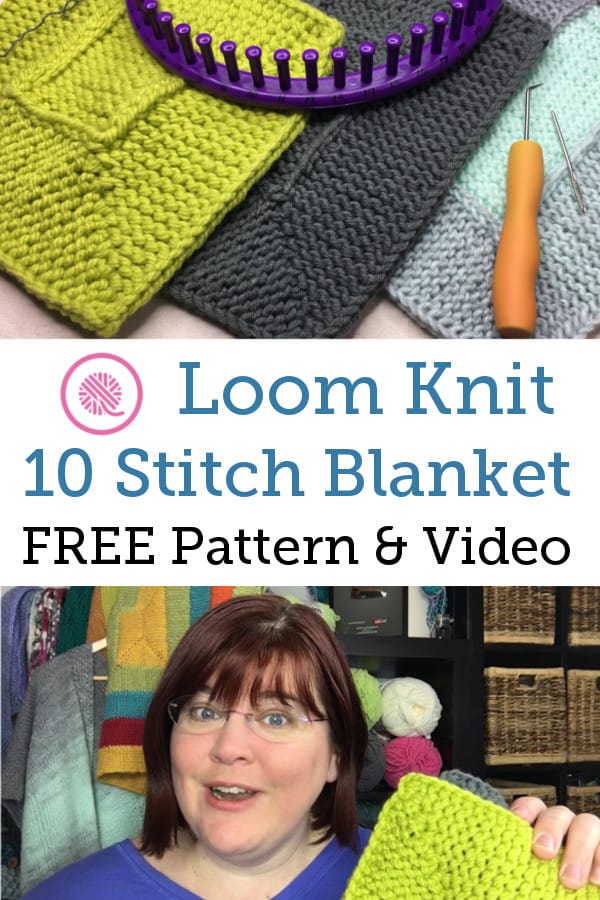

Loom Knit Ten Stitch Blanket Pattern

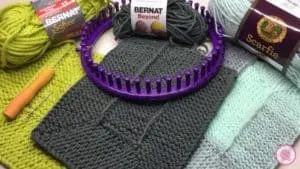
Loom: Any loom with at least 10 pegs
Yarn: Any yarn that is an appropriate size for the loom you choose.
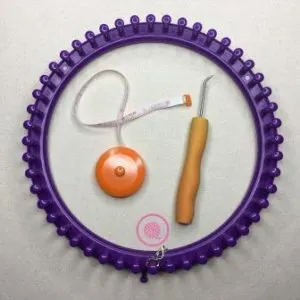
Supplies: loom hook, measuring tape, tapestry needle
Gauge: Not important for this pattern.
Abbreviations:
K – Knit (you can use the knit stitch of your choice: ewrap, true knit or u-knit. Flat knit not recommended.)
P – Purl
S – Slip the stitch. Skip this peg and bring the working yarn behind.
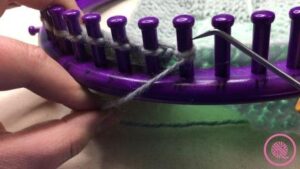
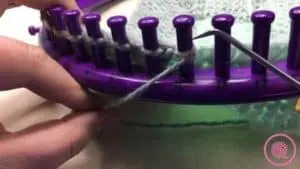
Join – Pick up one leg of stitch from edge to join and place on Peg 10. Wrap and knit over both loops on Peg 10.
W– Wrap the peg. This is done in one of these methods (both shown on video).
Wrap method – Wrap the working yarn around the peg from back to front and begin the next row working in the opposite direction.
German short row method – Wrap and knit over the peg. Pull the working yarn from back to front around the outside edge of the peg. Tug until the stitch forms a < across the front of the peg. Bring the working yarn to the back and continue the next row working in the opposite direction
Instructions:
Cast on 10 stitches using double e-wrap cast on.(You are casting on from Peg 10 to 1.)
Row 1: S1, K9
Row 2: S1, P8, K1
Square Blanket
Repeat Rows 1-2 8 more times (9 repeats total)
Rectangle Blanket*
Repeat Rows 1-2 17 more times (18 repeats total)
* You may knit more repeats of Rows 1 and 2 for a truly oblong blanket.
◆
Corner Section:
Row 3: S1, K8, W1 (2 loops on Peg 10)
Row 4: P8, K1
Row 5: S1, K7, W1 (2 loops on Pegs 9-10)
Row 6: P7, K1
Row 7: S1, K6, W1 (2 loops on Pegs 8-10)
Row 8: P6, K1
Row 9: S1, K5, W1 (2 loops on Pegs 7-10)
Row 10: P5, K1
Row 11: S1, K4, W1 (2 loops on Pegs 6-10)
Row 12: P4, K1
Row 13: S1, K3, W1 (2 loops on Pegs 5-10)
Row 14: P3, K1
Row 15: S1, K2, W1 (2 loops on Pegs 4-10)
Row 16: P2, K1
Row 17: S1, K1, W1 (2 loops on Pegs 3-10)
Row 18: P1, K1
Row 19: S1, W1 (2 loops on Pegs 2-10)
Row 20: K1
Row 21: S1, W1 (3 loops on Peg 2, 2 loops on Pegs 3-10)
Row 22: K1
Row 23: S1, K1, W1 (3 loops on Peg 3, 2 loops on Pegs 4-10)
Row 24: P1, K1
Row 25: S1, K2, W1 (3 loops on Peg 4, 2 loops on Pegs 5-10)
Row 26: P2, K1
Row 27: S1, K3, W1 (3 loops on Peg 5, 2 loops on Pegs 6-10)
Row 28: P3, K1
Row 29: S1, K4, W1 (3 loops on Peg 6, 2 loops on Pegs 7-10)
Row 30: P4, K1
Row 31: S1, K5, W1 (3 loops on Peg 7, 2 loops on Pegs 8-10)
Row 32: P5, K1
Row 33: S1, K6, W1 (3 loops on Peg 8, 2 loops on Pegs 9-10)
Row 34: P6, K1
Row 35: S1, K7, W1 (3 loops on Peg 9, 2 loops on Peg 10)
Row 36: P7, K1
Row 37: S1, K9 (Pegs 1-10 have 1 loop only)
Row 38: S1, P8, K1
***FIRST REPEAT ONLY***
Repeat Rows 3-38 one more time to turn the corner a second time.
*** Do not repeat Rows 3-38 after this!! This is the only place in the pattern you will have two corners next to each other.
Joined Section:
Join 1 = Pick up one leg of stitch from edge to join and place on Peg 10. Wrap and knit over both loops on Peg 10.
Row 39: S1, K8, Join 1.
Row 40: S1, P8, K1.
Repeat Rows 39-40 until you reach the end of the side.
◆
Repeat from ◆ to ◆ until blanket reaches desired size.
Basic Bind off all sts. Weave in ends.

Loom Knit Ten Stitch Blanket Pattern PDF DOWNLOAD
Ten Stitch Design
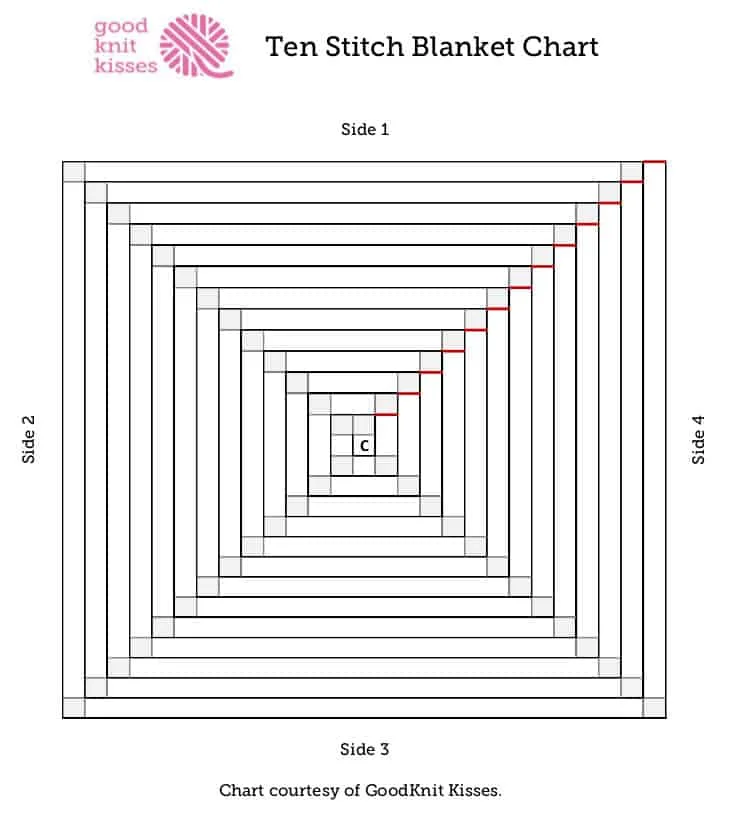
The Ten Stitch Blanket can be so much more than a way to use up yarn. You could use a contrast color for the corners, make each side a different color, make each round a different color and much more. Let your creativity go wild! Use the following diagram to plan your ten stitch blanket and track your progress:
Square Blanket: Each round you will knit 4 corners and 4 sides. The small red lines indicate where you finish each round.
Rectangle Blanket: As with the Square, you will knit 4 corners and 4 sides on each round EXCEPT the last round. You will finish the last round after the 3rd side. Do NOT knit the last corner and side!

Charlie
Sunday 7th of January 2024
Can this be done in stocking st?
Cynthia Schwanz
Thursday 21st of September 2023
Help! How do I figure out how much yarn I need to each "round" if I want to make them each just one color? I have done a blanket of different colors, but they just ran into each other. HELP!
Kassandra
Tuesday 1st of August 2023
I've messed up the first 2 or 3 times doing this and then I decided to unravel a different project and use the yarn for this one and it's easier for me to really count my rows with the thicker yarn. It's definitely an interesting pattern and keeps me from the boredom of doing the same pattern with a bigger loom as I've been trying to make a blanket for the longest time. I use an adjustable multi knit loom and I've broken/adjusted it to have only 10 pegs with my size 6 yarn and it's so much easier and I love it. The color of the yarn makes it super cute.
Mary
Monday 10th of July 2023
I am not a robot but keep failing thr#”%# test pictures are not clear and I am vision impaired So frustrating
PJ Duckhorn
Saturday 24th of June 2023
I've attempted this pattern twice, using different yarns. Each time, the joins start to unravel (pull apart) before I even finish the side. Any suggestions on how to keep this from happening?