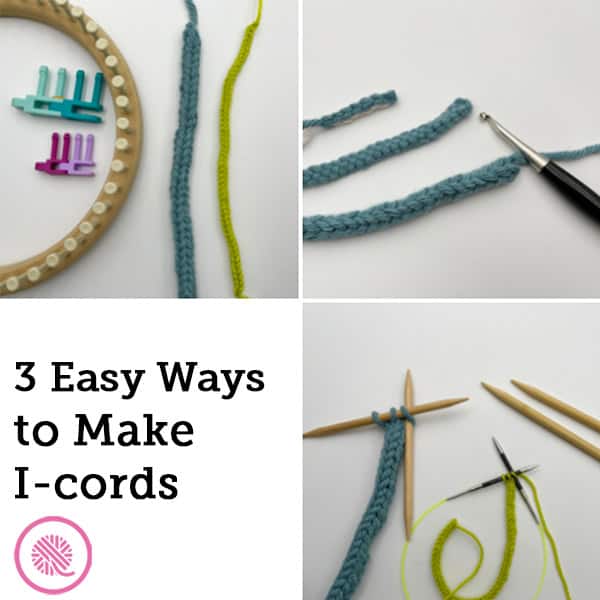
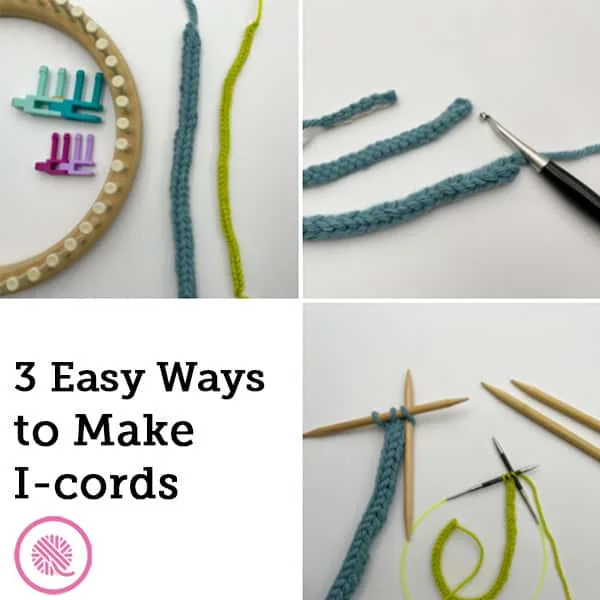
Inside: Learn 3 easy ways to make i-cords by loom knitting, needle knitting or crochet. Includes left and right handed tutorial videos to help you learn.
I-cords are one those little projects that are easy to overlook.
I mean it’s just a narrow cord of a few stitches, right? But it can turn into something special when added to another project.
Need a flower embellishment? I-cord.
Need a drawstring? I-cord.
Need a rug? I-cord. (Okay, LOTS of i-cords braided and stitched together, but you still do it with i-cords!)
These 3 easy ways to make i-cords will get you started no matter what your favorite craft happens to be. You can make i-cords with a crochet hook, knitting needles or a knitting loom. The beauty is whichever craft you choose the i-cords are nearly identical.
Just remember to tug on your i-cord to stretch it out as you work. This not only helps set the stitches, it gives you a more accurate measurement of the length. I found a big difference in the length of my i-cord after I stretched it out and let it relax vs. leaving it alone after working the stitches. The difference was most noticeable on the loom knit version. It was about 25% longer after I tugged my stitches down.
Be sure to scroll all the way to the bottom where I’ll tell you what project I have coming up that’s going to use these i-cords.
You can also make an i-cord using a lucet fork. This handy tool makes a two-stitch i-cord using any weight yarn.
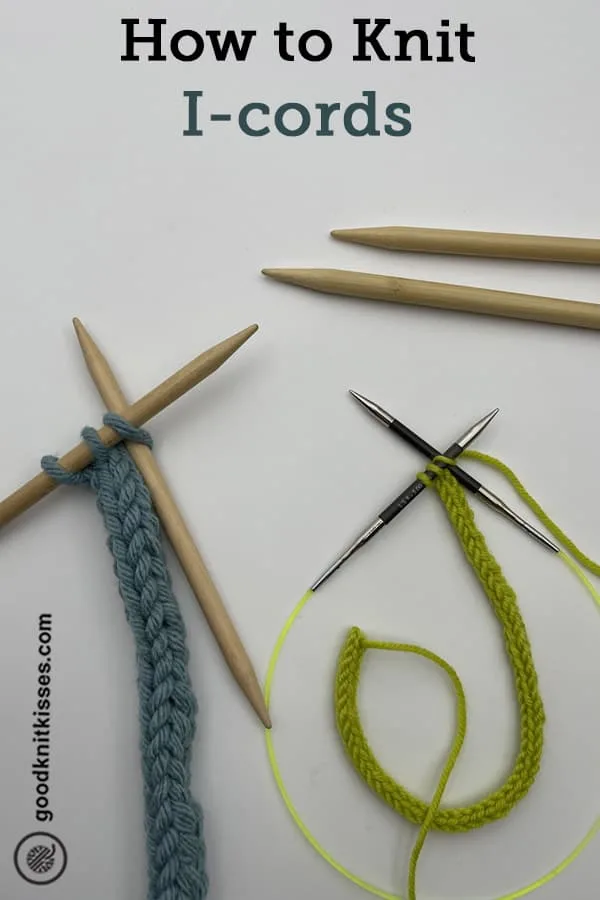
1. Needle Knit I-Cords
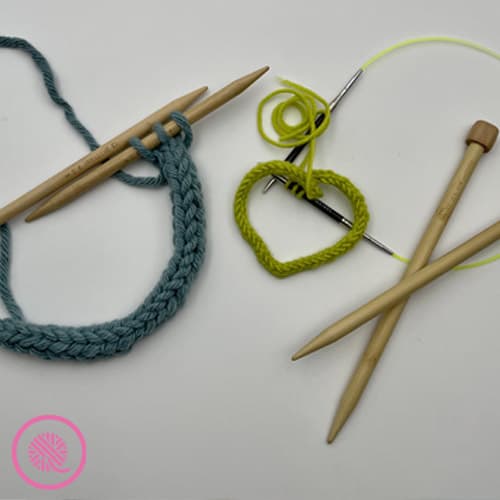
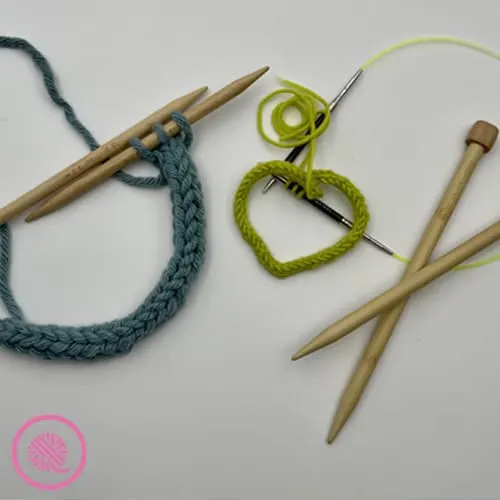
You can knit an i-cord using any kind of knitting needle. But there is a trick to making it easier if you use double-pointed or circular needles. If you don’t have those, straight needles will still work, but you’ll have one extra step.
Remember to use yarn that is appropriate for the needle size. If you’re not sure, check the ball band on your yarn and look for the recommended needle size.
The key to knitting an i-cord is that you only work on the right side (RS) of your fabric. You don’t ever turn your work.
Here are the steps:
- Cast on 3 stitches.
- Knit all 3 stitches.
- Next without turning your work,
- If using straight needles, slip your stitches back onto your non-working needle.
- If using DPNs or circular, slide your stitches to the other other end of you needle.
- Keep on RS and knit all 3 stitches. (NOTE: Your working yarn should be in the back coming from the last stitch in the row.)
- Repeat Steps 2-4 until your i-cord is the desired length.
- Bind off after you finish a row by passing the second stitch over the 3rd and dropping it off the working needle. Then do the same with the first stitch. Take the last stitch off the needle and pull the yarn tail through.
See the tutorial video below to see how easy it is to slide your stitches to end of your DPNs.
If you need a refresher on some knitting basics these How to Knit Lessons will help:
How to knit Garter Stitch for Complete Beginners (Teaches cast on and knit stitch)
PIN IT!

Needle Knit Icord Video Tutorial
3 easy ways to make i-cords
Right handed
Left handed
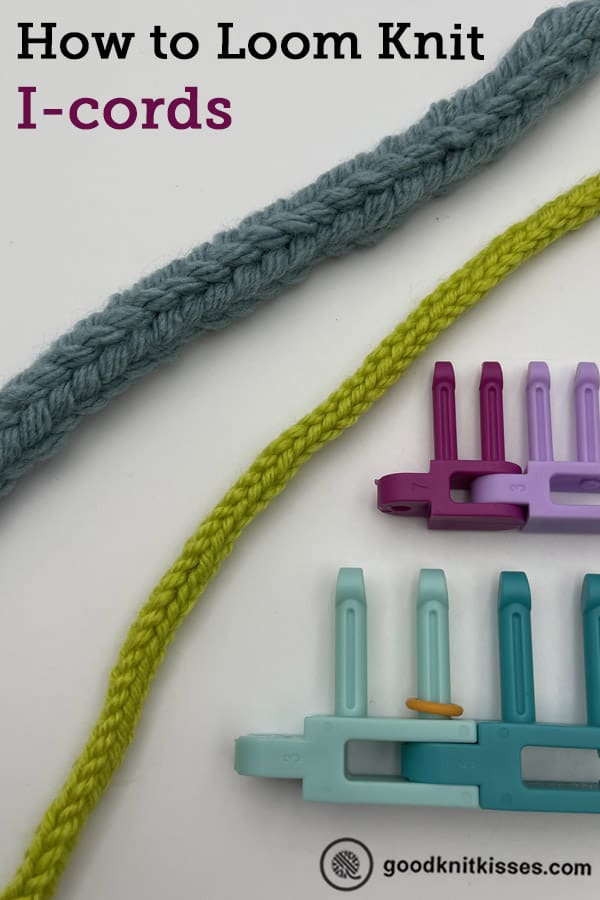
2. Loom Knit I-cords
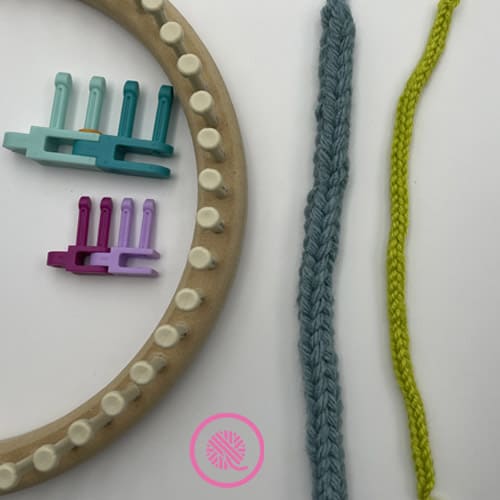
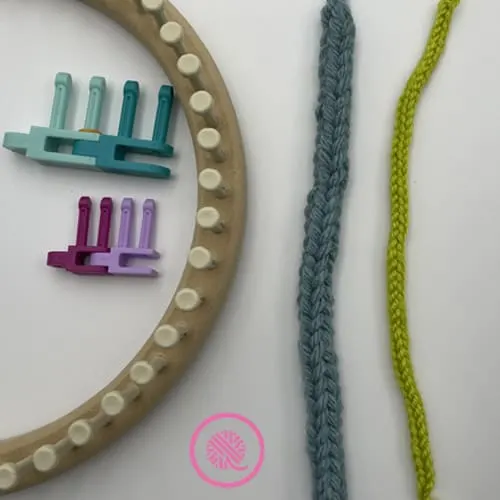
All you need to loom knit an i-cord is any loom with at least 3 pegs. You can get a special spool loom or french knitter that is designed for making i-cords, but it’s not necessary to have one of those.
Again, use yarn that is appropriate for the gauge of your loom.
Loom knitting i-cords is super easy with these steps:
- Cast on 3 stitches.
- Flat knit all 3 stitches.
- Bring the working yarn around the back of the pegs to the first peg. (You only work the row in one direction for the entire icord.)
- Flat knit all 3 pegs again.
- Repeat Steps 2-4 until you reach the desired length of your i-cord. (NOTE: Remember to tug on your i-cord to lengthen and set the stitches before you measure.)
- Bind off by moving the two outside stitches to the center peg and flat knit all 3 together.
Be sure and check out the video below to see how fast and easy it is!
If you need a refresher on loom knitting check out the posts below:
How to Loom Knit for Beginners
3 easy ways to make i-cords
PIN IT!

Loom Knit I-cords Video Tutorial
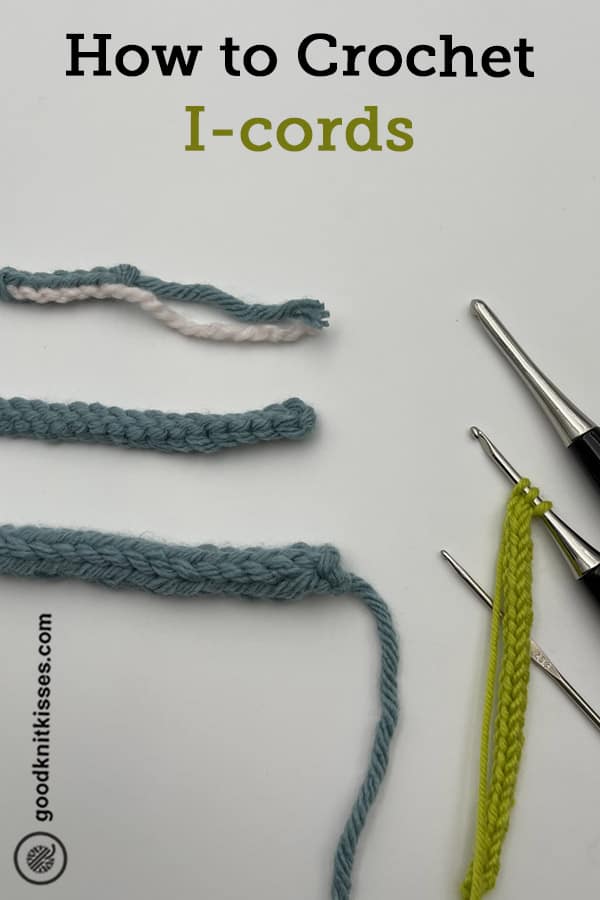
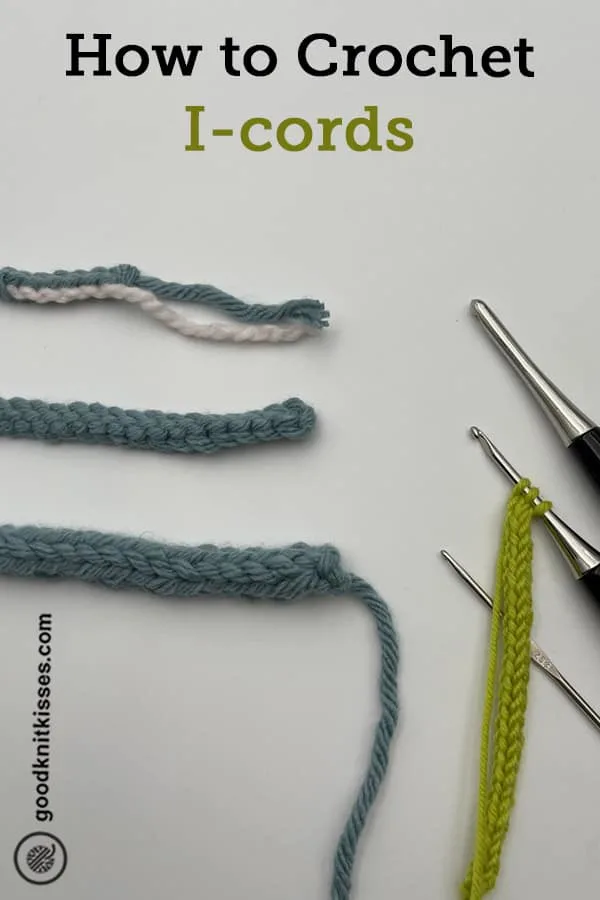
3. Crochet I-cords
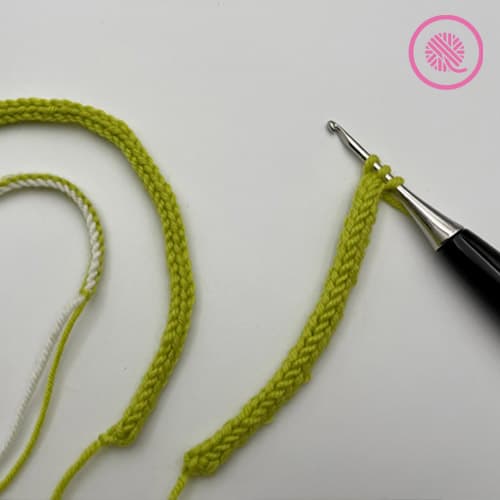

For our third way to make i-cords we’re going to grab our crochet hooks. But since I like to play with yarn I’m actually going to show you 3 different ways to crochet an i-cord including a 2 color option.
The method for crocheting an i-cord looks a little more complicated at first, but once you get the hang of it you’ll be shocked at how fast it is. It’s lighting fast. It’s cheetah fast. It’s even Chick-Fil-A drive through fast!
Method 1
This is the basic method for crocheting an i-cord. The other two methods are variations on this one. Use this one if you need an icord of a specific length.
- First, pull out the amount of yarn you need. This will be 3x the length of the i-cord you want plus about 6-7 more inches for a yarn tail. (Example: for a 12″ i-cord you’d need 36 inches of yarn plus 6-7″ extra.)
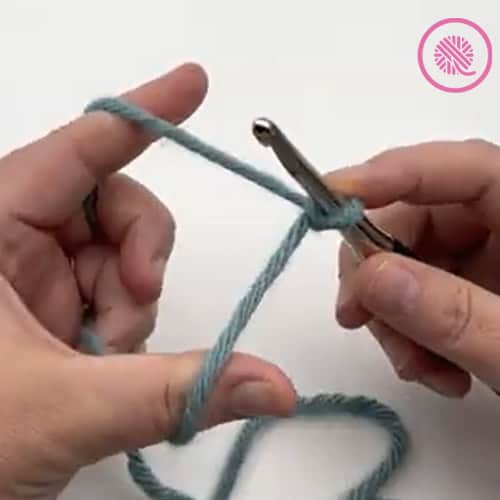
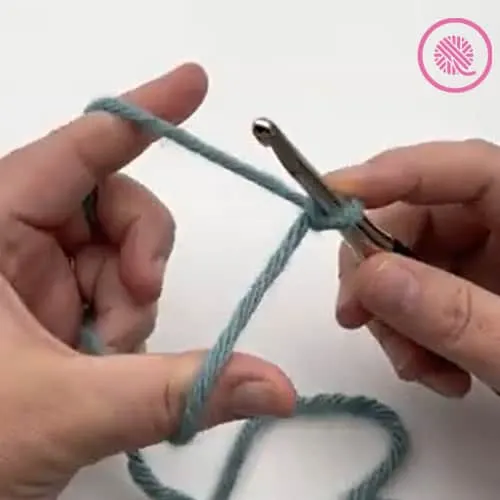
- Make a slip knot.
- Loop the yarn coming from the ball over your index finger and loop the yarn tail over your thumb. (See picture below.)
- Wrap the strand on your thumb over the top of your hook.
- Wrap the strand on your index finger over the top of your hook as you would for a yarn over.
- Pull the loop you just wrapped through the other 2 loops on your hook. (You may need to hold the bottom of your icord in place when you pull the loop through to stabilize it.)
- Repeat Steps 4-6 until desired length.
- Finish by pulling both strands together through the loop on your hook.
and the yarn tail looped over your thumb.
Method 2
This method is good for making longer i-cords. The difference is that instead of preparing a long yarn tail that will be worked into the i-cord you simply use 2 strands of the same yarn. You can even use one strand from the outside of the ball and one from the inside.
Start by making a slipknot holding both strands together. Then split the strands to make the slingshot as in Step 3 above. Follow Steps 4-6 until your i-cord is the correct length and finish off.
Method 3 (2 color I-cord)
This method creates a fun 2 color i-cord. Work it just like Method 2 except you will use 2 different colors of yarn.
To prevent the beginning of the i-cord from looking too bulky I only used one color to make my slip knot. It’s a bit trickier to get started, but looks better.
Make a slip knot using only the first color. Then hold the yarn tail of the second color with your crochet hook while you create the slingshot. The first color should loop over your index finger and the second color should be on your thumb.
Then follow Steps 4-6 in Method 1 above to crochet your i-cord.
PIN IT!
3 easy ways to make i-cords
Crochet I-cords Video Tutorial
Right handed
Left handed
I hope you enjoy these 3 easy ways to make i-cords!
Practice making some small i-cords with scrap yarn using any of the methods above. I’m getting ready to film a pattern that will use a short i-cord and some of the many yarn swatches I have I in my craft to create a fun accessory for my furry kids.
Niles
Thursday 22nd of January 2026
Hello! This is honestly my first time attempting to crochet anything, I'm planning to use this on a knitting project I'm doing but knitting an I-cord is taking way longer than preferred and I figured crochet would be faster. Is there any way to use either of these methods to make a I-cord with a stitch thickness of 3 or 4?
Angela Mattey
Sunday 13th of June 2021
Hi Kristen, I love your loom knitting videos and teaching style. Thank you for the kindness of your sharing your wisdom with us. P.S. I am still working on your sweater from your yes you can knit a sweater on a loom video. Life here just got in the way. However I will finish it as an appreciation of all of your patience and time to create such lessons.
NW Lady