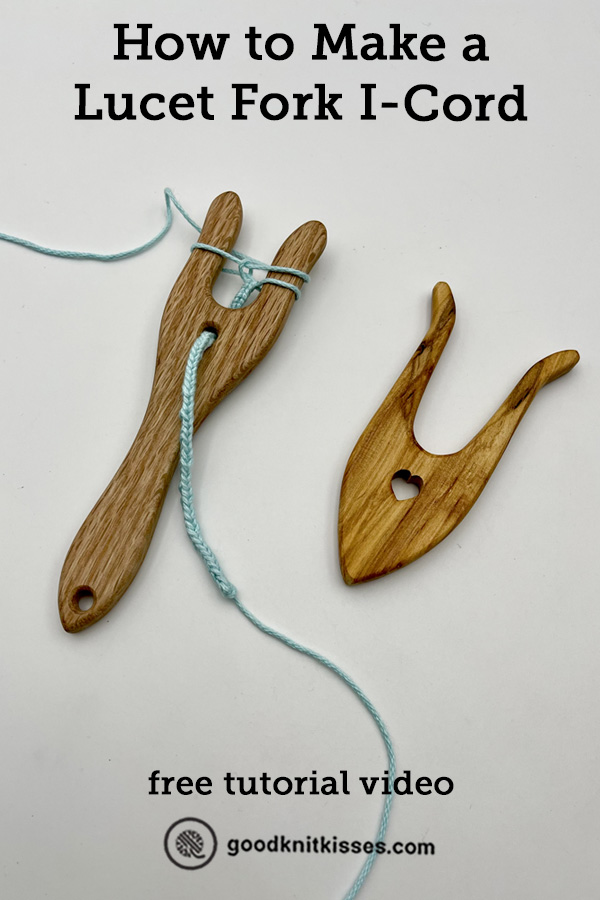
Inside: Instrcutions and tutorial video showing how to make a lucet fork i-cord.
Lucet fork i-cords are the easiest to make!
Wait? You’ve never heard of a lucet before?
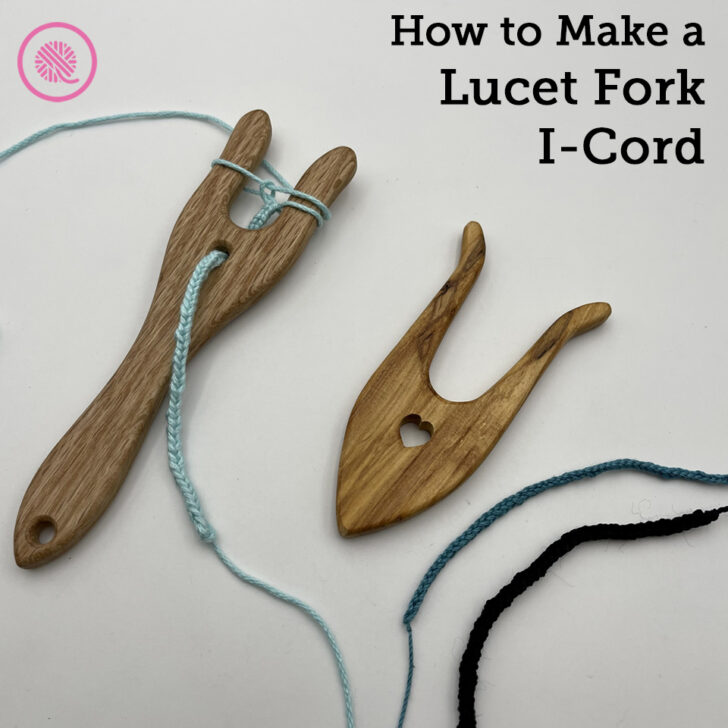
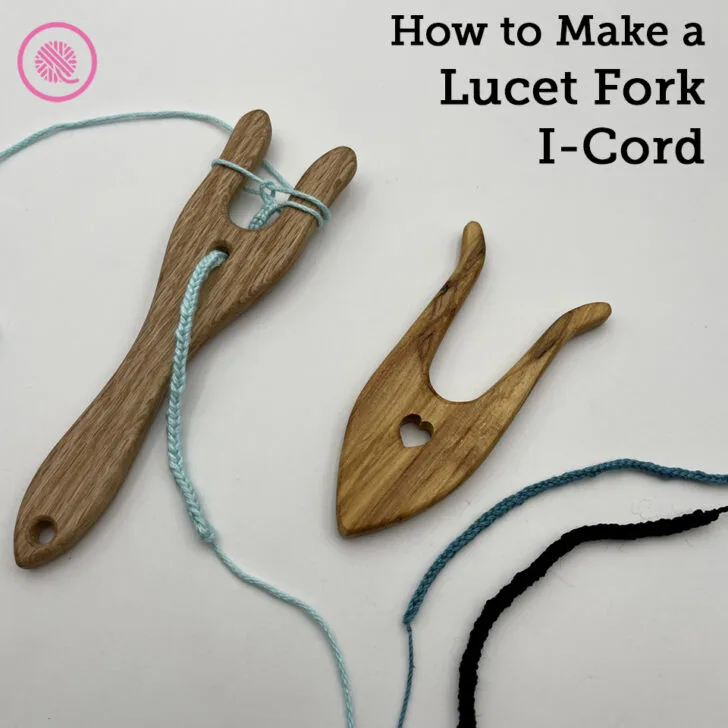
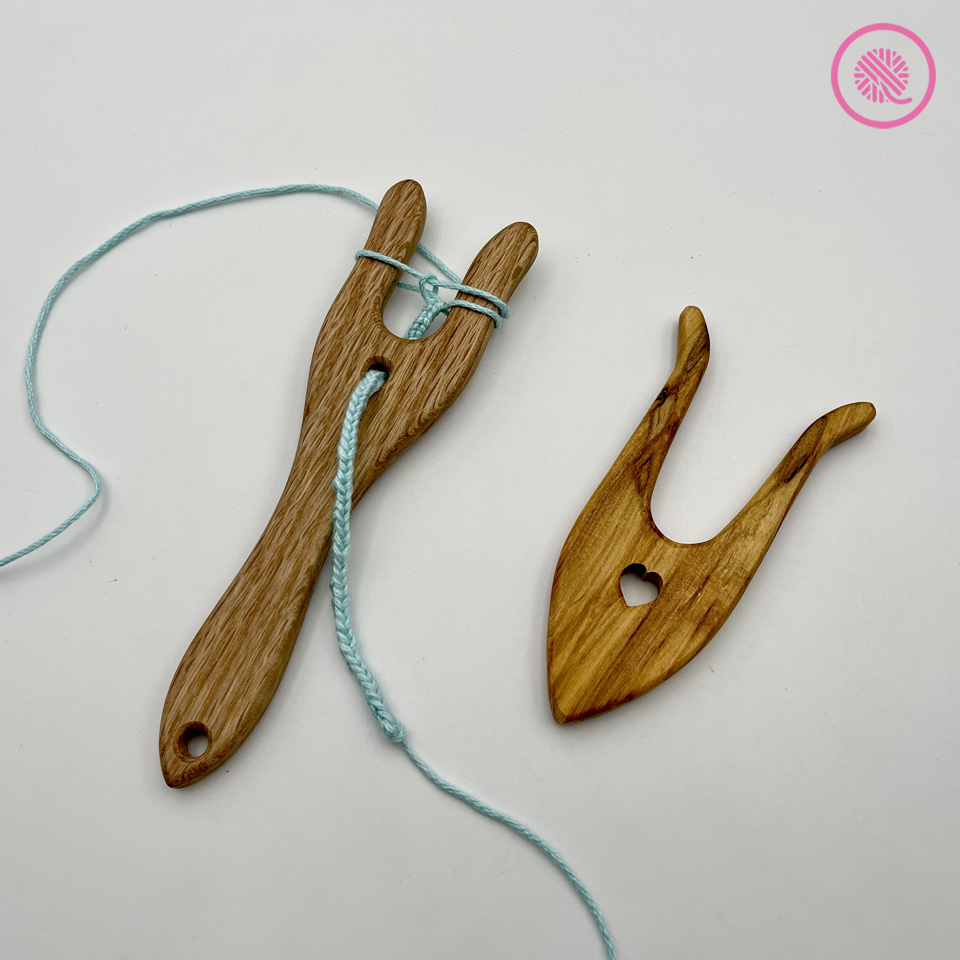
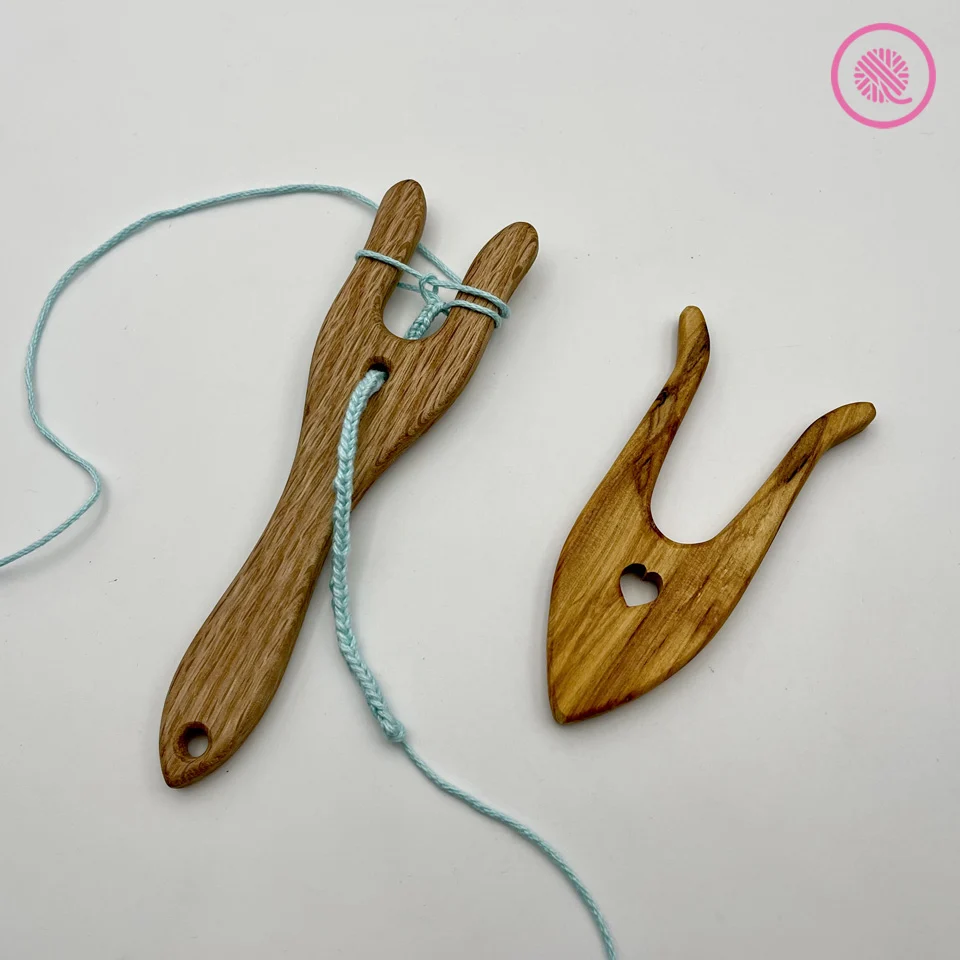
Well, it’s time you learned about this handy tool. Lucet forks, or lucets for short, have been around since the Vikings. A lucet is a 2 pronged tool used to knit a simple i-cord. I’ve got the most common kind made of wood, but they can be made of plastic or metal, as well.
but others rest in the palm of your hand.
I’ve already taught on 3 ways to make i-cords: loom knit, needle knit and crochet, but this is another method that has some advantages.
Speed – with only 2 horns, or prongs, it works up quickly
Versatility – you can use any weight yarn from thin crochet thread up to thick yarn
Simplicity – it’s easy to learn
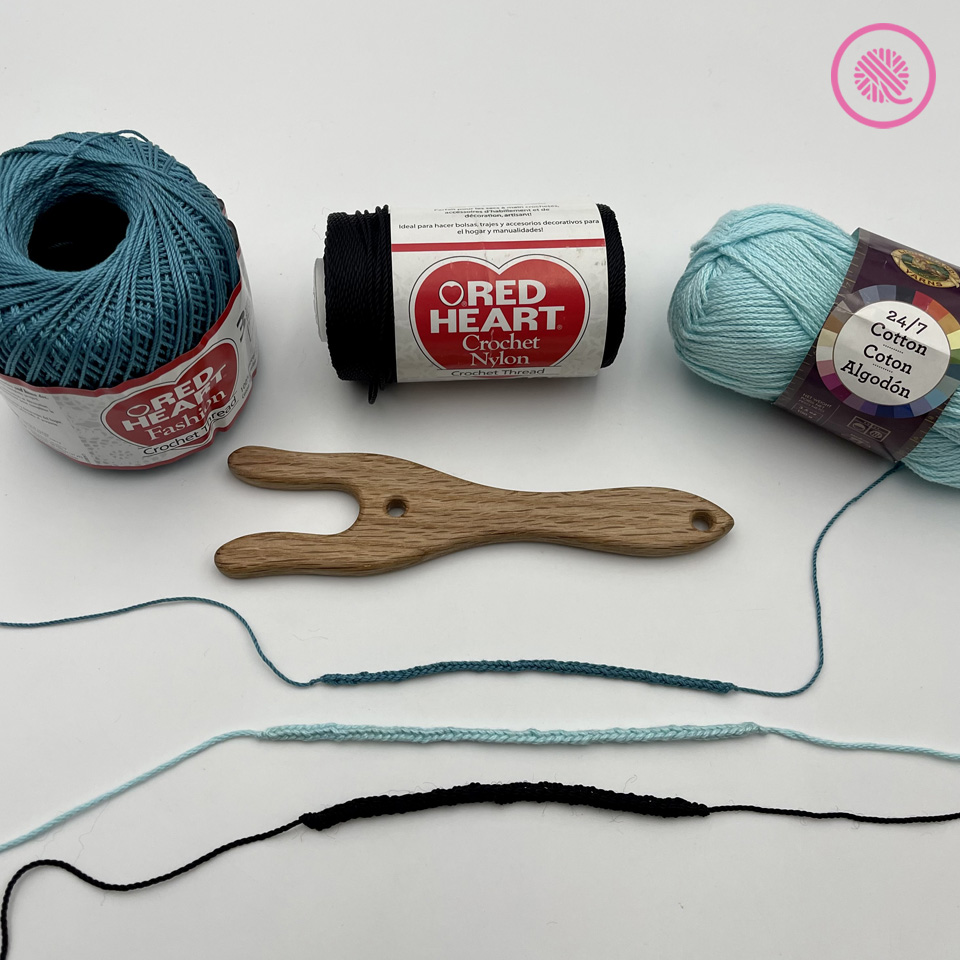
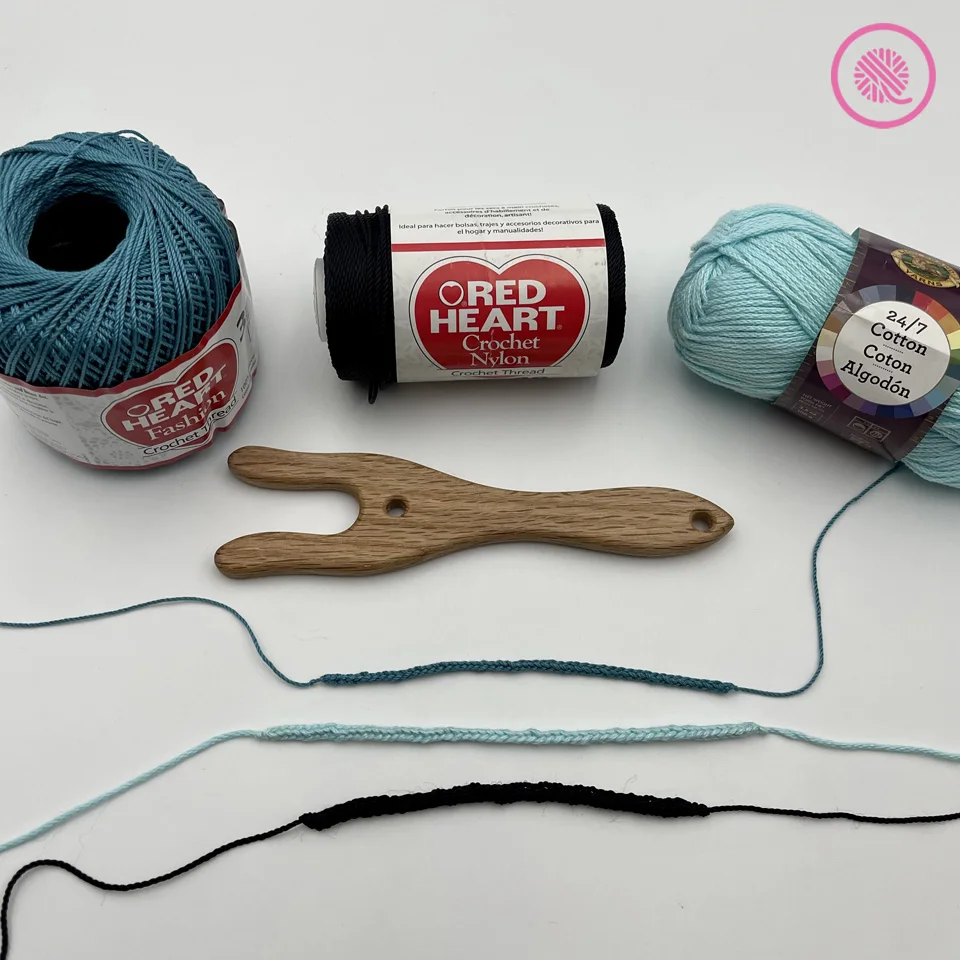
I’m using Lion Brand 24/7 Cotton, Red Heart Crochet Nylon and Red Heart Fashion Crochet Thread in this tutorial to show you how different weights work up on the lucet.
Handy Tip: If you don’t have a lucet fork you can still use this method using 2 pegs of a knitting loom. The techniques is the same!
Lucet Fork I-Cord Instructions
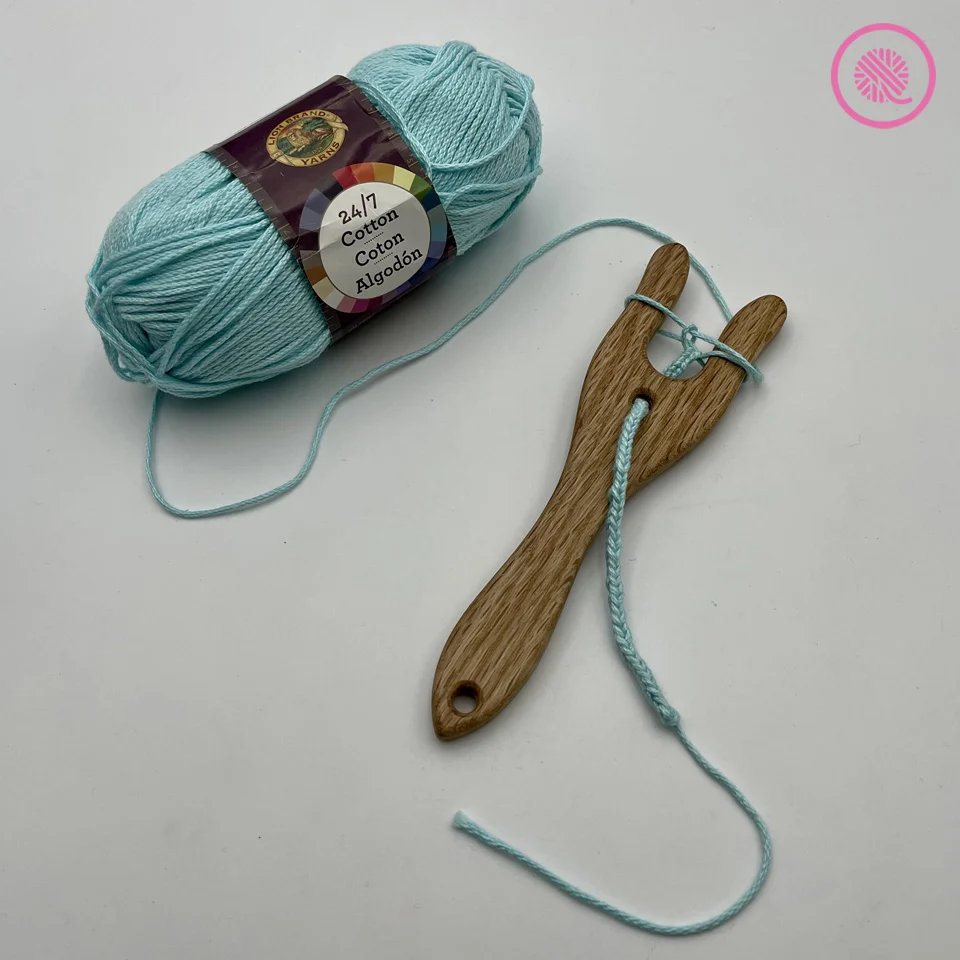
- First, thread your yarn through the middle hole under the horns and hold the yarn tail at the back. If your lucet doesn’t have a hole or your yarn is too thick, just hold the yarn tail. This will not affect your i-cord.
- Next, move your working yarn between the horns from front to back.
- Wrap the yarn from back to front around the outside of one horn and back through the center.
- Wrap the working yarn around the other horn the same way. Steps 3 and 4 make a Figure 8 pattern that crosses the yarn between the horns.
- Wrap the yarn around the first prong as you did before. This prong now has 2 loops of yarn on it.
- Lift the bottom loop over the top loop and off the horn. Then gently pull the working yarn to tighten that stitch and center it between the horns.
- Now that I’ve set up my i-cord, I like to loop the working yarn over my index finger of my non-dominant hand. Just like when I crochet this helps me keep tension on the yarn and I can work faster. [For right-handers, you’ll loop the yarn over your left index finger. This keeps your right hand free to lift the stitches over and off the prong. For my lefties, it’s the opposite.]
- To continue making the i-cord, simply flip the lucet over to create a new loop on the next horn and lift the bottom loop up and off the horn. NOTE: You will flip the lucet the same direction every time. If it doesn’t create full loop around the horn you likely flipped it the wrong way.
- Repeat Step 8 until your i-cord is the length you need.
- To finish your i-cord, cut working yarn leaving a 6-8″ tail. Then, use one of these two methods:
- Work one more loop on the next horn and pull the working yarn through. This leaves one loop left. Pull working yarn to tighten. Slide last loop off of horn and thread yarn tail through the loop. Tighten.
- Remove both loops from the lucet. Put the tip of a tapestry needle into both loops and tug the working yarn to tighten both loops around the needle. Thread the end of the yarn through the eye and pull the working yarn through both loops.
- Last, knot the yarn tails or weave the tails into the i-cord then trim the tails.

TIPS:
- Make sure you keep the cord centered between the horns when you tighten the stitches. This will give you a smooth, even i-cord.
- If you have to put down your work and come back to it later, I recommend putting a small rubber band around the top of the horns to keep the yarn from slipping off. And remember, when you pick it back up again your working yarn will always be in the back.
PIN IT!

How to Make a Lucet Fork I-Cord Tutorial Video
Select videos are available to GoodKnit Kisses YouTube members only. To get exclusive access to GKK VIP-only content, free PDF patterns, weekly Zoom meetup and more, sign in to YouTube and join as a VIP Member today! Find out more about GKK Membership HERE!