Inside: Learn to loom knit the honeycomb stitch pattern using my detailed instructions, tutorial videos and free scarf pattern in 2 sizes.
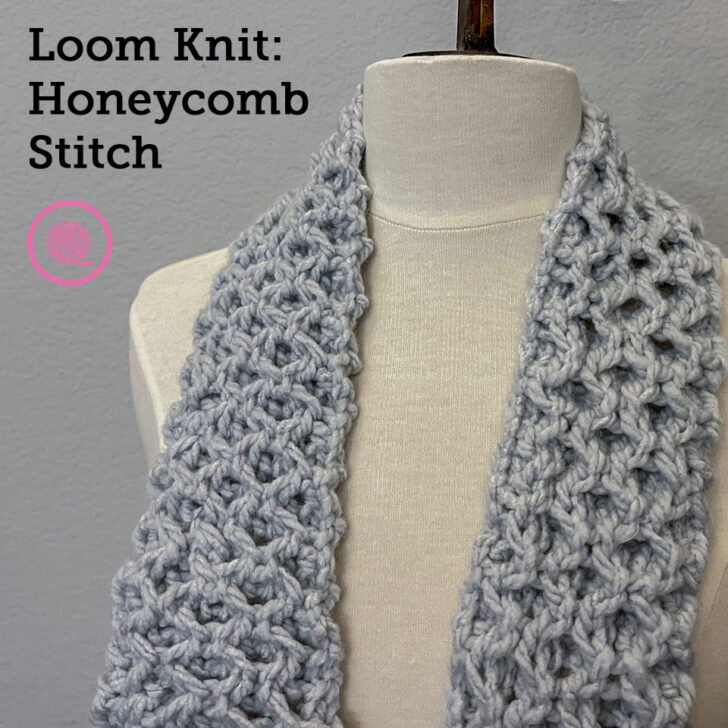
The honeycomb stitch is a classic!
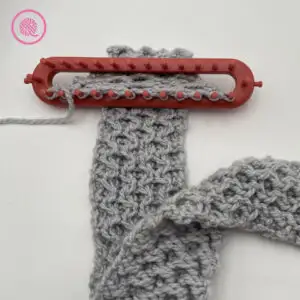
This textured stitch pattern uses twisted stitches to create the interlocking cells. This technique gives the fabric it’s thick, lofty feel. These “mini cables” are easy to make and you don’t even need a cable needle.

How to Loom Knit the Honeycomb Stitch
Honeycomb stitch: This stitch pattern uses a multiple of 4 stitches and a 4-row repeat. On Rows 1 and 3, you will be knitting over the stitches then twisting them to set up for the next row. (See detailed photos below in the row instructions.)
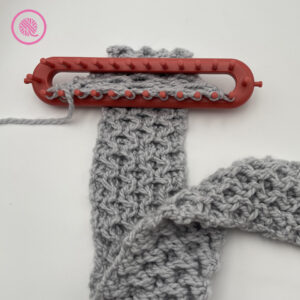
Loom: I used a bulky #5 weight yarn with an 11/16” large gauge (LG) loom. [The Knifty Knitter long looms are the same gauge I used.] However, you can use the honeycomb stitch pattern with ANY loom gauge and appropriate yarn weight. Make sure to check your gauge and adjust the number of cast on stitches to get the width you want.
Stitch marker: I use a stitch marker to remind me which peg to move first. On Row 1, I put the stitch marker on the first peg so I know that is the stitch to move. On Row 3, I place it on the second peg to remind me that I need to move the second stitch first.
INSTRUCTIONS
Chain cast on a multiple of 4 sts.
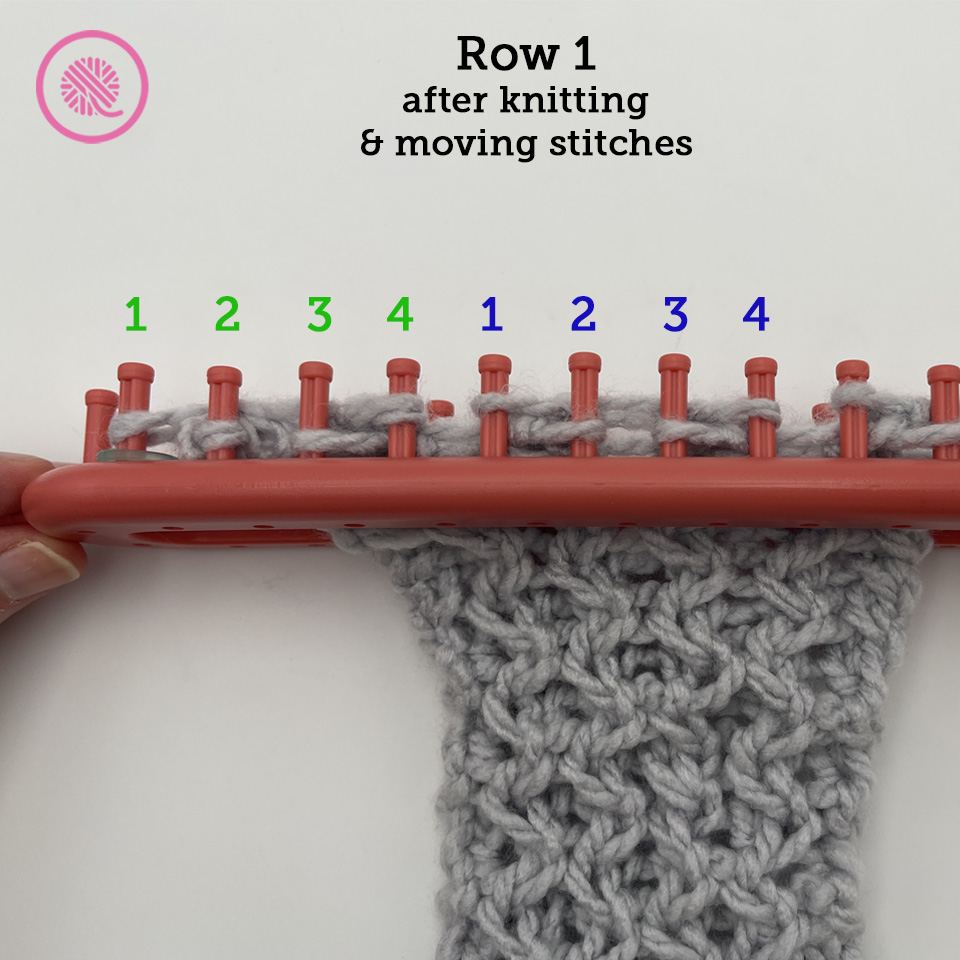
Row 1: Place SM on Peg 1. Working in groups of 4 pegs: *Knit Pegs 1 and 2. Pick up stitches from Pegs 1 and 2. Place stitch 1 on Peg 2 and stitch 2 on Peg 1. Tighten working yarn. Knit Pegs 3 and 4. Pick up stitches from Pegs 3 and 4. Place stitch 4 on Peg 3 and stitch 3 on Peg 4. Rep from * to end of row. (See photo below.)
Row 2: Knit all.
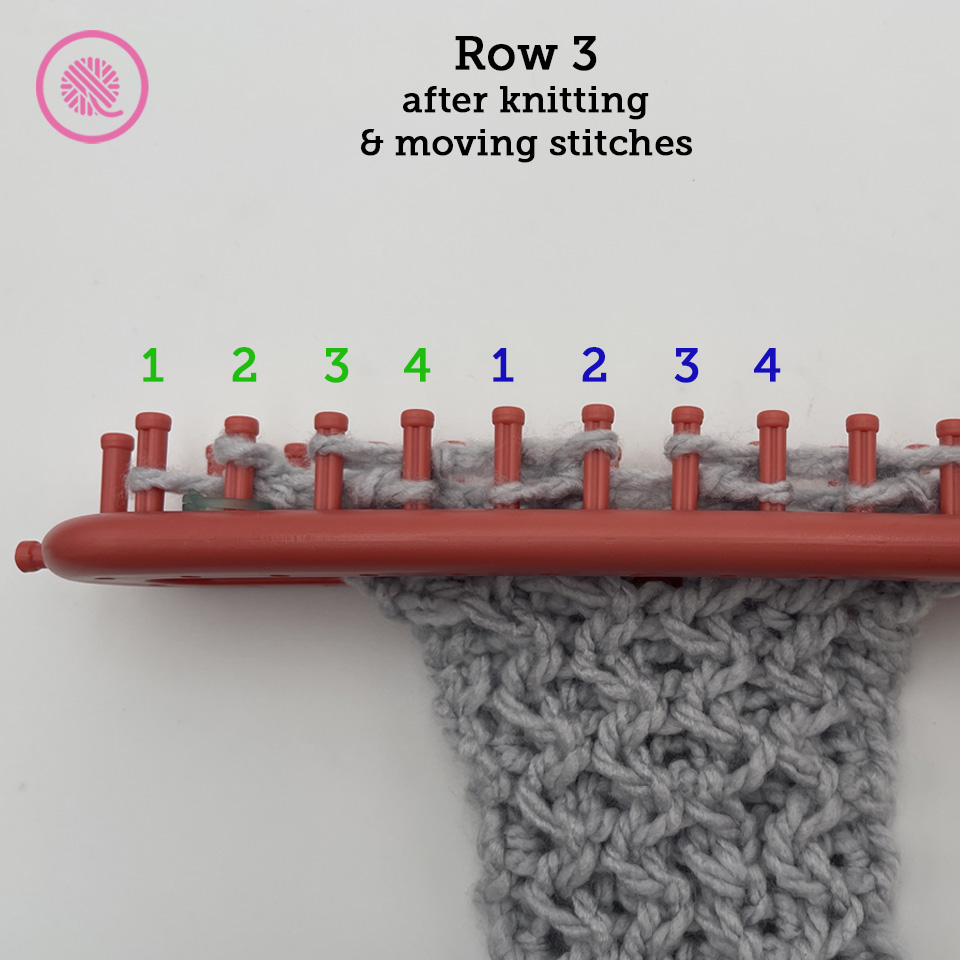
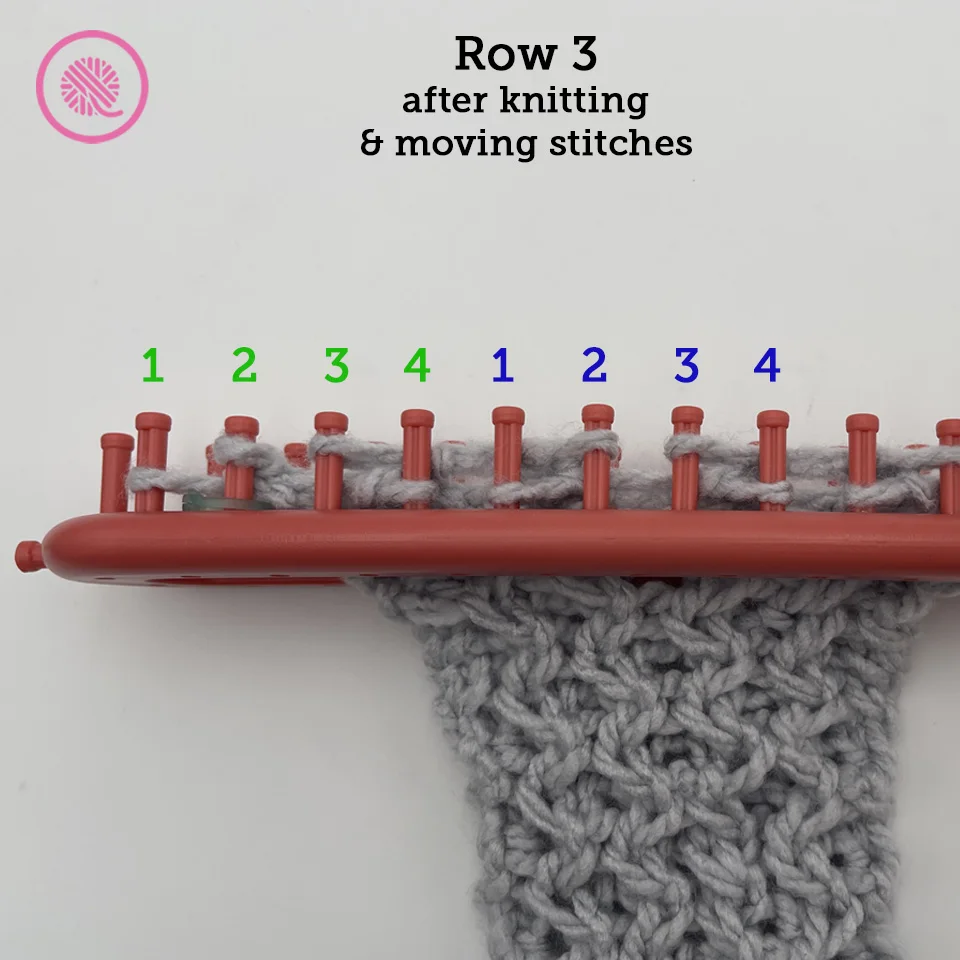
Row 3: Place SM on Peg 2. Working in groups of 4 pegs: *Knit Pegs 1 and 2. Pick up stitches from Pegs 1 and 2. Place stitch 2 on Peg 1 and stitch 1 on Peg 2. Tighten working yarn. Knit Pegs 3 and 4. Pick up stitches from Pegs 3 and 4. Place stitch 3 on Peg 4 and stitch 4 on Peg 3. Rep from * to end of row. (See photo below.)
Row 4: Knit all.
VISUAL TIP:
On Row 1, stitches 2 and 3 are lower down on the pegs than stitches 1 and 4.

On Row 3, stitches 2 and 3 are higher up on the pegs than stitches 1 and 4.
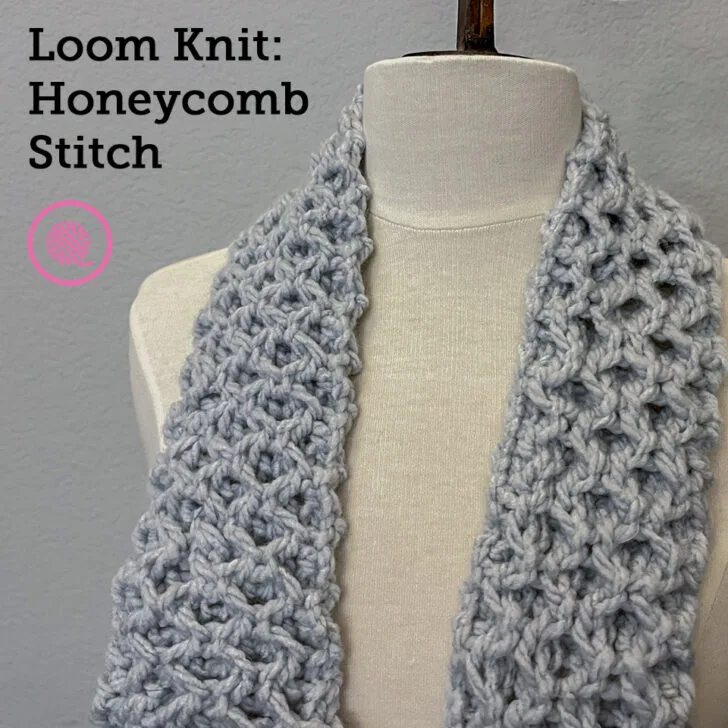
Honeycomb Scarf
By Kristen Mangus
An ad-free downloadable PDF of this pattern is available for purchase in my GoodKnit Kisses online store, Etsy or Ravelry at the links below:


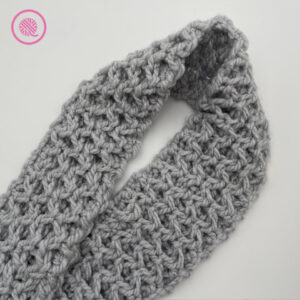
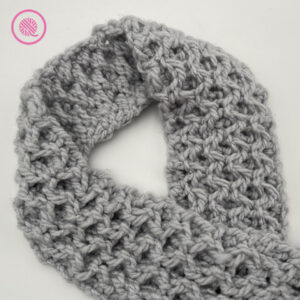
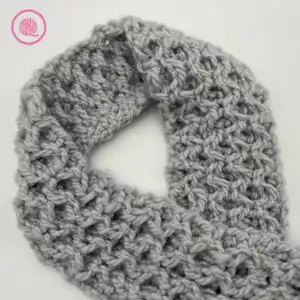
The loom knit Honeycomb Scarf design creates a soft, textured scarf using the classic stitch pattern. You create the honeycomb shape by twisting stitches on alternate rows.
Pattern includes written instructions for Child and Adult sizes and links to fully captioned tutorial videos for both left and right handed loom knitters.
MATERIALS
(Materials list may contain affiliate links to products I used to make this project. Using these links costs you nothing, but helps support GKK.)
Yarn
Bulky (#5) weight yarn
Loops and Threads Charisma in color Mist used in sample. 2 (4) balls.
Loom
11/16” large gauge (LG) long loom with at least 12 (20) pegs
Knifty Knitter pink long loom used in sample.
Notions
Tapestry needle (for weaving in ends)
Stitch marker (to put on loom pegs)
ABBREVIATIONS
Approx = Approximate(ly)
CO = Cast on
K = U wrap Knit
SM = Stitch Marker
St(s) = Stitch(es)
For a refresher on loom knitting basics see the blog posts below to get started:
13 Questions for Beginner Loom Knitters
How to Loom Knit Basics (cast on, knit, purl, & bind off)
How to Loom Knit Basic Stitch Patterns (garter st, seed st and ribbing)
How to Loom Knit in the Round
GAUGE 12 sts x 18 rows in honeycomb sts
SKILL LEVEL Easy
SIZES Child (Adult)
MEASUREMENTS
Child: 4” x 33” (10 x 84 cm)
Adult: 6.5” x 60” (16.5 x 152 cm)
NOTES
In this pattern, I used the chain cast on and basic bind off. I also used a u wrap for all knit stitches.
INSTRUCTIONS
Chain cast on 12 (20) sts.
Row 1: Place SM on Peg 1. Working in groups of 4 pegs: *Knit Pegs 1 and 2. Pick up stitches from Pegs 1 and 2. Place stitch 1 on Peg 2 and stitch 2 on Peg 1. Tighten working yarn. Knit Pegs 3 and 4. Pick up stitches from Pegs 3 and 4. Place stitch 4 on Peg 3 and stitch 3 on Peg 4. Rep from * to end of row.
Row 2: Knit all.
Row 3: Place SM on Peg 2. Working in groups of 4 pegs: *Knit Pegs 1 and 2. Pick up stitches from Pegs 1 and 2. Place stitch 2 on Peg 1 and stitch 1 on Peg 2. Tighten working yarn. Knit Pegs 3 and 4. Pick up stitches from Pegs 3 and 4. Place stitch 3 on Peg 4 and stitch 4 on Peg 3. Rep from * to end of row.
Row 4: Knit all.
Repeat Rows 1-4 until desired length.
Bind off loosely. Weave in tails.
PIN IT!


How to Loom Knit the Honeycomb Stitch Tutorial Videos
Select videos are available to GoodKnit Kisses YouTube members only. To get exclusive access to GKK VIP-only content, free PDF patterns, weekly Zoom meetup and more, sign in to YouTube and join as a VIP Member today! Find out more about GKK Membership HERE!