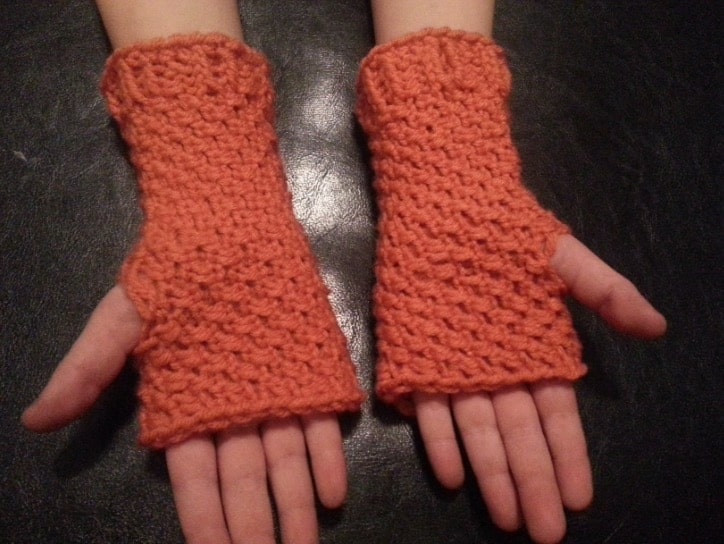

Fingerless Mittens are so nice to type or text while still keeping your hands warm. Jennifer’s pattern added lots of all-over texture to “Jared’s Fingerless Mittens” by using the Moss stitch. While they were made for a boy I’m pretty sure by adding a flower, bow or ribbon at the cuff any little girl would be happy to have them! -GKK Team
Jared’s Fingerless Mittens
Designer: Jennifer Overbey
My eight-year-old asked for fingerless mittens to go with his loom knit hat. So I whipped some up in a moss stitch with a little ribbing at the wrist. He’s thrilled and asked for a scarf next.
PIN IT!

Materials
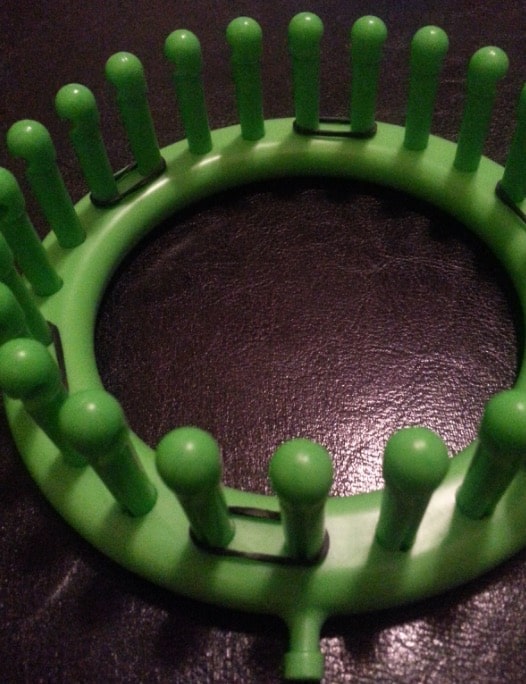
Knitting Loom: A small loom with at least 24 pegs. Boye round loom with 24 pegs was used in sample. (5/8″ center peg to center peg measurement)
Yarn:
Red Heart Super Saver Orange yarn was used in sample. Amount used unknown; less than 1 ball
Notions:
Tapestry Needle, Knitting tool, Small rubber bands or stitch markers.
Gauge:
14 stitches and 26 rows on 4 x 4 inches swatch
Instructions:
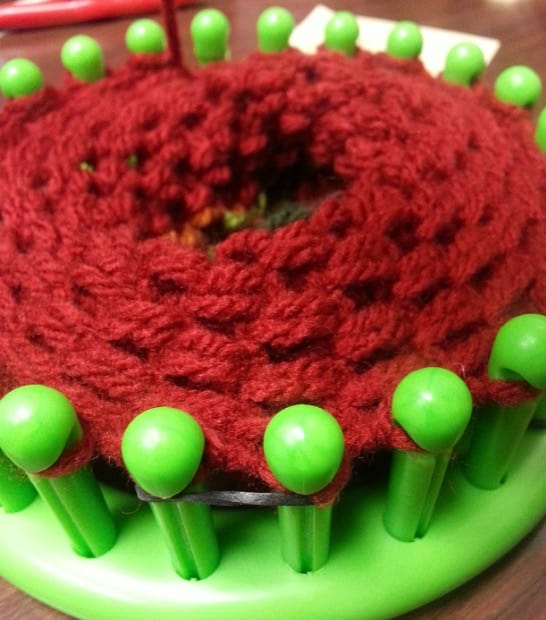
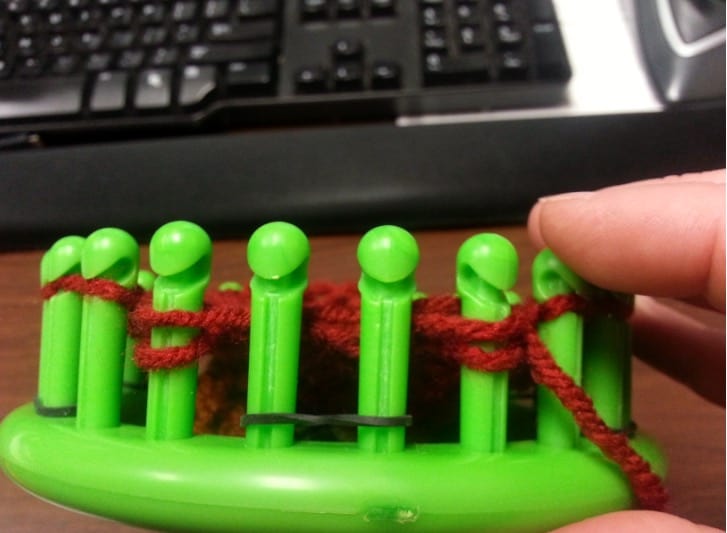
Before starting, place 6 rubberbands on pairs of pegs. Mark 1&2, 5&6, 9&10, 13&14, 17&18, 21&22. (see photo-note Jennifer is knitting in a clockwise direction to the left of the start peg)
Rubberband marker placement
Cast on:
Use the double ewrap cast on; starting from a slip stitch on peg 1
The cuff:
Rows 1 – 4: e-wrap pegs 1 & 2, knit them off, purl 3 & 4; repeat around the loom
The body of the mitten:
*Rows 1 & 2: purl two, knit two
Rows 3 & 4: knit two, purl two*
Repeat * until you have 24 rows or length needed to thumb hole.
Stitch view of mitten body
Make a thumb hole:
Row 1: Purl two, knit two, purl two; wrap peg 7 twice and knit bottom loop over 2 loops, wrap peg 8 twice and knit 1 over 2 as peg 7; purl two, knit two and repeat.
Row 2: Move the loops of the wrapped twice pegs to their outward neighboring pegs, from 7 to 6 and from 8 to 9 (see photo “View of thumb space”).
Purl two, knit two, purl one (purling the two loops of peg 6 at the same time over the new yarn). E-wrap the empty pegs (don’t knit them). Purl the two loops of peg 9 at the same time over the new yarn, purl peg 10. Knit two, purl two and repeat across the row.
View of thumb space
Mitten Hand:
*Rows 1 & 2: knit two, purl two
Rows 3 & 4: purl two, knit two *
Repeat * until you have 10 rows (or measurement length desired to knuckles)
Bind off :
Knit pegs 1 & 2, then move the loop from peg 2 to peg 1, knit both together and move the loop from 1 to 2. Knit peg 3, move the loop from 3 to 2, knit both together and move the loop from 2 to 3. Etc. Cut the yarn, tie a knot, weave/hide the tail using your tapestry needle.
I also bound off the wrist, by putting the beginning loops back on the round loom, and binding off the same way as I bound off the hand.
I blocked each mitten and let them dry for a day.
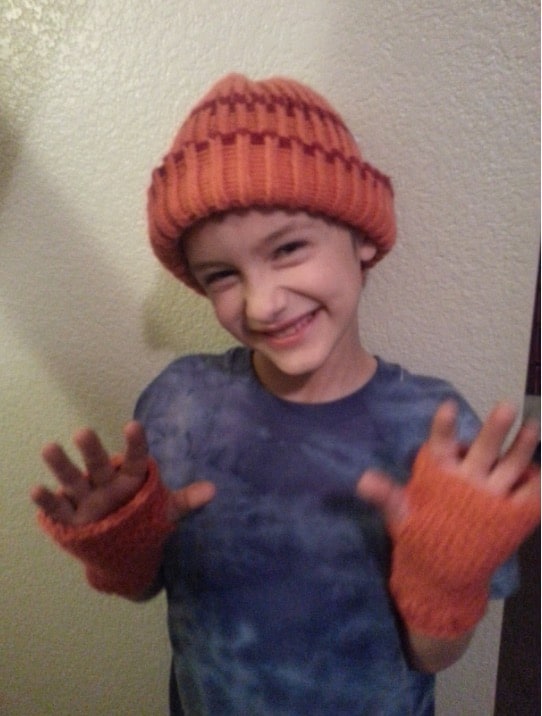
Jared with his new hat & fingerless mittens
Editors note: I hope you enjoy making Jared’s Fingerless Mittens! I can’t test and video all patterns but hope you enjoy seeing new designs and designers. Please comment or leave a heart! -Kristen Mangus (A special thank you to our editor Carol Lilydot!!)
Addison
Thursday 2nd of April 2026
i only have a rectangle one and i want to make gloves!
Anne C.
Friday 27th of November 2020
How do you bind off the wrist?
amy walls
Tuesday 19th of November 2019
Did you get confirmation on a video? I do much better watching
Kristie
Wednesday 5th of June 2019
Do you have a complete video of this? Thanks
Kristie
Wednesday 5th of June 2019
Do you have a complete video of this? Thanks