Inside: Learn how to knit or crochet the pattern for the Colorblock Patchwork Cardigan (AKA Harry Styles’ Sweater pattern) by JW Anderson.
Browsing through comments on my beginner knit and crochet videos this summer was eye-opening. I saw loads of viewers looking to make a cardigan sweater they saw Harry Styles wearing.
It was pretty exciting for me to have a viral sensation lead so many people to learn how to knit and crochet. It also inspired me to make a video to help them.
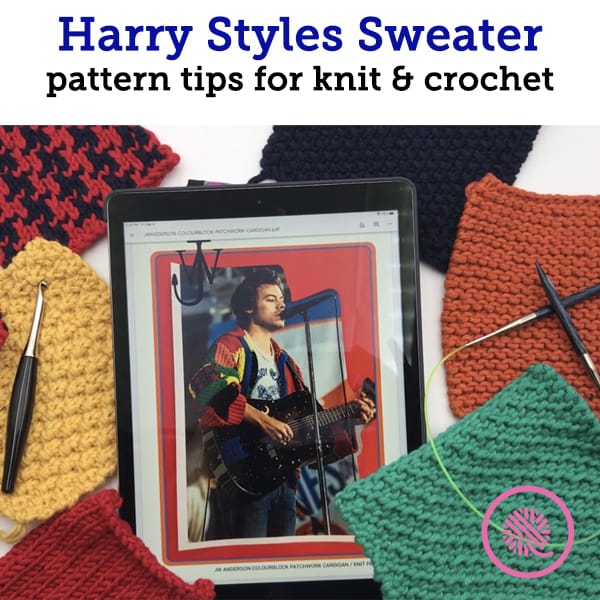

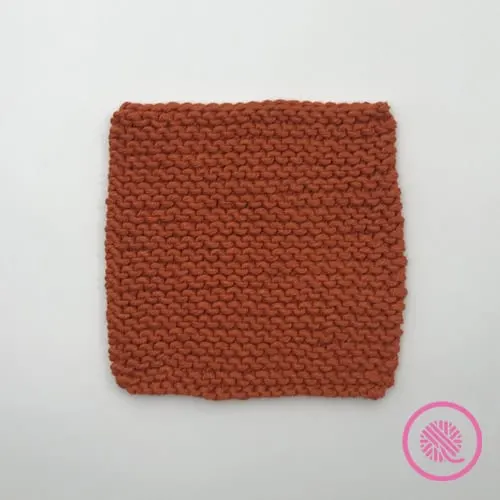
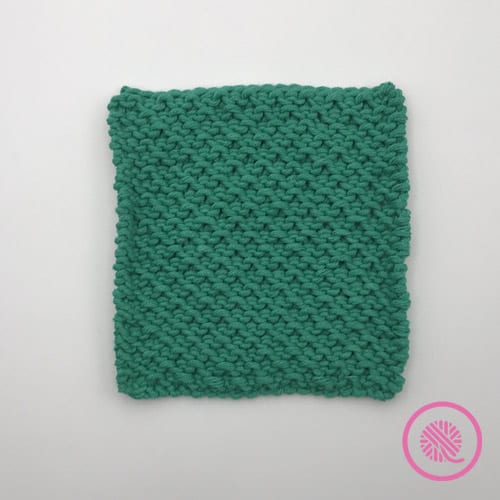
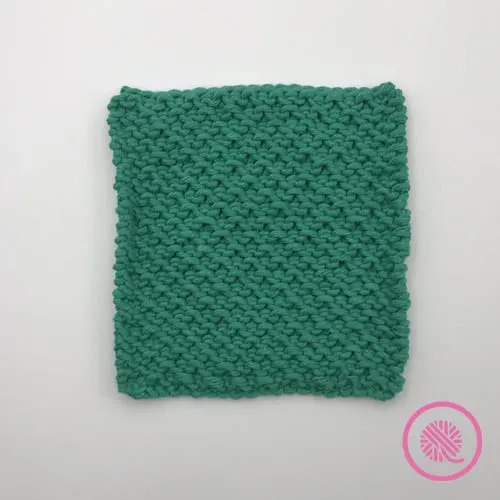
The colorful, patchwork sweater was designed by JW Anderson and he kindly shared the needle knit pattern for free. This oversized cardigan dazzles with bright blocks of color and texture.
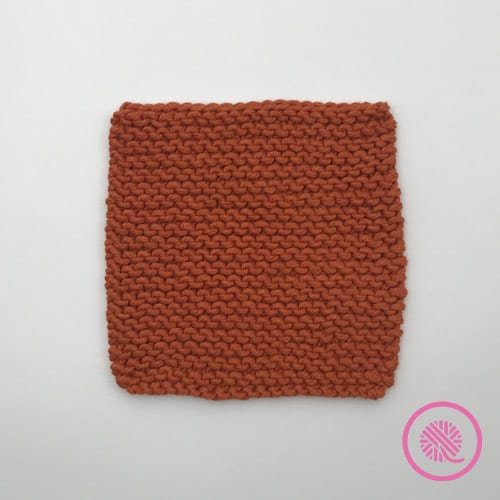
Each block features a different knit stitch pattern and color scheme. Blocks are knit in long panels and seamed together before adding the collar and ribbing.
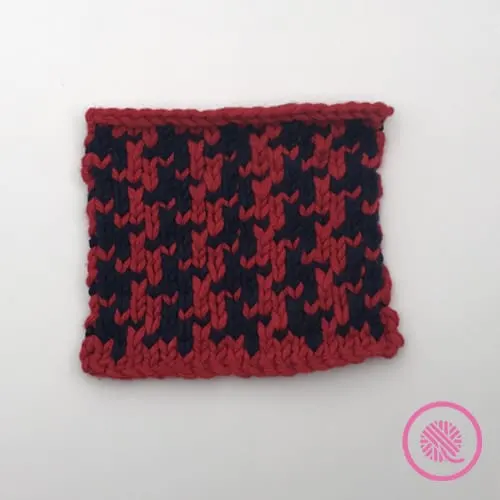
I just finished making videos for the houndstooth square for needle knitters, loom knitters and crocheters to help out the crafty community with their sweaters.
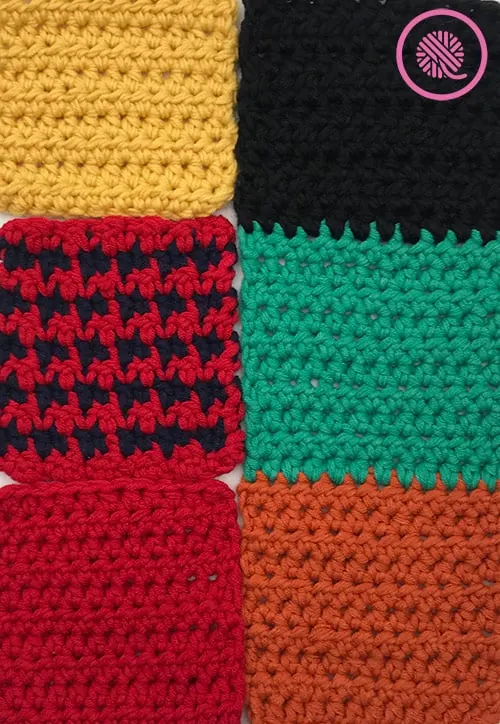
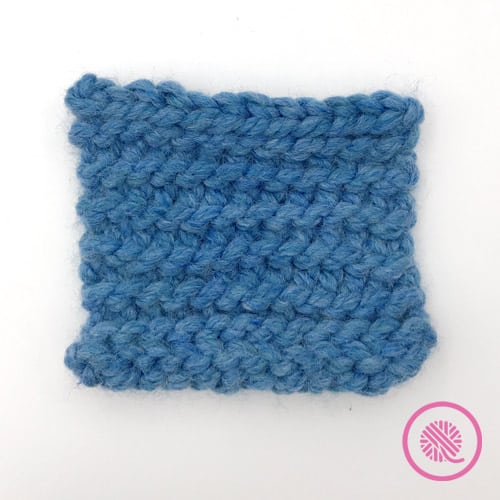
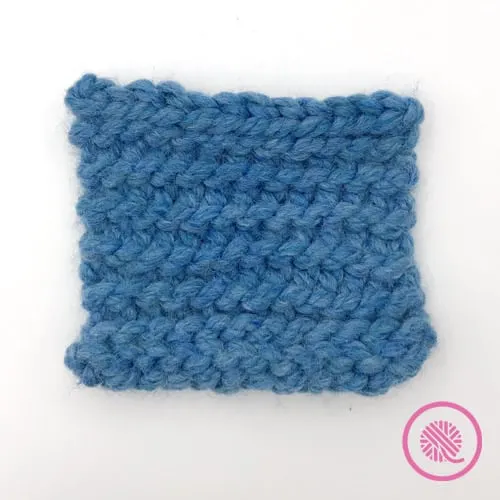
Check out these great houndstooth squares:
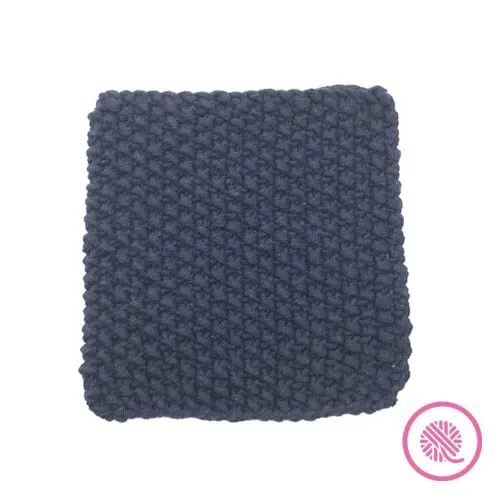
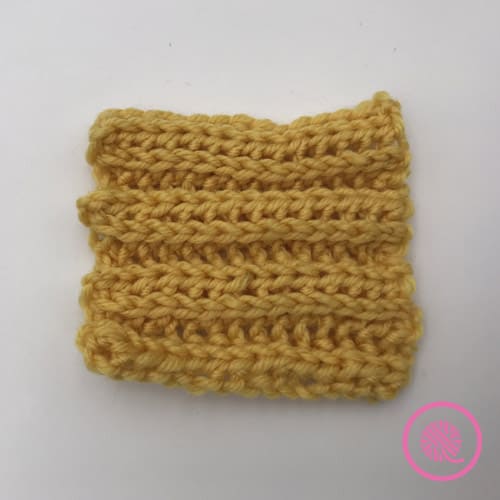
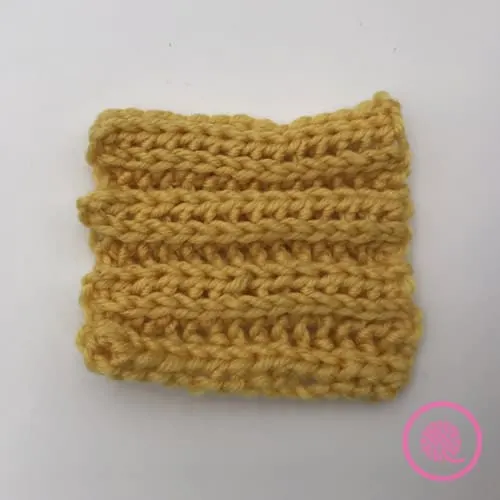
Crochet Houndstooth
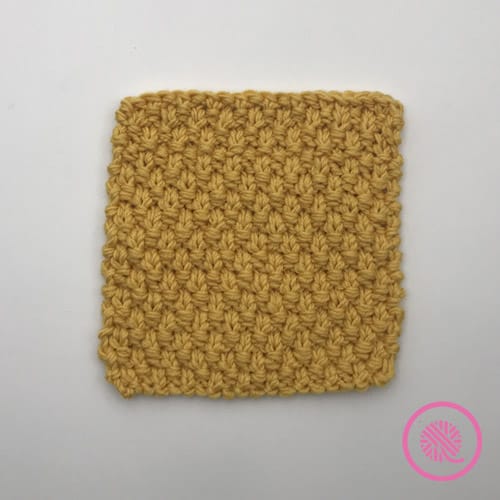
Needle Knit Houndstooth
I was inspired to create a video to help you navigate the needle knit pattern and give my advice for how to convert this pattern to crochet.
Below you’ll find my pattern walkthrough video plus loads of tips, tricks and advice to create your own masterpiece.
Get the FREE Harry Styles Sweater pattern from JW Anderson below to get started:
Needle Knit Pattern Tips
Materials
Yarn:
Super Chunky weight yarn
(quantities based on 90m length per 100g)
4 x 100g balls Red
4 x 100g balls Black
3 x 100g balls Burnt Orange
3 x 100g balls Yellow
3 x 100g balls Green
1 x 100g ball Blue
Aran weight yarn
3 x 100g balls Red
Needles:
8.00 mm needles for patchwork panels
5.50 mm needles for button band
4.00 mm needles for ribbing
Notions:
6 – 2 cm () Black Buttons
Tapestry needle
Stitch markers
Stitch Patterns:
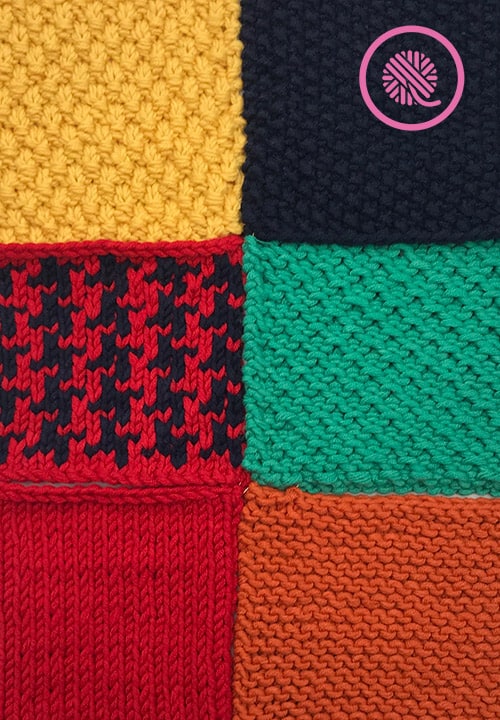
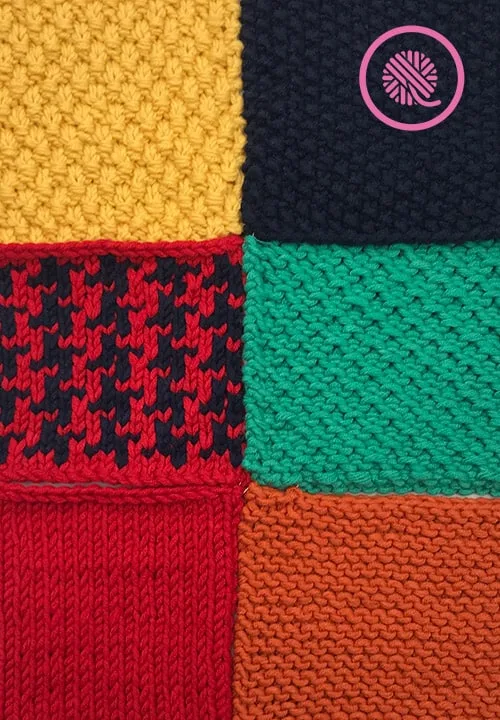
The pattern uses six unique stitch patterns for the patchwork panels. They all use basic stitches like knit, purl, k2tog, k1below and slip stitch.
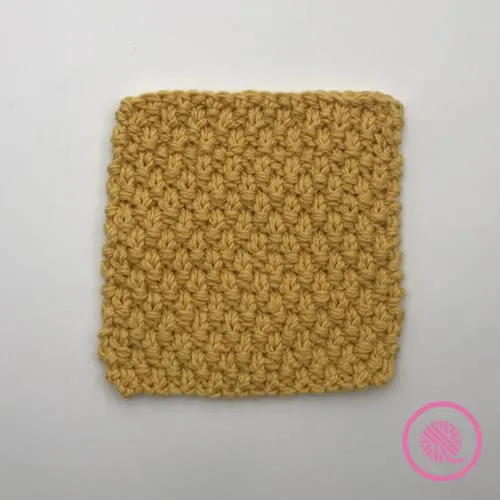
I did make one substitution in the pattern. The original pattern uses a two color (red and black) jacquard stitch. I prefer the simpler houndstooth stitch pattern for several reasons. First, The jacquard stitch pattern uses a 7 stitch and 7 row repeat. That can be tricky to get the correct multiple if your gauge is not precise. Next, the chart for the jacquard pattern is more complex than the houndstooth. The houndstooth stitch chart is a simple 4 stitch and 4 row repeat. See this blog post for details: How to Knit Houndstooth.
Need to build up your knitting skills first? These videos will help you get ready:
How to Knit – Cast On Beginner (with closed captions)
How to Knit – Knit Stitch Beginner (with closed captions)
How to Knit – Purl Stitch Beginner (with closed captions)
How to Knit – Bind Off Beginner (with closed captions)
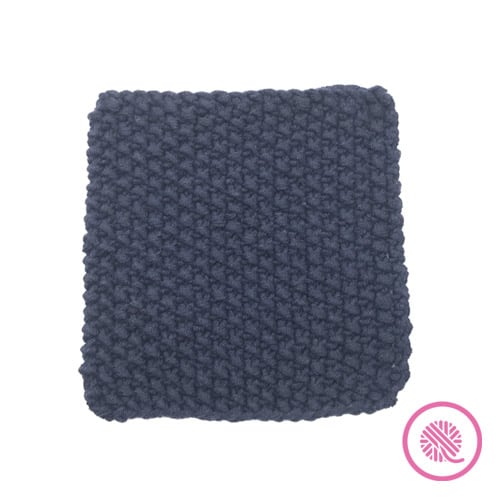
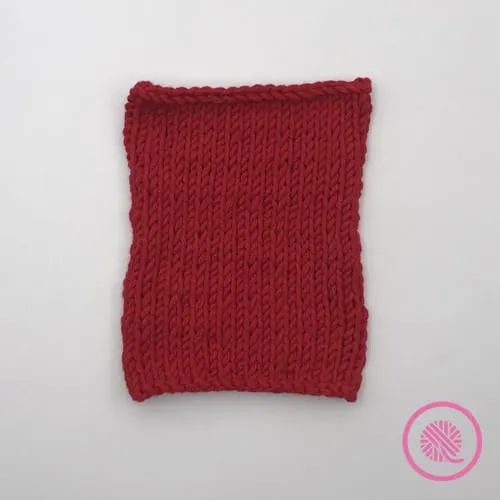
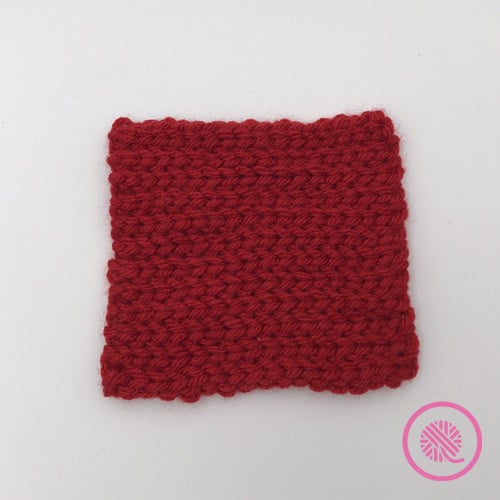
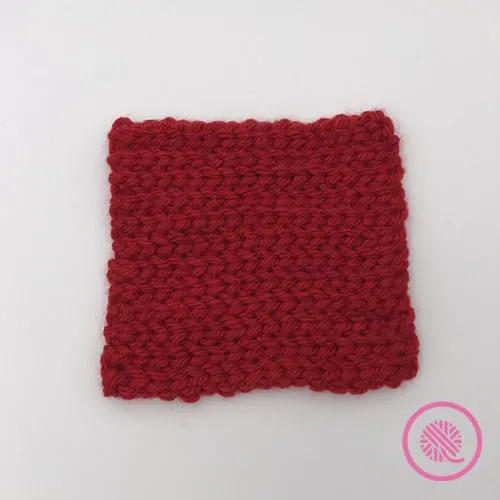
Houndstooth Stitch
Weaving in Tails


You’ll want to follow the pattern diagram (schematic) for the order to knit the panels and the placement of each one.
See the pattern walkthrough video below for more information!
Crochet Pattern Tips
While there is no way to do a straightforward conversion from knit to crochet you can easily mimic the color blocks. The most common practice among crocheters is to follow the color scheme, but make all the blocks in either single or half-double crochet.
Supplies:
Yarn:
You will need MORE yarn than listed above for the needle knit version. (Without crocheting the sweater myself I can’t give you exact numbers.)
Crochet Hooks:
8.00 mm for patchwork panels
5.50 mm for button band
4.00 mm for ribbing
Stitch Patterns:

Need a refresher on your crochet skills? My beginner level How to Crochet series is just for you:
How to Crochet Basic Stitches
How to Change Colors
Crochet Houndstooth Stitch
Solid Square or Panel
Ch 14. Hdc in 3rd ch from hook in back loop. Rep hdc in next back loop until all chains complete. Ch 1 and turn; turning chain doesn’t count as a st.
Row 1: hdc in 1st stitch through both loops. Rep hdc across. Ch 1 and turn.
Rep row 1 until 14 cm (5.5”). 10 total rows in sample. Fasten off last stitch or continue on to change color for next square.
Change color for next square:
On last st yarn over and pull through next color and rep row 1 for 10 rows or until color reaches 14 cm (5.5”).
Fasten off at final color.
If you want to choose difference stitch patterns for each square you could certainly do so, just be sure to check the gauge.
Ribbing:
Perhaps the trickiest part for to crochet is the ribbing. It’s not a typical crochet stitch. I’ve listed 3 ribbing options for you to try: 1×1 ribbing, 2×2 ribbing and mock garter stitch.
All 3 of these options are crocheted from side to side. You’ll need to figure out the
1×1 Ribbing
Ch = Chain
BL = Back loop from top chain from previous row
FL = Front loop from top chain from previous row
Sl St = Slip Stitch. Insert hook in loop, yarnover and pull new loop through loop on hook. Make sure working yarn has loose tension.
Rep = Repeat
St(s) = stitches
Chain to desired length of ribs. Ch 1 for turning chain.
Row 1: Sl St in 2nd ch from hook in BL. Repeat across all sts. Ch 1 and turn.
Rep Row 1 until desired length. and fasten off.
2×2 Ribbing
Ch = Chain
Yo Sl St = Yarn over Slip St (Yarn over and insert hook in to loop. Yarnover and draw up loop. Slip loop through both stitches on hook.
BL = Back loop from top chain from previous row
FL = Front loop from top chain from previous row
BF = Bottom loop below Front Loop; 3rd loop formed below top chain stitches from previous row.
Sl St = Slip Stitch. Insert hook in loop, yarnover and pull new loop through loop on hook. Make sure working yarn has loose tension.
Rep = Repeat
St(s) = stitches
Chain to desired length of ribs. Ch 1 for turning chain.
Foundation row: Yo Sl St in 2nd ch from hook in BL. Repeat across all sts. Ch 1.
2×2 Rib Stitch 4 row rep:
Row 1: Yo Sl St in BL across all sts. Ch 1.
Row 2: Rep Row 1
Row 3: Yo Sl St in BF across all sts. Ch 1.
Row 4: Rep Row 3
Rep rows 1-4 until desired length.
Rep Row 1 for final row and fasten off. (Last row not needed if connecting in the round).
Crochet Mock Garter Stitch
Ch = Chain
BL = Back loop from top chain from previous row
FL = Front loop from top chain from previous row
Sl St = Slip Stitch. Insert hook in loop, yarnover and pull new loop through loop on hook. Make sure working yarn has loose tension.
Rep = Repeat
St(s) = stitches
Chain to desired length of ribs. Ch 1 for turning chain.
Foundation Row: Sl St in 2nd ch from hook through both loops. Repeat across all sts. Ch 1.
2 row rep:
Row 1: Sl St in BL across all sts. Ch 1.
Row 2: Sl St in FL across all sts. Ch 1,
Rep rows 1-2 until desired length.
Rep Row 1 for final row and fasten off.
Harry Styles Sweater Pattern Walkthrough for Knitters & Crocheters
(Join me LIVE on GKK YouTube – Sat. 9/19, 10 AM Central for the Walkthrough!)
Select videos are available to GoodKnit Kisses YouTube members only. To get exclusive access to GKK VIP-only content, free PDF patterns, weekly Zoom meetup and more, sign in to YouTube and join as a VIP Member today! Find out more about GKK Membership HERE!
Tutorial Videos
Select videos are available to GoodKnit Kisses YouTube members only. To get exclusive access to GKK VIP-only content, free PDF patterns, weekly Zoom meetup and more, sign in to YouTube and join as a VIP Member today! Find out more about GKK Membership HERE!
KAROLINA
Monday 17th of January 2022
thank you for this! i love it!
Liv
Tuesday 29th of June 2021
if your doing 20x20 squares do 21!
Bernadette Roth
Wednesday 3rd of February 2021
Please answer the questions above, how many squares?
Julie
Sunday 3rd of January 2021
Hi can I knit a smaller size for a child she is driving me crazy but it will drown her . Do I just make smaller square and in double knit
Sarah
Tuesday 7th of June 2022
@Julie, I’m going to make it for my son. I’m following the pattern but with 10ply yarn and 5mm needles
Robin
Sunday 10th of January 2021
Yes, it’s possible to adjust the pattern. I’ve heard of people making the cardigan for children but I haven’t done it myself. I’ve knit 10cm (squares (instead of 14). Now I’m struggling with the measurements for the ribbing, cuffs, etc.
Great tutorial videos! Thank you.
Patricia
Saturday 2nd of January 2021
Hi, Very useful your video to clarify the instructions ti knit this sweater. I love the easiness of the loom but decided to knit the patches but will be looming the ribs, cuffs and neck band. What size loom would be equivalent to a 4mm needle. I couldn’t find chunky yarn in all colors so I am using a 2 strands of thiner yarn.. for the cuffs, ribs and neck, do you use the chuncky (two strands) also? Thanks in advanced for your reply