Inside: Loom knit short row mitered square pattern in one or two colors plus video tutorials.
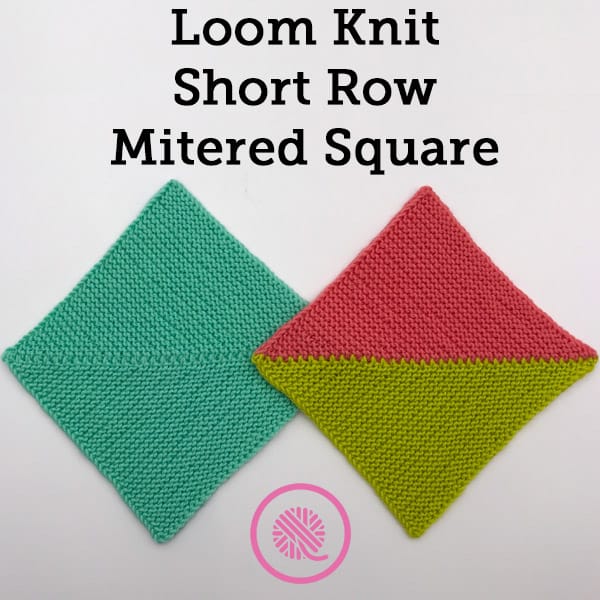
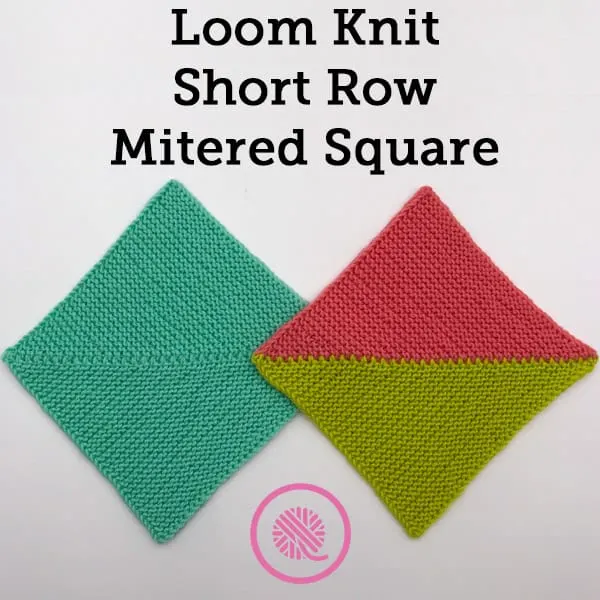
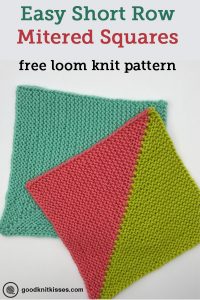
The perfect square! Now you can loom knit a custom mitered square in any size. Just choose your loom and yarn (one or two colors) and you’re on your way.
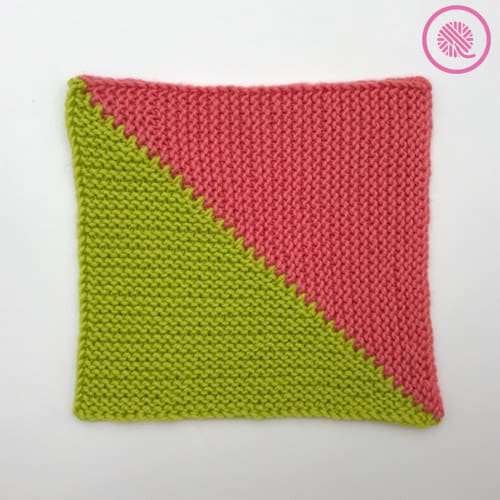
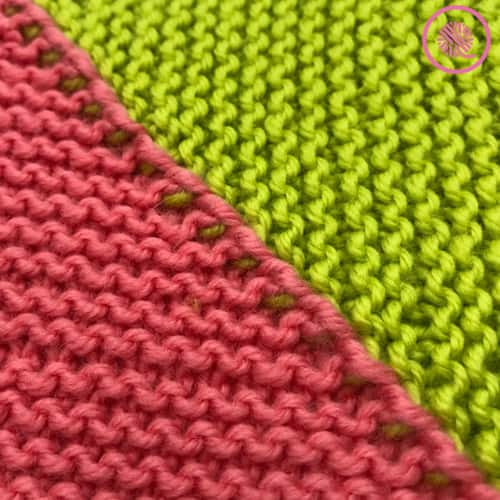
Mitered squares are unique because the knitting changes directions on each half. You can see in the picture below that the green rows are horizontal and the pink rows are vertical.

Using the short row method ensures that any loom knitter can make a perfect square. Short rows only work part of the row. You keep working back and forth in garter stitch on rows that gradually shorten down to one stitch. Then you increase the length of the rows for the second half.
I’ve given you many options in the Loom Knit Short Row Mitered Square pattern:
- Use ANY loom and yarn to make this square
- Make ANY size (as long your loom has enough pegs)
- One color or two color squares
- Slipped stitch edge for a smooth look or plain edge for easier seaming
For a refresher on loom knitting basics see the blog posts below to get started:
13 Questions for Beginner Loom Knitters
How to Loom Knit Basics (cast on, knit, purl, & bind off)
How to Loom Knit Basic Stitch Patterns (garter st, seed st and ribbing)
How to Loom Knit in the Round
One 8″ square made on a Small Gauge (SG) loom can make a beautiful washcloth for a spa set.
Or go up 12″ with some soft baby yarn for cozy baby lovee.
Grab an afghan loom and make an oversized baby blanket.
All with the same pattern!
Feeling really ambitious?
Make dozens of squares and seam them together to create a unique loom knit quilt.
There are so many possibilities for using this pattern! What’s your favorite?
Loom Knit Short Row Mitered Square
By Kristen Mangus
A downloadable PDF of this pattern is available in my Etsy store and from Ravelry at the links below:


MATERIALS
Links below are affiliate links to products I used to create this pattern/video. Clicking the links costs you nothing, but helps support GoodKnit Kisses.
Yarn: Any yarn that is an appropriate size for the loom you choose.
Medium weight (#4) Red Heart Chic Sheep (100g / 3.5oz, 170 m / 186 yards) used in sample:
Color A – Color Grass
Color B – Color Mai Tai
Loom: Any gauge loom
Small Gauge (SG) ⅜” Knitting Board Flexee Loom Skinny used for sample.
GAUGE Not important for this pattern.
Sample 9.5 sts x 20 rows = 2” x 2”
SIZE* Any size.
Sample is approx 8” x8”
ABBREVIATIONS
K = Knit (U knit, True knit or E wrap)
P = Purl
S = Slip stitch. Skip this peg and bring the working yarn behind.
W = Wrap the peg as if to U knit; bring yarn around peg to front. Do not knit peg. Begin next row working in the opposite direction.
St(s) = Stitch(es)
SKILL LEVEL Easy+
NOTES
Short row – This technique is used to shape your knitting. It involves working a portion of the row then wrapping a peg and working back in the opposite direction. This leaves the stitches at the end of the row unworked. Because we’re working in garter stitch all wraps are on knit rows and on the following row you purl back to the beginning.
Slipped stitch edge – This first set of pattern instructions includes slipped stitch edge to create a uniform look on each side. If you plan to seam the squares together you may prefer to omit this edge and follow the second set of instructions (2.Mitered Square without Slipped Stitch Edge).
Two color design – When using two colors you switch colors in the middle of Row 9. Work the first stitch in Color A, then cut the yarn leaving a tail to weave in. Next pick up Color B and wrap the next peg. Do NOT use a slipknot to begin Color B.
*Size – Since this pattern is used to make a square of any size I have a handy chart below to give you a general idea of how many stitches to cast on to create squares of various sizes. These are guidelines only and your specific choice of loom, yarn and knit stitch will affect the finished size of your project.
| Short Row Mitered Square Suggested Cast On Pegs | |||
|---|---|---|---|
| Loom Gauge | 4” square | 8” square | 12” square |
| Small Gauge (SG) (5/16”, 3/8”, 7/16”) | 16-20 sts | 32-40 sts | 48-60 sts |
| Regular Gauge (RG) (1/2”, 9/16”) | 12-16 sts | 24-32 sts | 36-48 sts |
| Large Gauge (LG) (5/8”, 11/16”) | 8-12 sts | 16-24 sts | 24-36 sts |
| Extra Large Gauge (XLG) (3/4“, 13/16”, 7/8”, 15/16”) | 6-12 sts | 12-24 sts | 18-36 sts |
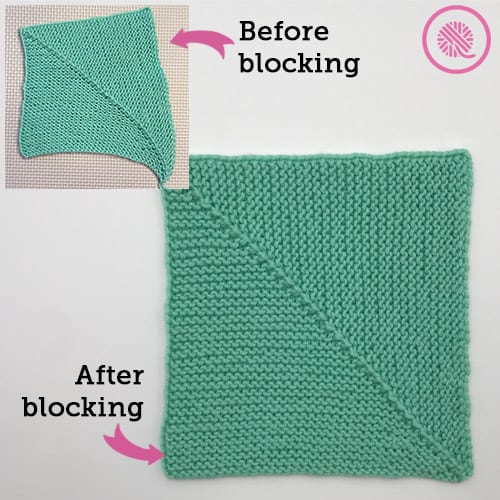
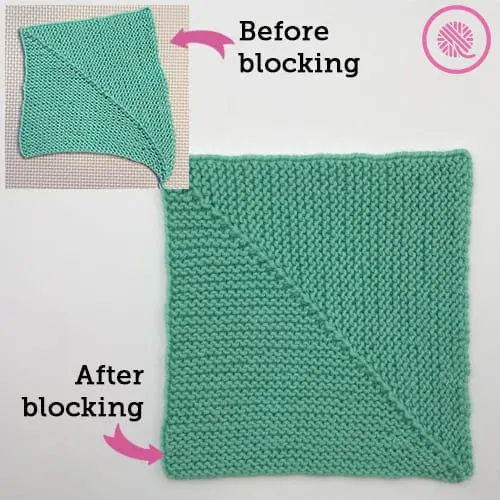
Blocking – When you finish your project may not appear perfectly square, but tug it in both directions and let the stitches relax. If desired, you can steam or wet block each square before seaming to ensure an exact size. Video link below
Seaming – For seaming the squares I recommend using a Bickford seam. Video link below.
INSTRUCTIONS
1.Mitered Square with Slipped Stitch Edge
Cast on desired number of sts using chain cast on. (38 used in sample.)
Row 1: S1, Knit to last st, W1. [2 loops on last peg.]
Row 2: Purl to last st, K1.
Row 3: S1, Knit to 1 st before wrapped peg, W1. [2 loops on last 2 pegs.]
Row 4: Purl to last st, K1.
Row 5: S1, Knit to 1 st before wrapped peg, W1.
Row 6: Purl to last st, K1.
Rep Rows 5-6 until all except the first 2 sts are wrapped.
Row 7: S1, W1.
Row 8: K1.
Row 9: S1, [If working two color design cut Color A leaving yarn tail and switch to Color B. Do NOT use a slipknot.] W1. [3 loops on Peg 2, 2 loops on rem pegs.]
Row 10: K1
Row 11: S1, K1 (knitting over all 3 wraps on peg 2), W1. [3 loops on Peg 3, 2 loops on rem pegs.]
Row 12: P1, K1
Row 13: S1, Knit all pegs up to and including double-wrapped peg, W1. [3 loops on Peg 4, 2 loops on rem pegs.]
Row 14: Purl to last st, K1.
Row 15: S1, Knit all pegs up to and including double-wrapped peg, W1.
Row 16: Purl to last st, K1.
Rep Rows 15-16 until 3 loops on next to the last peg and 2 loops on the last peg.
Row 17: Purl to last st, K1.
Row 18: S1, Knit all. [All pegs have 1 loop only.]
Row 19: S1, Purl to last st, K1.
Bind off. Fasten off by pulling beginning yarn tail and working yarn tail through last stitch. Weave in ends.

2.Mitered Square WITHOUT Slipped Stitch Edge
Cast on desired number of sts using chain cast on. (38 used in sample.)
Row 1: Knit to last st, W1. [2 loops on last peg.]
Row 2: Purl all.
Row 3: Knit to 1 st before wrapped peg, W1. [2 loops on last 2 pegs.]
Row 4: Purl all.
Row 5: Knit to 1 st before wrapped peg, W1.
Row 6: Purl all.
Rep Rows 5-6 until all except the first 2 sts are wrapped.
Row 7: K1, W1
Row 8: P1
Row 9: K1, [If working two color design cut Color A leaving yarn tail and switch to Color B. Do NOT use a slipknot.] W1. [3 loops on Peg 2, 2 loops on rem pegs.]
Row 10: P1
Row 11: K2 (knitting over all 3 wraps on peg 2), W1. [3 loops on Peg 3, 2 loops on rem pegs.]
Row 12: P2
Row 13: Knit all pegs up to and including double-wrapped peg, W1. [3 loops on Peg 4, 2 loops on rem pegs.]
Row 14: Purl all.
Row 15: Knit all pegs up to and including double-wrapped peg, W1.
Row 16: Purl all.
Rep Rows 15-16 until 3 loops on next to the last peg and 2 loops on the last peg.
Row 17: Purl all.
Row 18: Knit all. [All pegs have 1 loop only.]
Row 19: Purl all.
Bind off. Fasten off by pulling beginning yarn tail and working yarn tail through last stitch. Weave in ends.

Short Row Mitered Square Tutorial Videos
Select videos are available to GoodKnit Kisses YouTube members only. To get exclusive access to GKK VIP-only content, free PDF patterns, weekly Zoom meetup and more, sign in to YouTube and join as a VIP Member today! Find out more about GKK Membership HERE!
Right Handed Tutorial
[embedyt] https://www.youtube.com/watch?v=O46kZDzGbrY[/embedyt]
Left Handed Tutorial
[embedyt] https://www.youtube.com/watch?v=r5TeVh6asWQ[/embedyt]
How to Wet Block
[embedyt] https://www.youtube.com/watch?v=PJmjUHj7P_Y[/embedyt]
How to Seam Blocks
[embedyt] https://www.youtube.com/watch?v=nKDCQYRUIHI[/embedyt]