
By Kristen Mangus
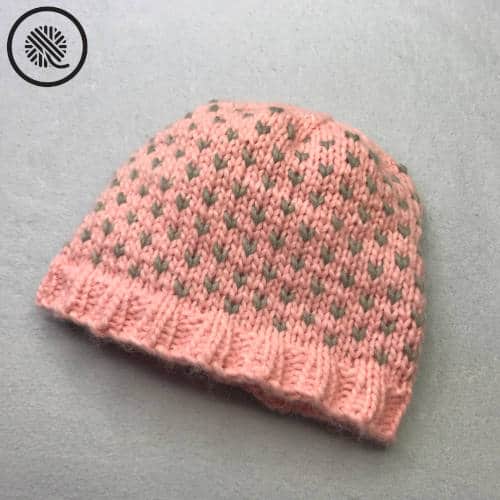
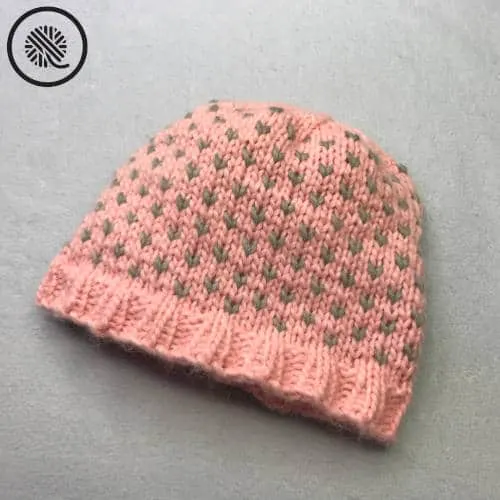
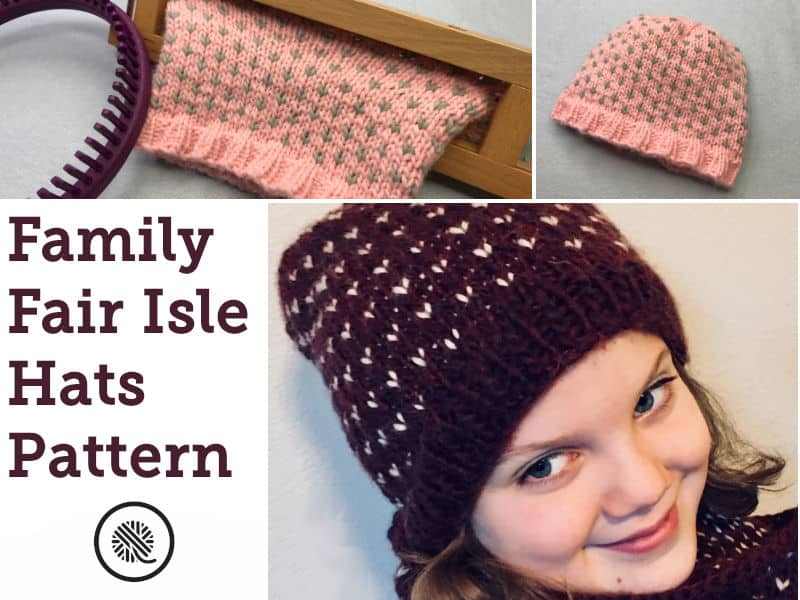
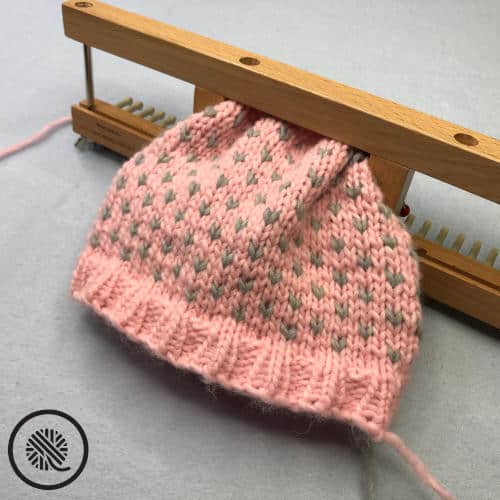
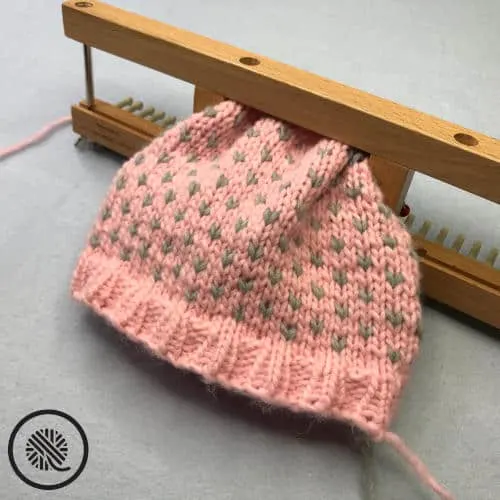
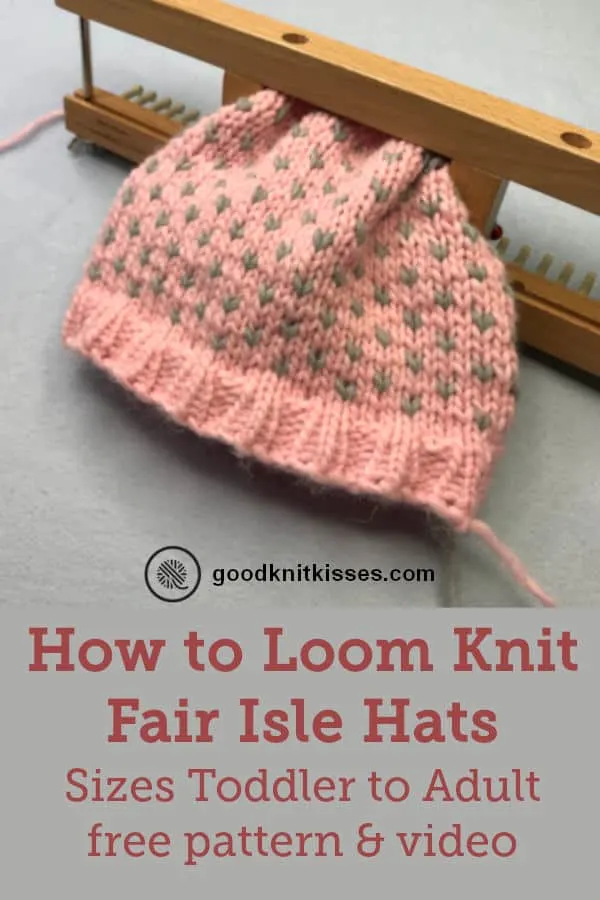
Brrrr! Temps are dropping and now is the perfect time to cuddle up with a new project. My Family Fair Isle Hats pattern is a great way to break into the wonderful world of Fair Isle knitting on your loom.
Get the matching cowl here:
Loom Knit Fair Isle Cowl
Or if you’re a needle knitter, get the patterns at the links below:
Fair Isle Knit Hat
Fair Isle Knit Cowl

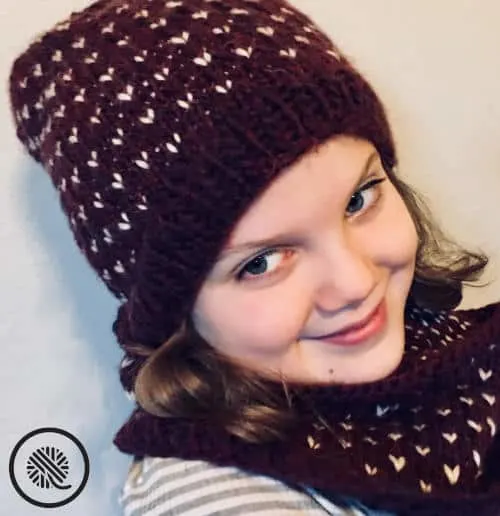
Fair Isle knitting is a technique that brings patterns of color together in one smooth fabric. You know those amazing Nordic sweaters we all love? That’s the same technique I’m teaching. The body of the hat features a simple two-color stitch pattern that even a beginner loom knitter can master.
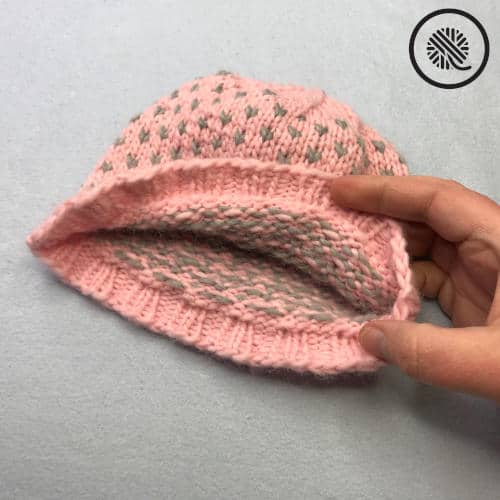
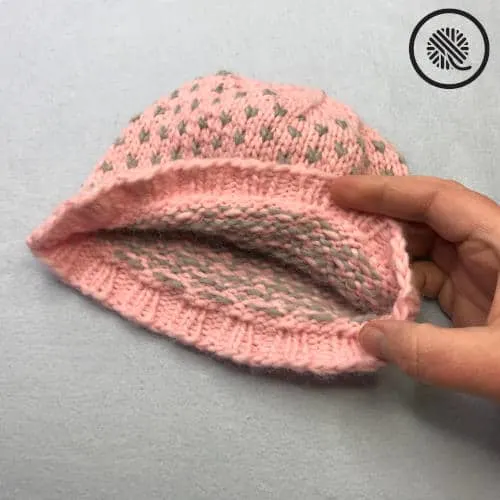
Fair Isle knitting uses two or more colors of yarn in the project by knitting one color per stitch and carry the unused color along the back. The extra strands of yarn on the inside of the project are called floats. In the video I show you how to make the floats shorter for a cleaner look, reducing the possibility of snagging floats when wearing the hat.
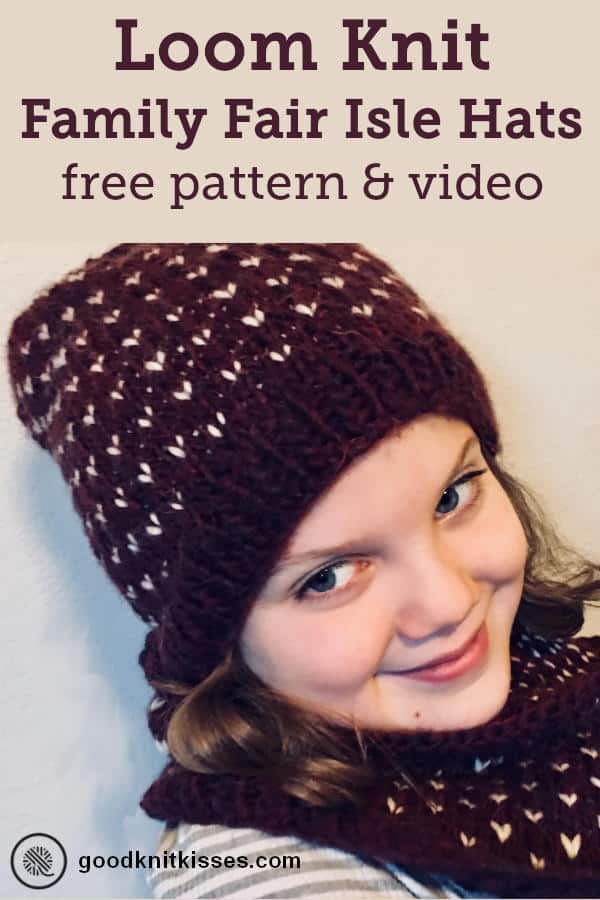

Family Fair Isle Hats Pattern
An ad-free downloadable PDF of this pattern is available for purchase in my GoodKnit Kisses online store, Etsy or Ravelry at the links below:


Yarn
Contrast A Patons® Alpaca BlendTM (3.5 oz/100 g; 155 yds/142 m) Peony. 1 ball.
Contrast B Patons® Alpaca BlendTM (3.5 oz/100 g; 155 yds/142 m) Smoke. 1 ball.
Loom
Small Gauge (3/8”) loom with multiple of 4 set up to work in the round
Knitting Board All In One loom used in smallest sample.
Other adjustable looms include: Cindwood X Loom, Kiss Looms Small Gauge Loom
Possible fixed peg looms for sizes Toddler, Child & Small include: Knitting Board Premium Round Looms
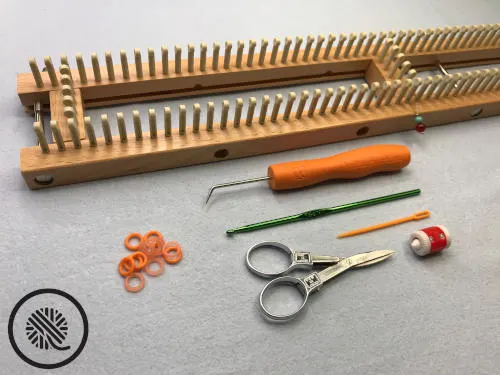
Notions
Tapestry needle to weave in ends
Crochet hook (for cast on; small enough for between pegs)
Stitch markers

ABBREVIATIONS
Approx = approximately
Beg = Beginning
Cont = Continue
K = Uwrap Knit
P = Purl
Pat = Pattern
Rep = Repeat
Rnd = Round
St(s) = Stitch(es)
GAUGE
16.5 sts x 25 rows in 4” (10 cm) in stockinette. CHECK YOUR GAUGE. Change loom peg count to obtain correct size.
SKILL LEVEL
Easy+
SIZES
Toddler (Child, Small, Medium, Large)
MEASUREMENTS
Circumference 15.5 (17.5, 19.5, 21.25, 23.25) inches [39.5 (44.5, 49.5, 54, 59) cm] and 7.5 (8, 8.5, 9, 9.5) inches [19 (20.5, 21.5, 23, 24) cm] in height
NOTES
Chain cast on is listed in pattern instructions, but you may also use the double ewrap or longtail cast on if you prefer.
Item will be worked in the round. For right handed knitters work from right to left (clockwise); work in the opposite direction for left handed knitters (counter clockwise).
All knit stitches are Uwrap knit. Be sure to work loosely to achieve correct gauge. Tight knitters may be able to use the true knit stitch. Ewrap is not recommended for this project.
This pattern can be worked on either a fixed peg loom or an adjustable loom with a slider to decrease the number of pegs in use. Please note the special instructions for non-adjustable (fixed peg) looms after Round 7.
FAIR ISLE TECHNIQUE
When knitting fair isle the accent yarn (B) is carried on the back side of your work. It will create a long strand called a float. Long floats (more than 2 stitches wide) can be loose and snag when worn. To prevent this problem use the following technique to trap the float behind the main color.
On a colorwork round:
- After working B, knit the next peg with A as usual.
- Then move the working yarn for color B to the front of your loom between the last peg worked and the next peg.
- Uwrap the next peg with A and move color B back between the same pegs so it is behind your work again.
- Knit over peg wrapped with A. The float for color B is now wrapped around the working yarn for color A between the stitches.
- Knit the next stitch A as written.
- The next stitch worked is B, work as above throughout the round.
INSTRUCTIONS
With A cast on 64 (72, 80, 88, 96) sts and join in the round. Place marker on Peg 1 to mark beginning of round.
Rnd 1: *K2. P2. Rep from * to end of rnd.
Rep Rnd 1 for 1 (1, 1.25, 1.5, 1.5) inches [2.5 (2.5, 3, 4, 4) cm].
Rnd 2: Knit.
Rnd 3: Knit. Do not break yarn.
Attach Contrast B and proceed as follows:
Rnd 4: *With B K1. With A K3. Rep from * to end of rnd. Drop B, do not break.
Rnd 5: With A Knit.
Rnd 6: With A K2. *With B K1. With A K3. Rep from * to end of row.
Rnd 7: With A Knit.
Rnds 4-7 form Fair Isle Pat.
Cont in pat until work from beg measures approx 5.5 (6, 6.5, 7, 7.5) inches [14 (15, 16.5, 18, 19) cm]. Break B.
Non Adjustable looms only:
Rnd 8: With A Knit.
Work Rnd 8 rnd for 1” and continue to SHAPE TOP working rnds 1-7 only.
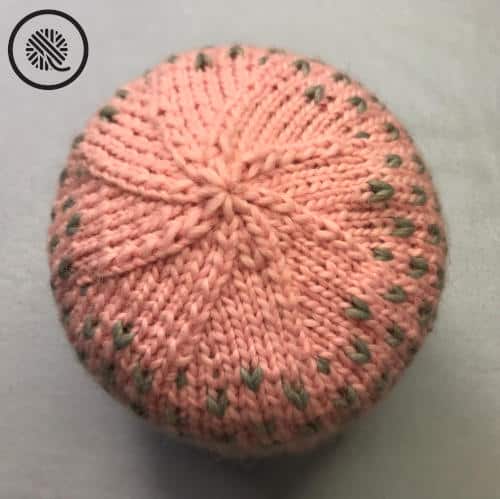
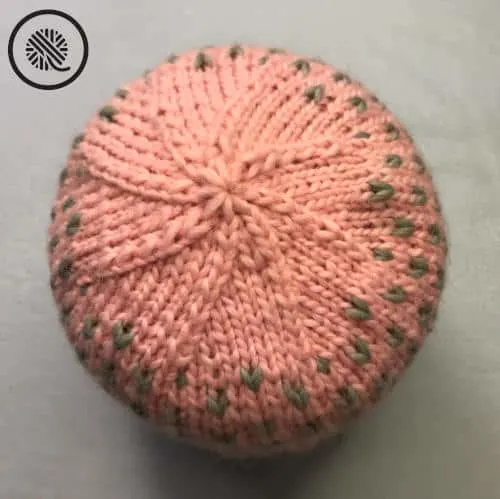
SHAPE TOP:
Starting at the beginning of the round place a stitch marker every 8 pegs. You will need 8 (9, 10, 11, 12) markers. As you work the decreases be sure to move the stitch marker as you shift stitches around your loom. (See video tutorial for example.)
Rnd 1: With A *K6. K2tog. Rep from * around. 56 (65, 72, 77, 84) sts.
Rnd 2 and alt rnds: Knit.
Rnd 3: *K5. K2tog. Rep from * around. 48 (56, 62, 66, 72) sts.
Rnd 5: *K4. K2tog. Rep from * around. 40 (47, 52, 55, 60) sts.
Rnd 7: *K3. K2tog. Rep from * around. 32 (38, 42, 44, 48) sts.
If working on an adjustable loom cont in pat as written.
If your loom is NOT adjustable knit one more round and continue to ** below.
Rnd 9: *K2. K2tog. Rep from * around. 24 (29, 32, 33, 36) sts.
Rnd 11: *K1. K2tog. Rep from * around. 16 (20, 22, 22, 24) sts.
Rnd 13: *K2tog. Rep from * around. 8 (11, 12, 11, 12) sts.
**
Break yarn, leaving a long end. Thread end through rem sts and draw up tightly. Fasten securely. Weave in tails.

Jade
Sunday 25th of October 2020
Thank you for sharing this pattern and video. I will try to give it go to make a beanie for my 8 year old niece, this will be my second loom project. I'm excited to make a fair isle hat.
DJ HIXSON
Saturday 2nd of February 2019
Sorry, this is not an easy pattern, but your instructions are excellent as usual. I will try this and hope for the best.
DJ HIXSON
Saturday 2nd of February 2019
Sorry, this is not an easy pattern, but your instructions are excellent as usual. I will try this and hope for the best.