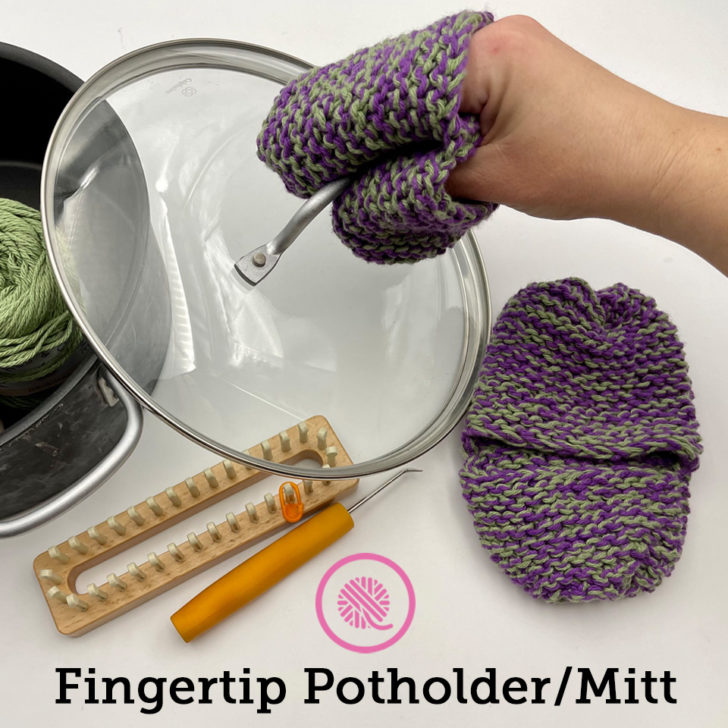

Inside: Learn how to make the loom knit Fingertip Potholder. This mini oven mitt pattern is free and includes detailed written instructions, diagrams and tutorial videos.
OUCH! Don’t burn your fingers again!
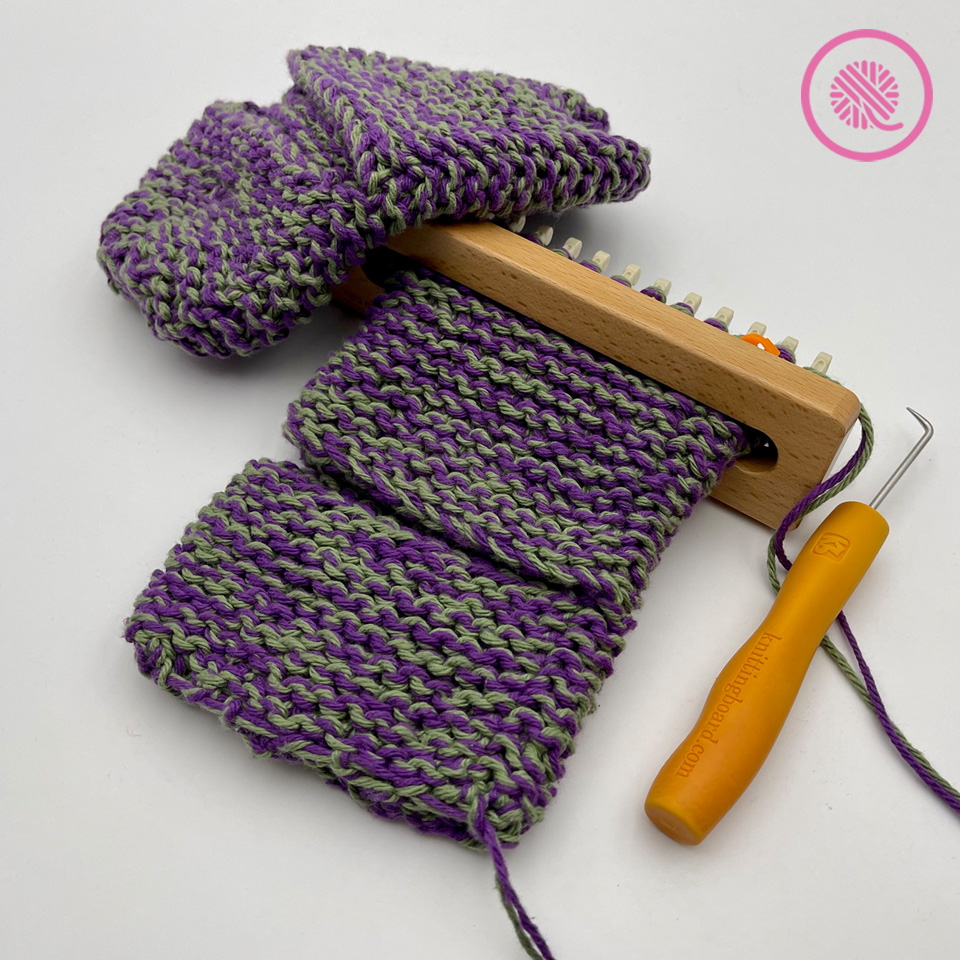
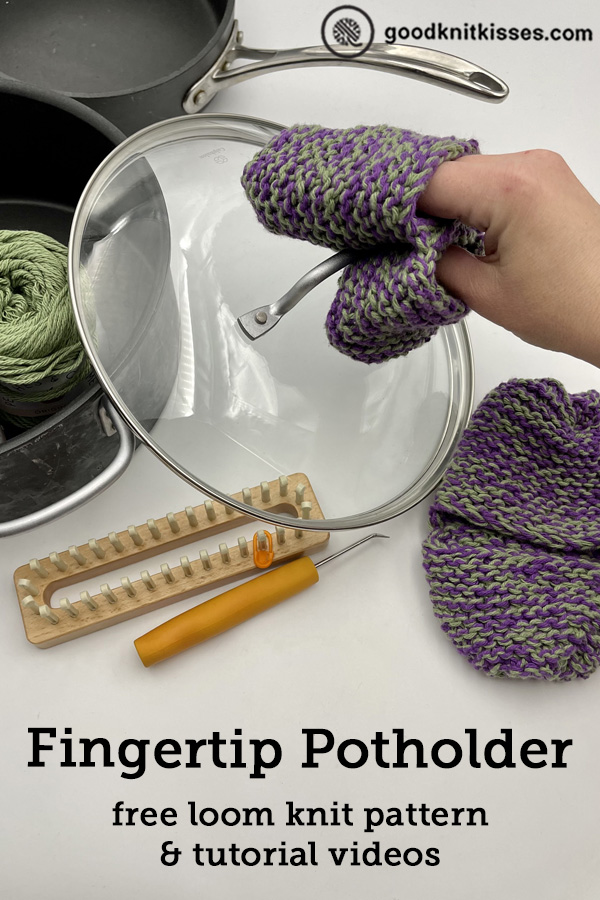
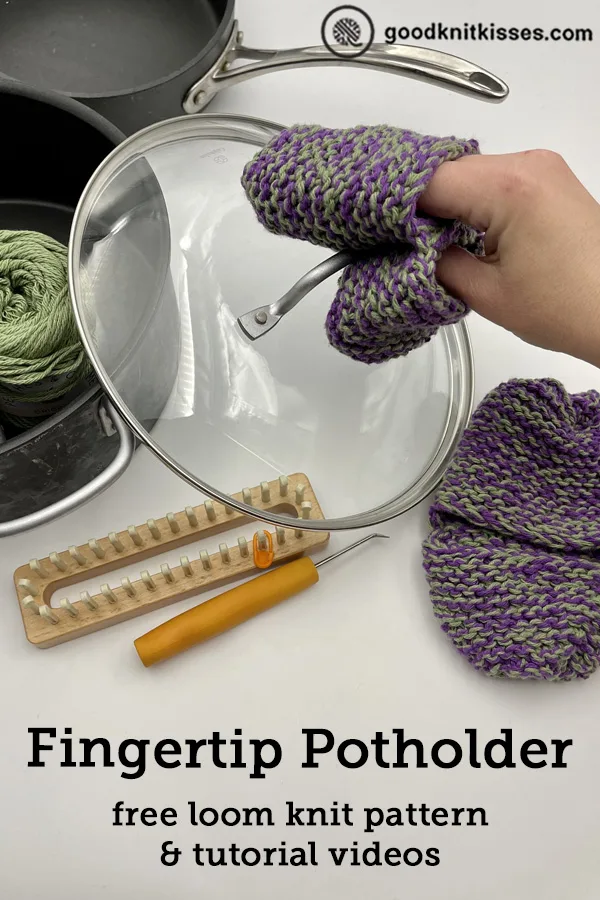
My Fingertip Potholder protects your hands when working in the kitchen. It’s the perfect mini oven mitt for grabbing the inside of your Instant Pot or pulling a hot lid off a pan. This easy project is loom knit in the round using two strands of cotton yarn held together so it’s extra thick.
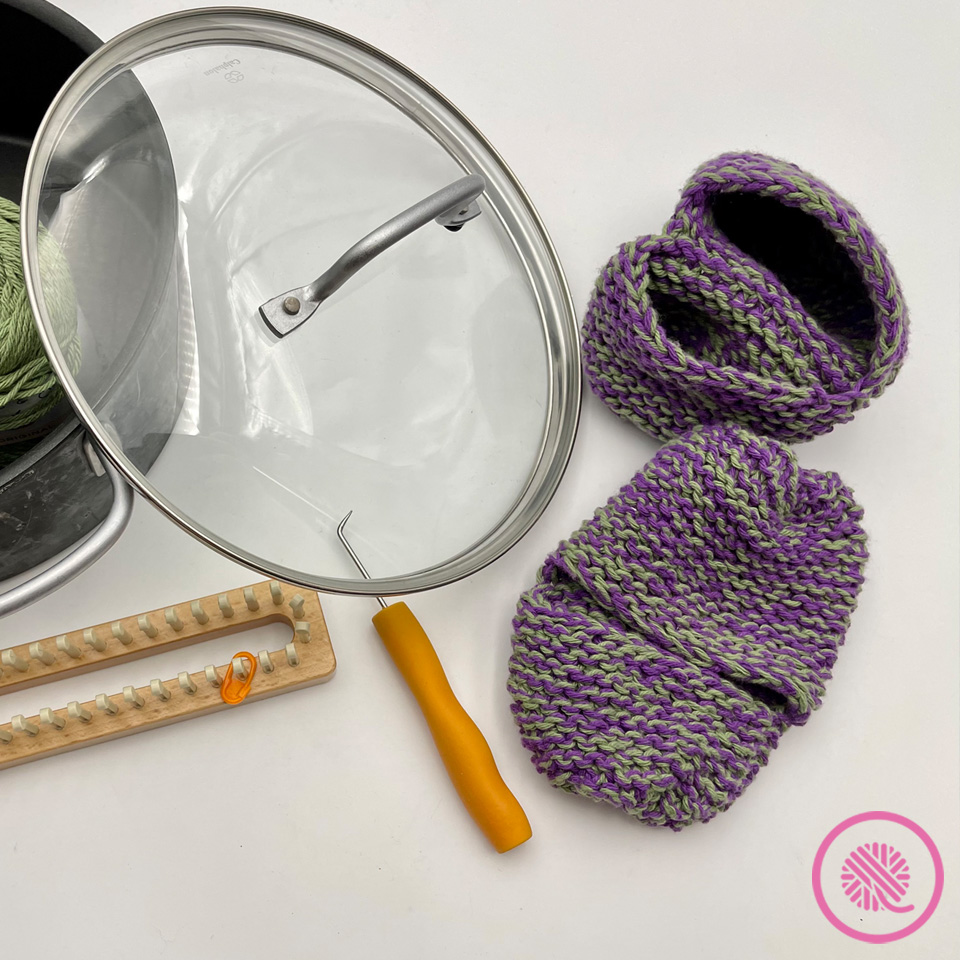
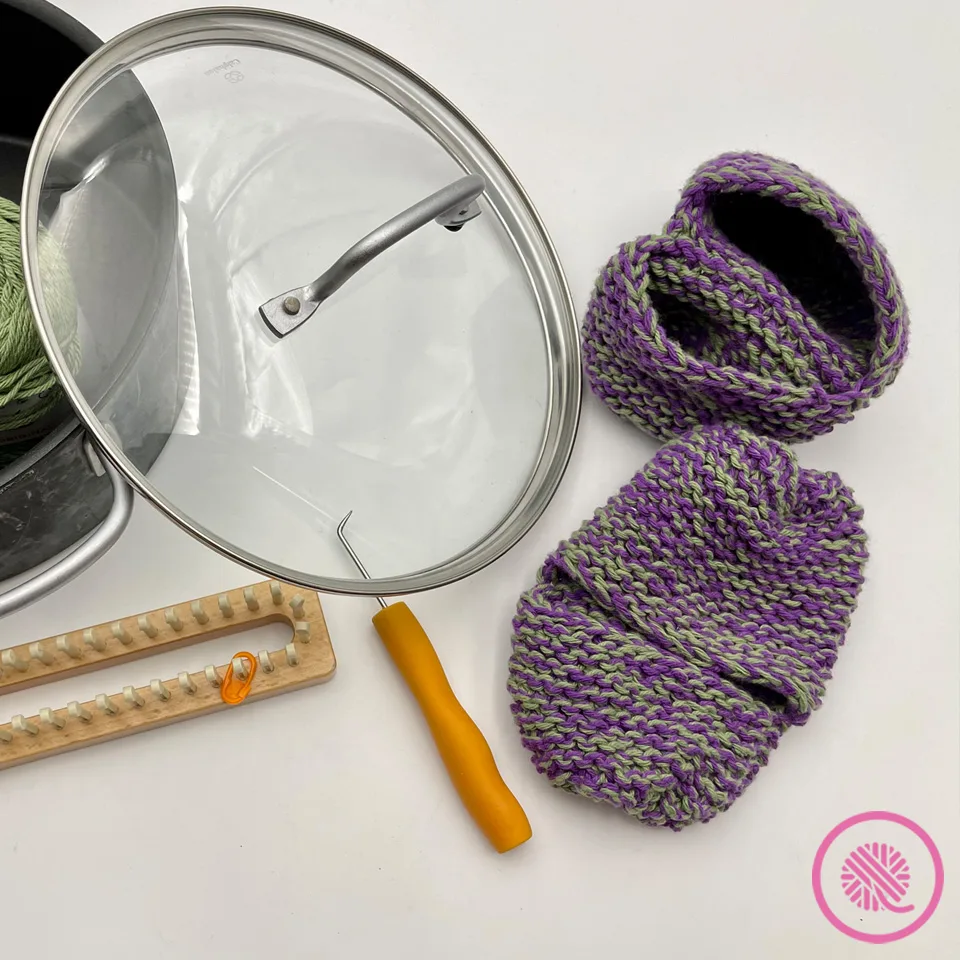
I chose to use 2 solid colors together, but you can use stripes, variegated, or ombres to get the look you want. You need 2 balls of cotton yarn and that will make 2 potholders.
This beginner pattern also introduces my new non-bulky drawstring cast on. With 2 strands of yarn I found I couldn’t completely draw the cast on edge closed. I didn’t want to leave even a small opening because you’ll using this to grab hot stuff and the whole point is to protect your fingers.
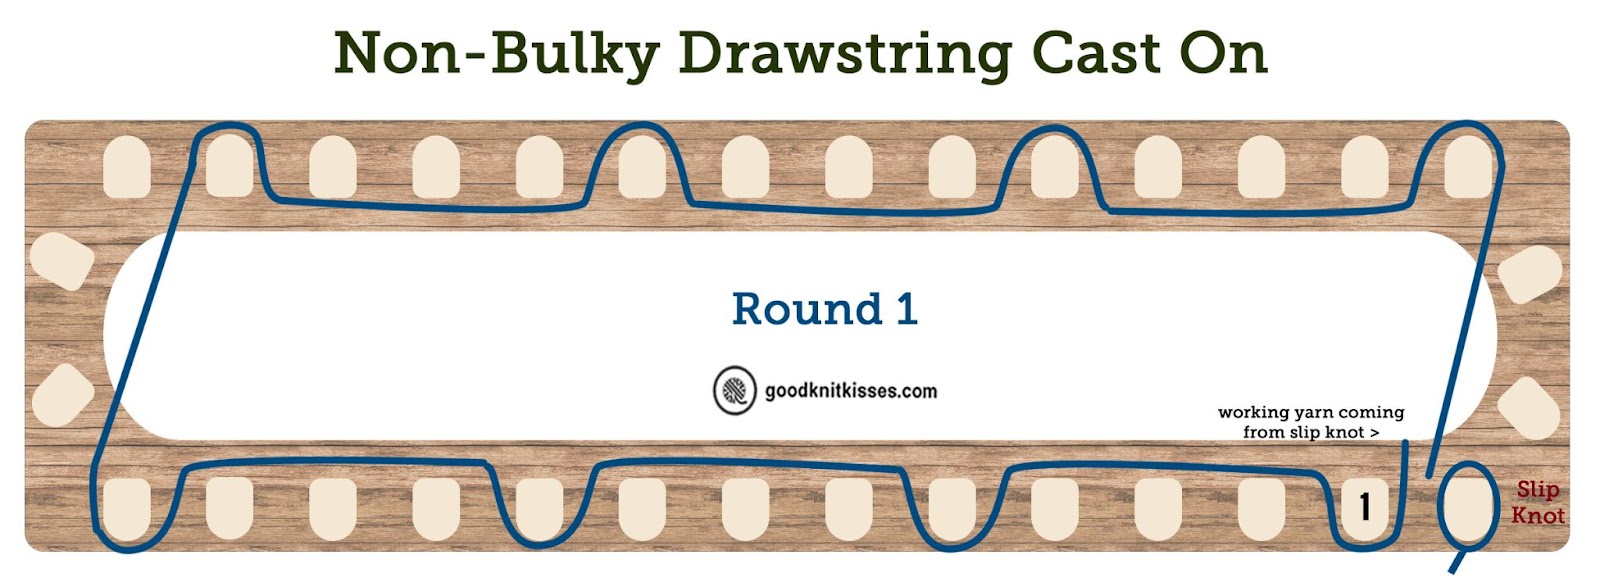
So, I tested a new method for casting on that tightly closes when you draw it shut. I even included a diagram of how to wrap the first round so you can follow along. Or you can loom knit it with me while you watch the video.
Loom Knit Fingertip Potholder (Mini Oven Mitt)
By Kristen Mangus
A downloadable PDF of this pattern is available in my Etsy store or from Ravelry at the links below:


MATERIALS
(Materials list may contain affiliate links to products I used to make this project. Using these links costs you nothing, but helps support GKK.)
Yarn
Medium (#4) weight cotton yarn
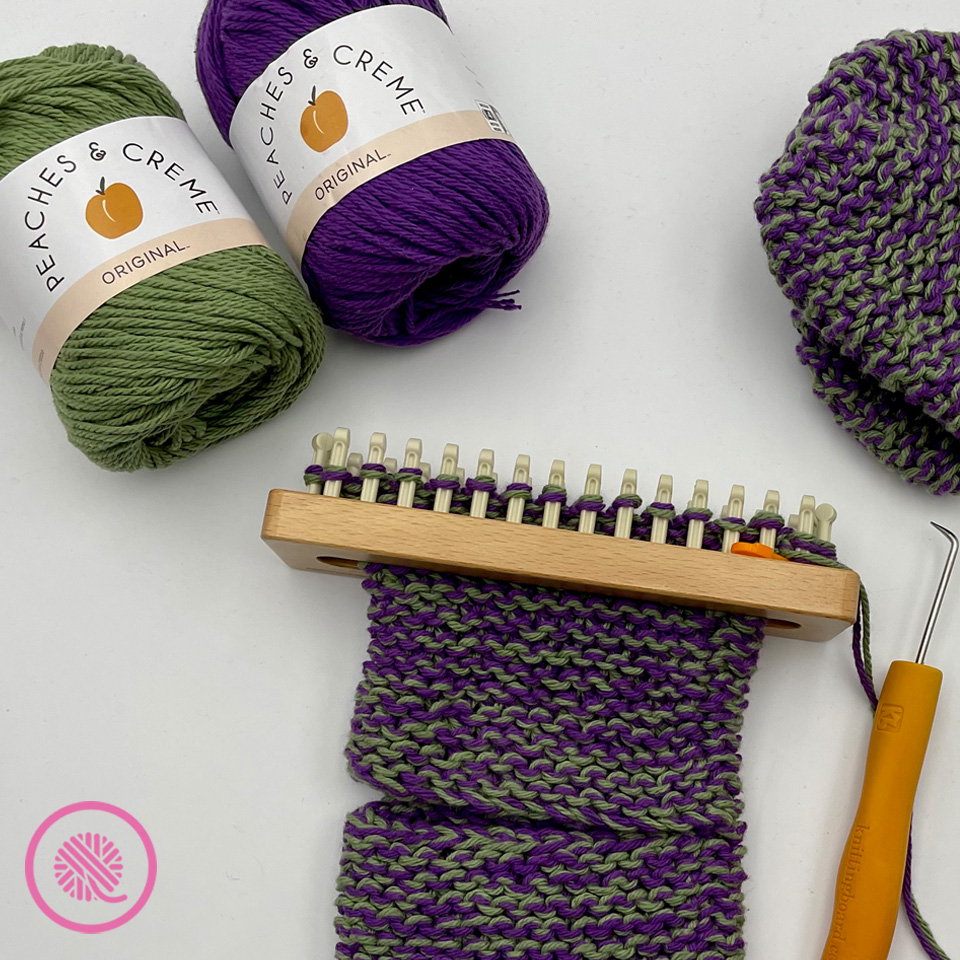
Peaches & Creme (70.9 g/2.5 oz, 109 m/120 yds) in colors Black Currant and Rosemary. Makes 2.
Loom
7/16” small gauge (SG) loom with 32 pegs in the round.
KB Basics Loom used in sample.
Tapestry needle for weaving in ends
Stitch marker that fits on loom to mark beginning of round
Crochet hook that fits between pegs for chain cast on

ABBREVIATIONS
EK = Ewrap knit
Rep = Repeat
Rnd(s) = Round(s)
P = Purl
St(s) = Stitch(es)
For a refresher on loom knitting basics see the blog posts below to get started:
13 Questions for Beginner Loom Knitters
How to Loom Knit Basics
How to Loom Knit Basic Stitch Patterns
How to Loom Knit in the Round
GAUGE
12 sts x 28 rows in 4” x 4” in garter stitch pattern
SKILL LEVEL Easy
MEASUREMENTS
Approx. 10” circumference x 8” h
NOTES
Cast On: This project uses a non-bulky drawstring cast on. This cast on has 4 rounds to gradually add the stitches to prevent a bulky end on the potholder. I broke down each round into easy to follow steps.
Knit stitches: The cast on uses a flat knit stitch, but the rest of the pattern uses the E-wrap knit stitch.

INSTRUCTIONS
Place stitch marker on second peg from end of lower board to mark beginning of round. This is Peg 1. (see diagram)
Non-Bulky Drawstring Cast On
Cast on 32 pegs in the round using the non-bulky drawstring cast on as follows; hold 2 strands of yarn together and make a slipknot:
Cast On Rnd.1
- Push slipknot through middle of loom, pull up on the outside of the loom and place on first peg of lower board. This is the peg before your stitch marker. We are using this as an anchor peg to begin the cast on.
- Wrap yarn in front of Peg 1 (with stitch marker).
- Slip (bring yarn behind) next 3 pegs (Pegs 2-4) and wrap in front of Peg 5.
- Continue in this pattern of slipping 3 pegs and wrapping the next peg until you reach the beginning of the round. (see diagram)
Cast On Rnd. 2
- Flat knit first peg.
- Slip next peg.
- Wrap in front of next peg.
- Slip next peg.
- Repeat Steps 1-4 to the end of the round.
Cast On Rnd. 3
- Knit first peg.
- Wrap next peg.
- Knit next peg.
- Slip next peg.
- Repeat Steps 1-4 to the end of the round.
Cast On Rnd. 4
- Remove slip knot from last peg.
- Knit next 3 pegs.
- Wrap next peg.
- Repeat Steps 2-3 to the end of the round.
Potholder Instructions
Rnd 1: EK all.
Rnd 2: P all.
Rep. Rnds 1-2 eight more times.
Rnd 3: Bind off first 16 stitches using basic bind off. EK to end of rnd.
Rnd 4: Chain cast on 16 stitches using a crochet hook that fits between the pegs. P to end of rnd.
Rep. Rnds 1-2 fourteen more times.
Bind of using modified drawstring bind off as follows:
Setup Rnd: EK 2, move 2nd peg to 1st and knit over. Repeat around loom until 16 sts remain.
Bind Off Rnd 1:
- Wrap working yarn around loom twice and cut yarn.
- Pull working yarn through peg as if to purl. (Pull a loop of yarn up from below the stitch on the peg and pull the entire yarn tail through.) Take stitch off of peg.
- Skip next peg.
- Repeat Steps 2-3 to end of round.
Bind Off Rnd 2:
- Pull working yarn through peg as if to knit. (Pull a loop of yarn down from above the stitch on the peg and pull the entire yarn tail through.) Take stitch off of peg.
- Repeat Step 1 to end of round.
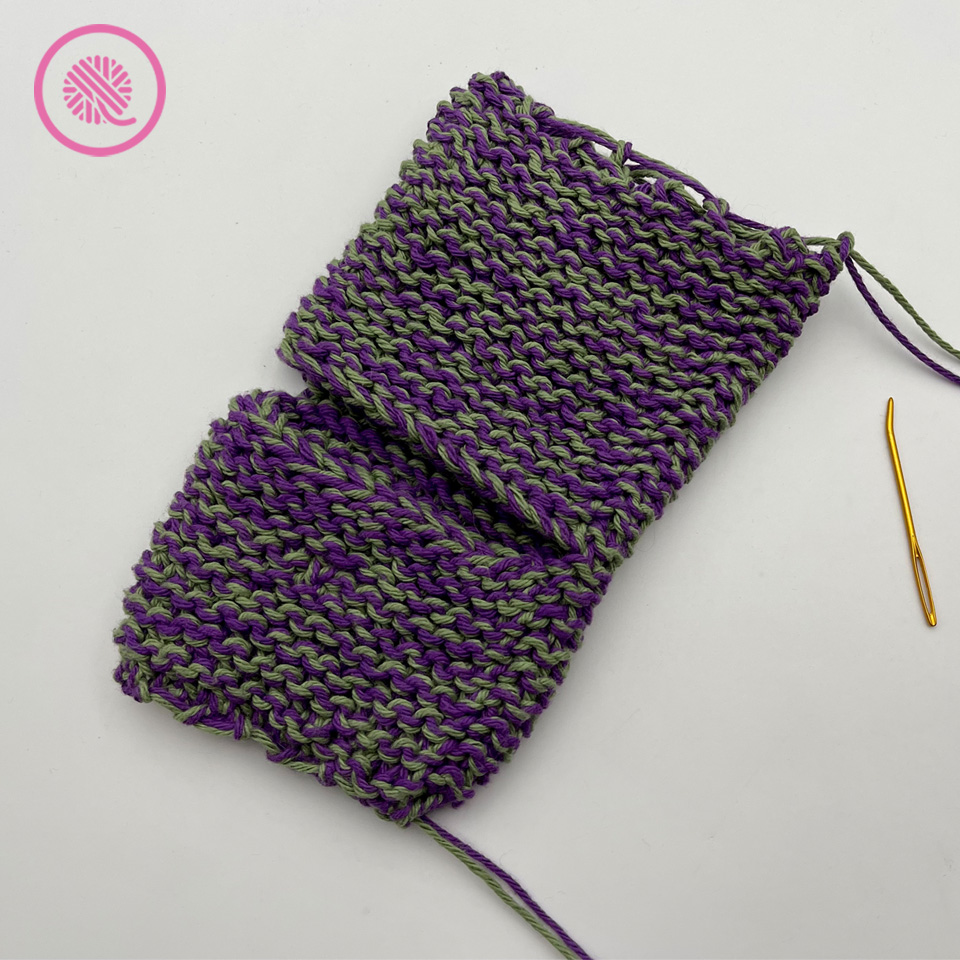
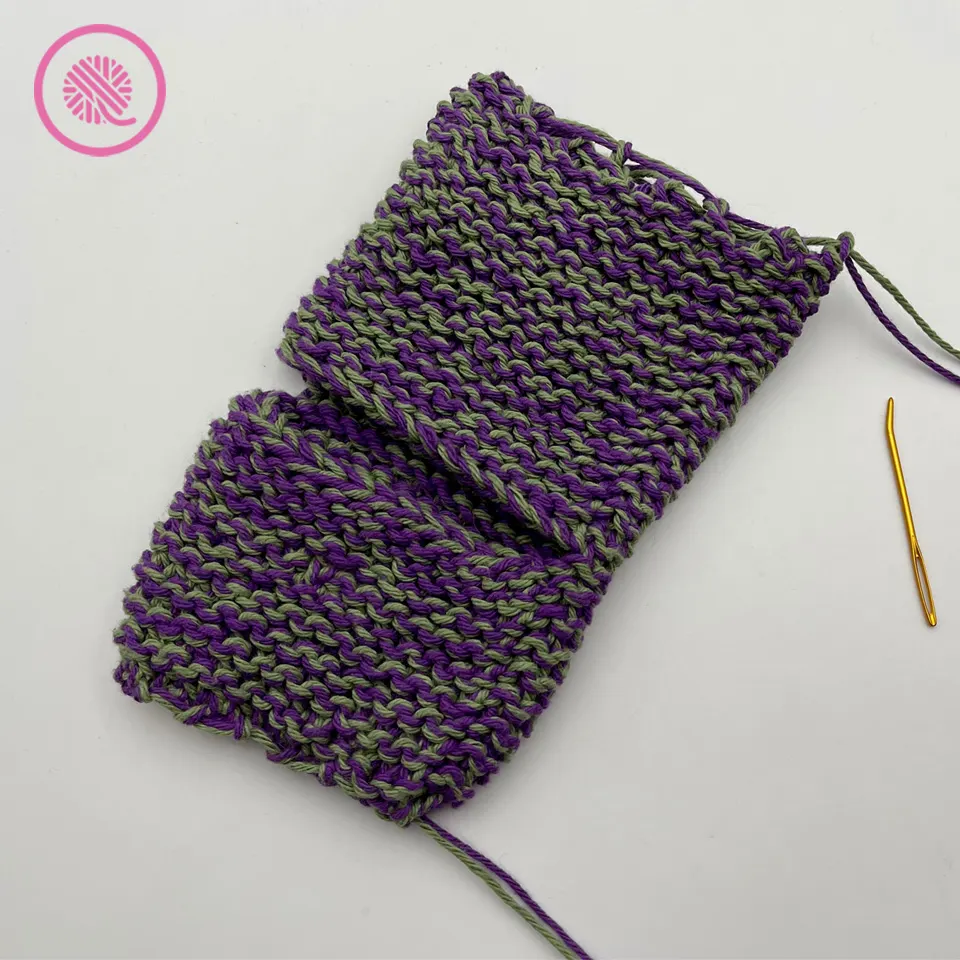
Gently pull drawstring tight and bring tail to inside. Fasten a knot and weave in tails. Finish off beginning drawstring in the same way.
Repeat to make second fingertip potholder for a pair.
PIN IT!
Loom Knit Fingertip Potholder/Oven Mitt Video Tutorial
Select videos are available to GoodKnit Kisses YouTube members only. To get exclusive access to GKK VIP-only content, free PDF patterns, weekly Zoom meetup and more, sign in to YouTube and join as a VIP Member today! Find out more about GKK Membership HERE!
MarissaB
Saturday 23rd of September 2023
Love this! Made for friends who loved it, too. Thank you Kristen.