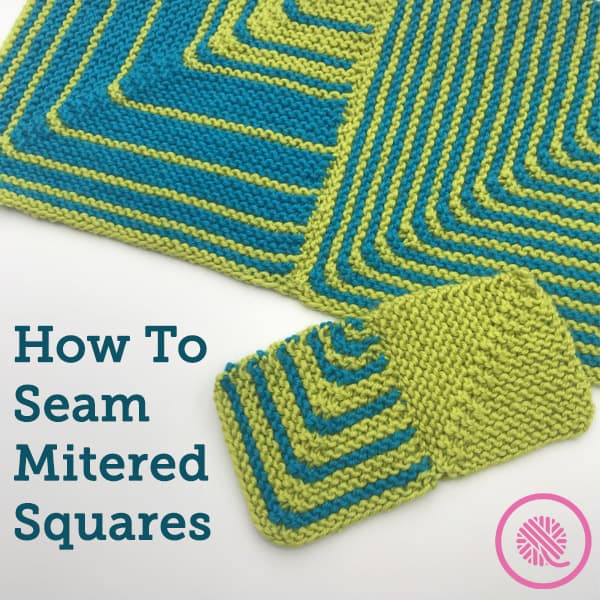

Inside: Seam mitered squares by sewing the cast on edge to a side edge. Instructions and tutorial video below.
Joining squares is one of the easiest ways to create a beautiful knit blanket. I know it’s my favorite.
Making individual squares has several benefits over making a full size blanket in one piece. First, squares are fast and easy to make. Working on squares allows you see your progress clearly each time you sit down to knit. They are also portable. It’s much easier to grab a small project bag with a skein or two of yarn and your needles or loom than to lug around the whole blanket. Let’s face it a large blanket project is really only portable for about the first 1/3 to 1/2 of the project.
But the one part that holds knitters back from tackling blanket squares is the seaming.
In all honesty, I used to dread seaming too.
I can’t even tell you how much fun I’ve had designing fun striped patterns for my mitered squares. (You’ll be seeing more of those soon!) Pinstripes, wide stripes and everything in between.
I admit it. I may be a little miter-crazy. Maybe it’s a 2020 thing.
While working on the designs I realized that I had to teach you how to seam mitered squares so you can really see how much fun they are.
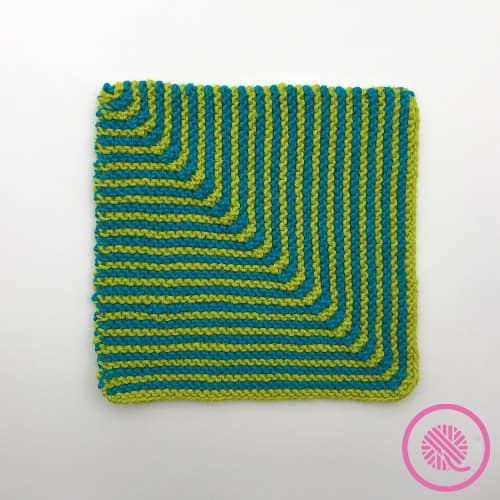
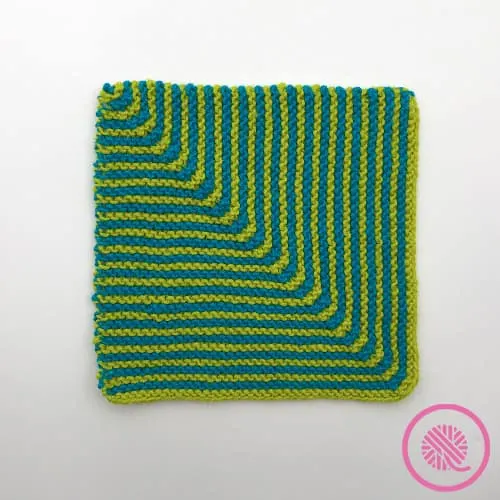
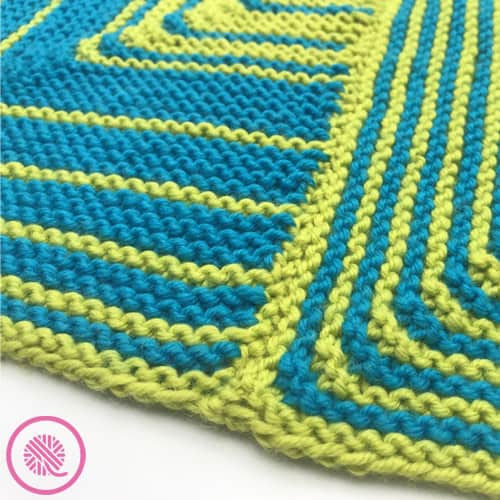
Take the simple Striped Mitered Square. Two colors of thin alternating stripes that bend in middle to create a perfect corner.
But what happens when you sew a bunch of these together is truly stunning.
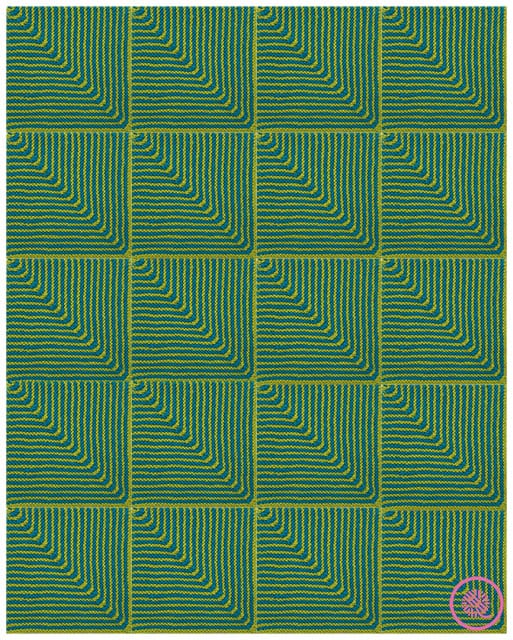
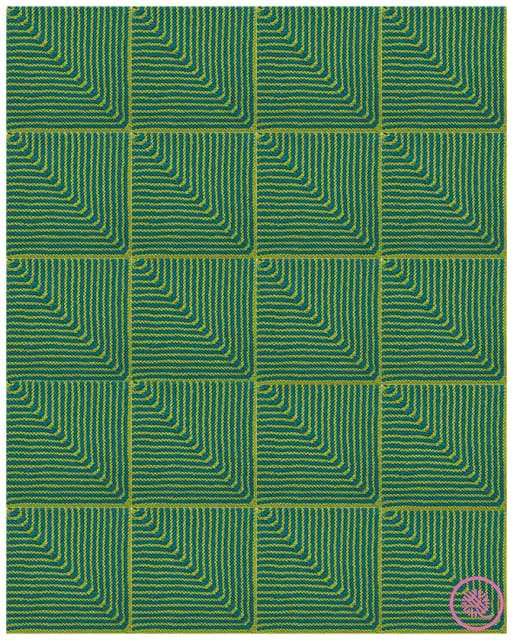
To make the throw pictured above you need 20 squares. Use the following patterns in your favorite colors to recreate this colorful throw. It measures approx. 32″ x 40″. Add more squares or make larger squares to increase the size.
Use one of these patterns to make your mitered squares:
Needle Knit Striped Mitered Square
Loom Knit Striped Mitered Square
Mitered Square Seaming Instructions
To get started you’ll need the following supplies:
- Finished mitered squares (These can be needle knit or loom knit.)
- Blunt tapestry needle (I like the Clover Chibi Bent Tip needle set [affiliate link], but straight needles work too.)
- Yarn to match your squares.
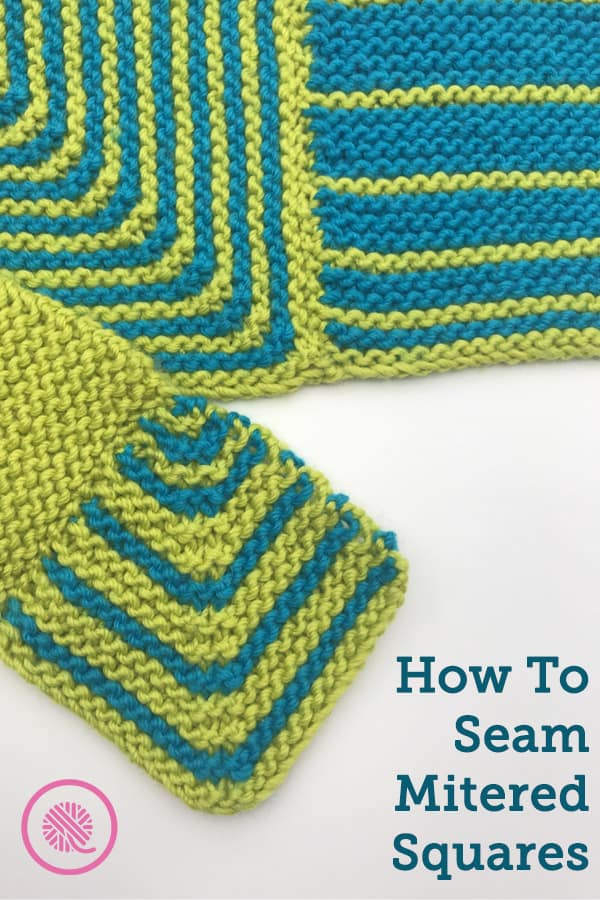
TIP: When seaming striped squares choose the color yarn that matches the cast on edge you will be working on. (See picture below.)
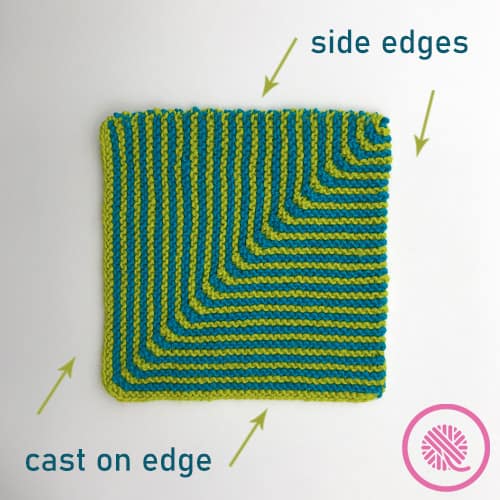

This method for seaming is a variation of the Bickford Seam. Two sides of a mitered square are made by the cast on and the other two sides are the edges of your knit rows. I will teach you how to seam a cast on edge to one of the side edges.
This seam leaves the back of your work with a smooth flat seam. I also address how to keep that seam flat when you have the added bulk of an extra strand of yarn that was carried up the side on a striped square.
Let’s get started.
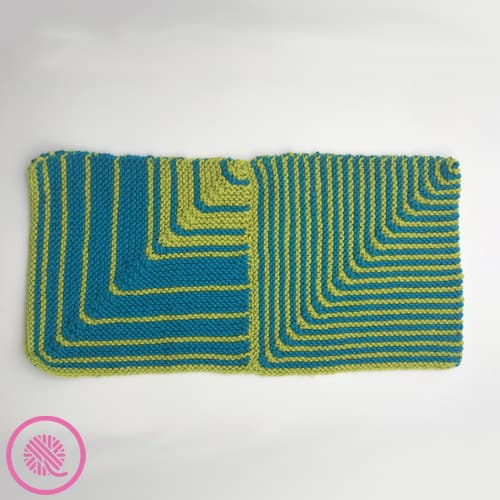
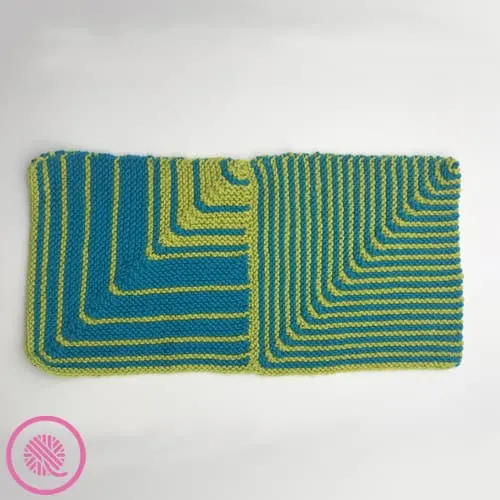
First, lay your squares out flat on the table in front of you face up. Make sure you have your squares rotated so you will be working with the cast on of one square and the side of the other.
Next, thread you tapestry needle with yarn and get ready to seam. For the purposes of this tutorial Square 1 is on the right and Square 2 is on the left. Feel free to work in whichever direction you are most comfortable.
Begin at the mitered corner of Square 1. You’ll notice that the mitered corner is made up of two columns of stitches. The true center is between them, one stitch is technically along the side while the other is on the bottom of the square. However, in order for the seam to lay smoothly we will need to pick up both of the corner stitches.
The cast on edge will have a nested row of “V” stitch along the edge. Put your needle through only the top loop of the first (right) corner stitch on Square 1. Then go through the first side stitch on Square 2. (In the video below I show this corner detail in a contrast yarn for clarity.)
Next, go back to Square 1 and pick up the first stitch in the second (left) column of the mitered corner. NOTE: This is not one of the cast on stitches, but the first “V” stitch above it. This will help align the edges the squares.
Returning to Square 2 pick up the purl bump along the edge. This starts the traditional Bickford Seam.
Now start going back and forth picking up the top loop of the cast on stitch of Square 1 and the purl bump on the side of Square 2.
SPECIAL NOTE FOR STRIPED SQUARES:
If you used the method of carrying your contrasting yarn up the side of your knitting instead of cutting the yarn each time you changed color you’ll want to do one extra step. After picking up the purl bump on Square 2, pick up the twisted yarn strand that was carried up the side that matches the color you are using for your seam. This will help trap those extra strands in the seam and make it more smooth on the back.
Continue seaming the entire edge. When you reach the end gently tug to tighten the seam. I stress the word gently because if you pull too hard it will cause your edges to bunch up and pucker. Weave in the ends and you are done!
See the video below for a closeup of the technique.


How To Seam Mitered Squares Tutorial Video
Select videos are available to GoodKnit Kisses YouTube members only. To get exclusive access to GKK VIP-only content, free PDF patterns, weekly Zoom meetup and more, sign in to YouTube and join as a VIP Member today! Find out more about GKK Membership HERE!