
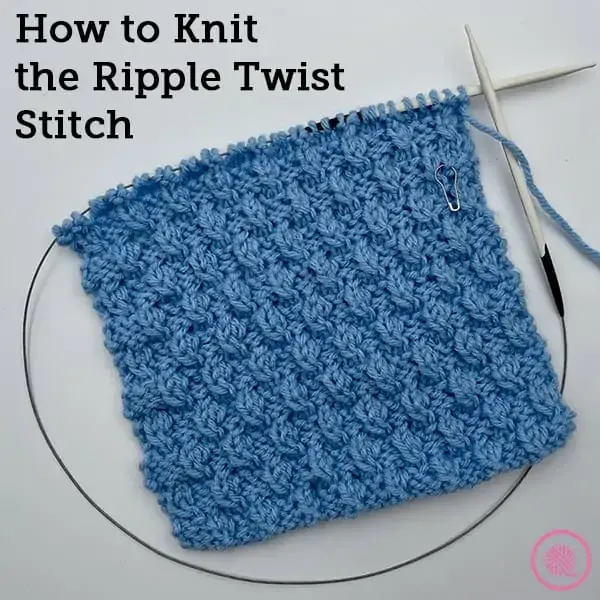
Inside: Learn to knit the Ripple Twist Stitch with written instructions, tutorial videos plus a free blanket square pattern in 3 sizes.
I am really enjoying these new stitches each month.
It’s a fun challenge to look for stitch patterns that I haven’t tried before and explore how they can be used.
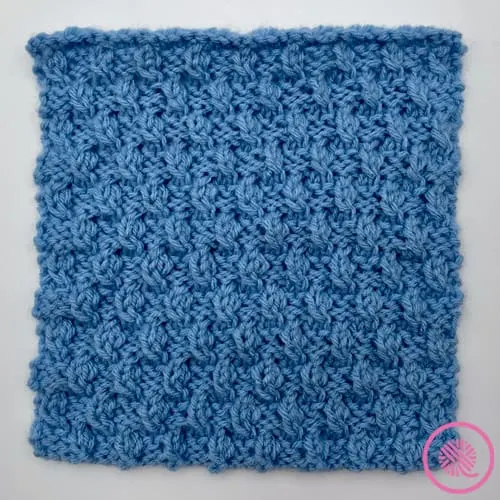
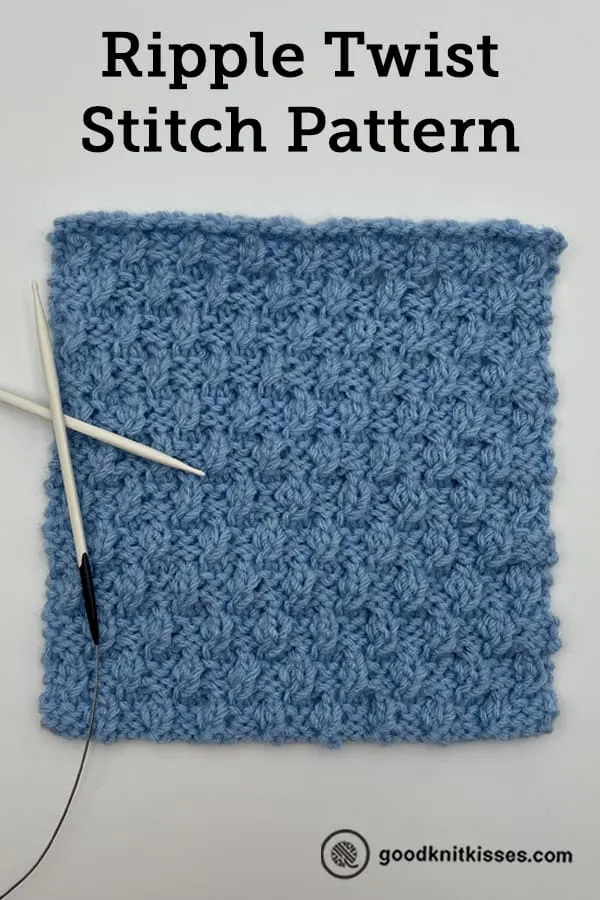
This month’s stitch, the Ripple Twist, creates a unique basketweave pattern using twisted stitches. These twisted stitches are like mini cables that add a little flair to a plain weave.
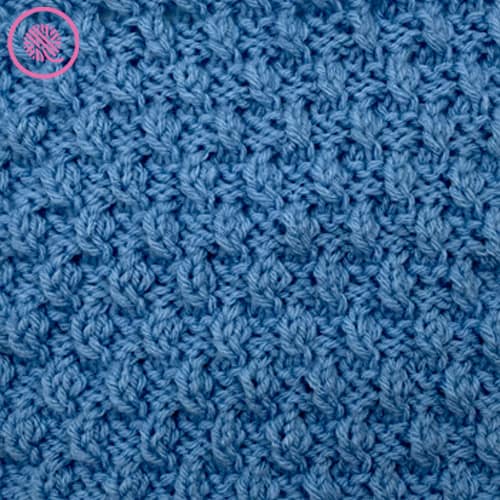
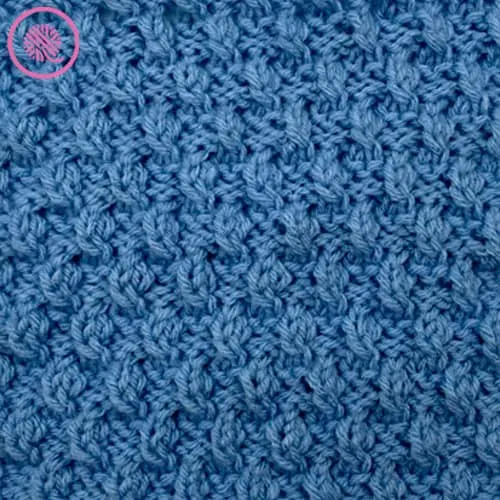
The best part is that you don’t need a cable needle to create the twists. That keeps it easy enough for a beginner knitter that may not be ready to tackle a more complex cable stitch.
Ripple Twist Stitch Pattern Details
Practice how to knit the ripple twist stitch using this free blanket square pattern. The pattern includes instructions for 3 sizes plus a knitting chart if you’re like me and find a visual chart easier to follow.
Ripple Twist Square
By Kristen Mangus
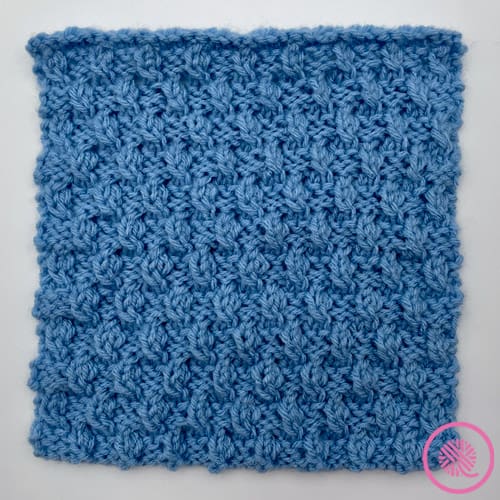
Pattern includes written instructions for 3 square sizes, knitting chart and links to fully captioned tutorial videos.
A downloadable PDF of this pattern is available in my Etsy store and from Ravelry at the links below:


MATERIALS
(Materials list may contain affiliate links to products I used to make this project. Using these links cost you nothing, but helps support GKK.)
Yarn
Medium (#4) worsted weight yarn
Red Heart Super Saver in Light Blue used in sample.
Needles
US 7 (4.5 mm) needles
Prym US 7 24” circular needle used in sample.
Stitch marker
Tapestry needle
ABBREVIATIONS
LT = Left Twist (see notes below)
RT = Right Twist (see notes below)
K = Knit
P = Purl
Rep = Repeat
RS = Right side
St(s) = Stitch(es)
WS = Wrong side
New to knitting? I’ve got a How to Knit Beginner Video Series to teach you ALL the basics.
GAUGE
19 sts x 25.5 rows in 4” in ripple twist stitch pattern
SKILL LEVEL Easy
MEASUREMENTS
Option 1: 7.5” x 9” (19 cm x 23 cm)
Option 2: 9” x 7” (23 cm x 18 cm)
Option 3: 12” x 12” (30.5 cm x 30.5 cm)
NOTES
I’ve included two square sizes in this pattern that are commonly used to make blankets. NOTE: Option 1 is slightly wider than the standard 7” width due to the stitch pattern multiple.
The Ripple Twist stitch pattern is a multiple of 4+4 if you want to change the size.
Left Twist (LT): Skip one stitch and knit second stitch in the back loop, then knit the skipped stitch. Slip both stitches from needle together.
Right Twist (RT): Skip one stitch and knit second stitch, then knit the skipped stitch. Slip both stitches from needle together.

INSTRUCTIONS
Cast on 36 (44, 60) sts.
Row 1 (RS): P1. *P2. LT. Rep from * to last 3 sts. P3.
Row 2: K3. *P2. K2. Rep from * to last st. K1.
Row 3: K1. *K2. RT. Rep from * to last 3 sts. K3.
Row 4: P3. *K2. P2. Rep from * to last st. P1.
Row 5: P1. *LT. P2. Rep from * to last 3 sts. LT. P1.
Row 6: K1. P2. *K2. P2. Rep from * to last st. K1.
Row 7: K1. *RT. K2. Rep from * to last 3 sts. RT. K1.
Row 8: K3. *P2. K2. Rep from * to last st. K1.
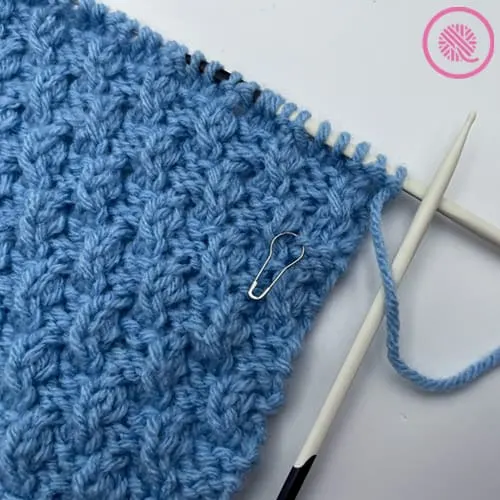
Repeat rows 1-8 until desired length. Bind off in pattern.
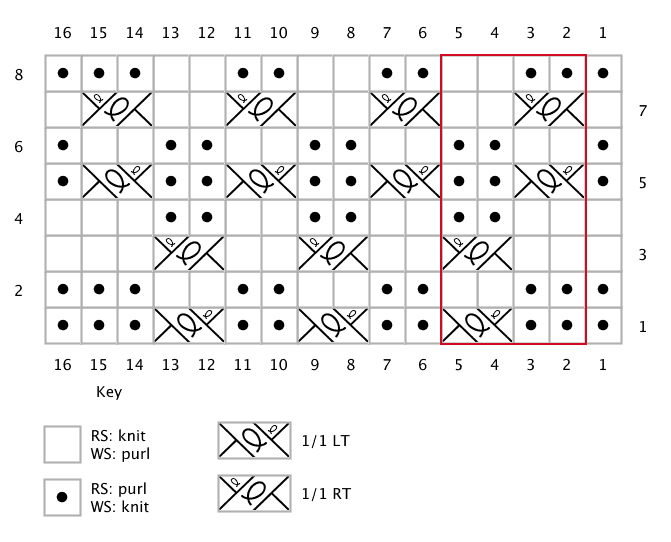
CHART
Ripple Twist Knitting Chart
The area in red shows one full repeat of the stitch pattern.

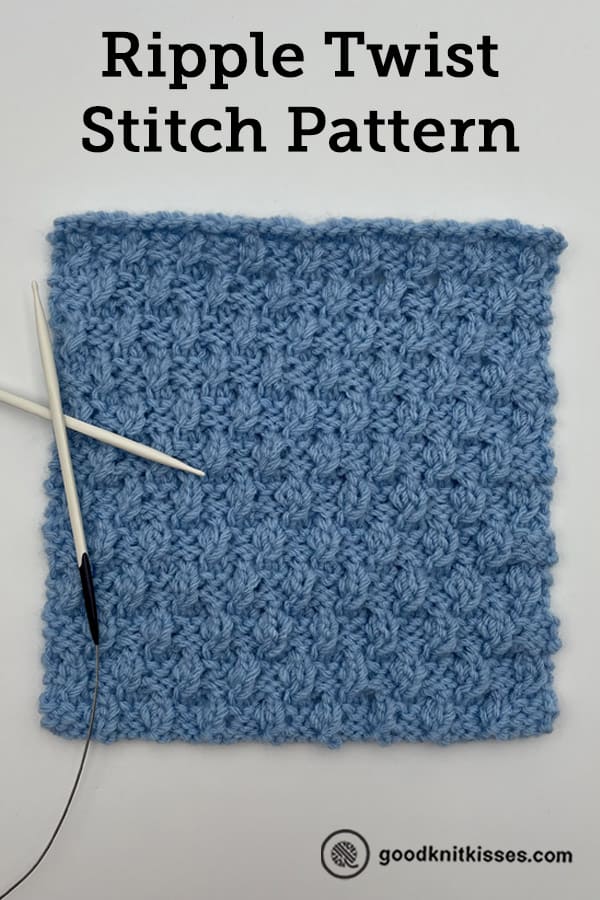
PIN IT!
How to Knit the Ripple Twist Stitch Video Tutorials
Select videos are available to GoodKnit Kisses YouTube members only. To get exclusive access to GKK VIP-only content, free PDF patterns, weekly Zoom meetup and more, sign in to YouTube and join as a VIP Member today! Find out more about GKK Membership HERE!
The following video tutorials demonstrate how to knit the Ripple Twist stitch pattern. They are fully captioned and available for both right and left handed knitters.
NOTE: The left handed video was created by flipping the original video. The terms Right and Left may not match up with the direction you see in the video. Follow the video rather than the audio instructions to correctly recreate the stitch pattern.
Right handed
Left handed
If you enjoyed learning the Ripple Twist stitch pattern, you may also like these other needle knit stitches:
Sisal & Seagrass Stitches
Edelweiss Stitch
Reverse Edelweiss Stitch
Moss Stitch
Seed Stitch
Basketweave Stitch
Diamond Lace Stitch
Tumbling Moss Blocks Stitch
Seeded (Mistake) Rib Stitch