
Inside: How to Knit Basketweave Stitch is part 7 in my How to Knit for Complete Beginners video tutorial series for beginner knitters.
So far, we’ve looked at a few small, textured stitch patterns: seed stitch and moss stitch. In Lesson 7, we’re going to tackle how to create a larger stitch pattern, again using just knits and purls.
In order to make a larger stitch pattern we’re going to have to move on from thinking about individual stitches and think in terms of columns and rows.
In this lesson I’m going to show you what happens when you combine groups of stitches across several rows as learn how to knit the basketweave stitch.

What is a basketweave?
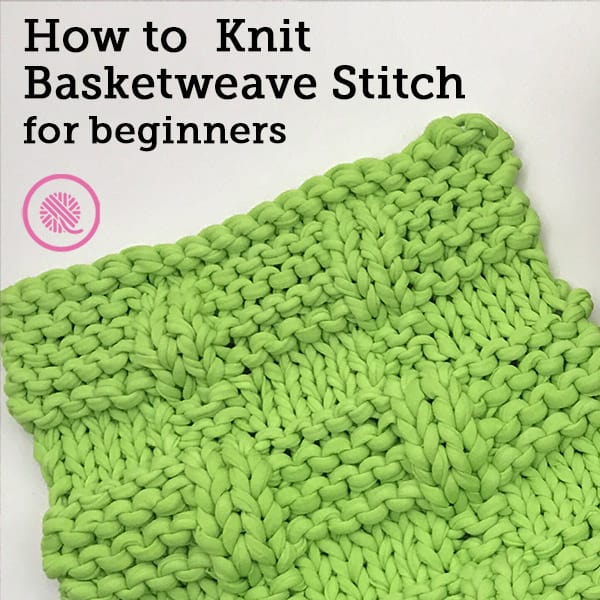
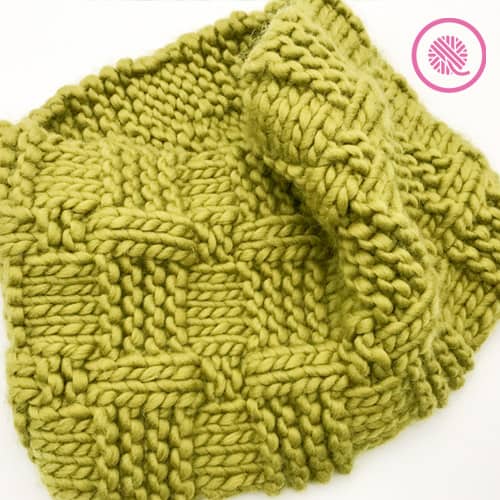
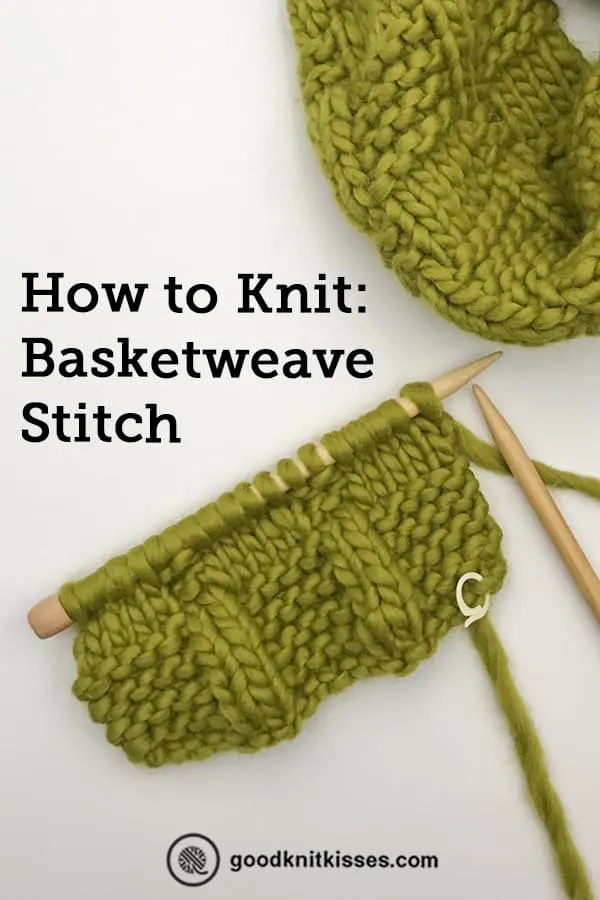
In knitting a basketweave stitch pattern is one that makes the knitting fabric looks like it is woven. We do this by alternating knits and purls across several stitches to create vertical columns and across several rows to create horizontal bands.
This works because knit stitches tend to lie flat while purl stitches bump out. This gives the illusion that the stitches are woven over and under each other.
Why doesn’t this look like the basktweave pattern I’ve seen before?
So, you picked up on that, did you?
The basketweave stitch pattern I’m teaching on the video is not a traditional one.
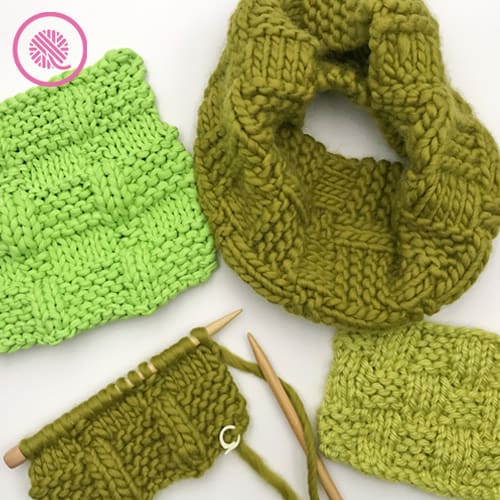
Typically the basketweave stitch uses an even number of knit and purl stitches. For example, 4 columns of knit stitches then 4 columns of purl stitches. This makes all your vertical columns of stitches the same width. You also use the same number of rows for your horizontal bands of stitches. This makes a balanced design of evenly sized rectangles. Think more like a checkerboard.
I decided to change it up. I’m alternating wide and narrow columns to give a little different look. I’m very happy with the result!
But, don’t worry! If you prefer a more traditional, balanced basketweave I talk about that on the video as well.

Basketweave Stitch Pattern
This basketweave stitch pattern uses a multiple of 7 + 5. See the explanation of multiples below for more details.
If there is a + sign after the multiple for a stitch pattern that means there is an extra step to figure out your cast on. For example, a stitch pattern tells you to cast on a multiple of 6+1. That means, first, you need to find a multiple of 6 that will give you the correct size project. For a washcloth using medium #4 weight cotton that would probably be 36 stitches. Then you need to ADD 1 more stitch to that, so your actual cast on would be 37 stitches for the project.
Cast on a multiple of 7+5 sts.
Row 1 (RS): K all.
Row 2: *K5, p2. Rep from * once. K5.
Row 3: K all.
Row 4: Same as 2.
Row 5: K all.
Row 6: Same as 2.
Row 7: K all.
Row 8: Same as 2.
Row 9: K all.
Row 10: *P5, k2. Rep from * once. P5.
Row 11: K all.
Row 12: Same as Row 10.
Repeat Rows 1-12 until you reach your desired length. Repeat Row 11 once more before binding off.
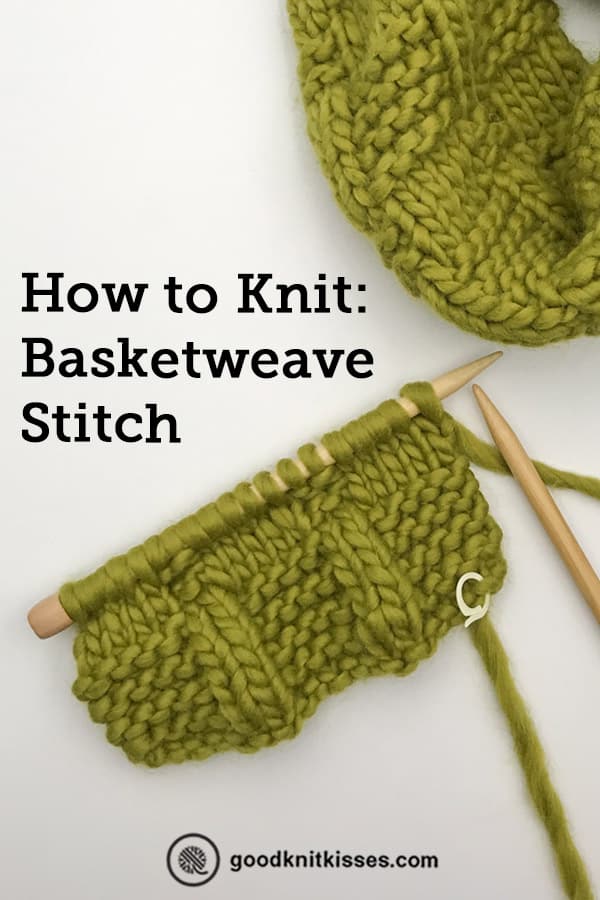
If you’re ready to practice on a real project click the button below to get the free Chunky Basketweave Cowl pattern.
PIN IT!
How to Knit Basketweave Stitch Video Tutorial
If any of the videos below do not show they may be restricted to GoodKnit Kisses YouTube members only. Find out more about GKK Membership HERE!
Follow these timestamps to get to help you navigate the videos more effectively:
Lesson 7 Timestamps – click time:
00:00:00 Welcome
00:00:45 Overview – What’s covered in this video
00:01:45 Supplies for Pattern
00:04:06 Start Pattern Reading HERE
00:04:45 Working with multiples (ie 7+5 and 6+3)
00:05:44 Pattern Instructions (Row by Row)
00:08:22 Alternate Instructions – Trivet
00:09:05 Alt Instructions – Checkerboard Basketweave
00:11:14 Cast On Basketweave Cowl
00:12:04 HOT TIP – Space during cast on to get gauge
00:13:08 HOT TIP – Spread out cast on to check gauge width
00:14:03 Row 1
00:14:38 Row 2
00:16:30 Row 3 (repeating notes here – listen)
00:17:12 Row 4
00:18:14 Row 5
00:18:33 Row 6
00:19:25 Row 7
00:19:41 Row 8 (TIP – Read your knitting; clue for row 9 start)
00:20:52 Row 9 (Basketweave shifts here)
00:21:06 Row 10
00:22:26 Row 11
00:22:44 Row 12
00:24:01 Repeating instructions for cowl & bind off notes
00:25:08 Bonus – Trivet repeating instructions
00:25:39 Finishing – Sewing ends together to make cowl
00:30:18 Wrap Up
Right handed
Left handed
Be sure to follow all the How to Knit for Complete Beginners Lessons.
- How to Knit – Garter Stitch for Complete Beginners includes Basic Garter Scarf pattern
- How to Knit – Purl stitch for Stockinette
- How to Knit – Stockinette with Garter Border includes Basic Bordered Dishcloth pattern
- How to Knit – Ribbing 1×1 and 2×2 includes Easy Ribbed Headband pattern
- How to Knit – Seed Stitch for Beginners includes Seed Stitch Washcloth pattern
- How to Knit – Moss Stitch for Beginners includes Moss Stitch Washcloth pattern
- How to Knit – Basketweave Stitch for Beginners includes Basketweave Cowl pattern
- How to Knit – Knitting in the Round includes Moss Cowl pattern.
- How to Knit – 5 Cast Ons for Beginners
- How to Knit – 4 Increases includes Grandma’s Favorite Dishcloth pattern
- How to Knit – 5 Decreases includes Grandma’s Favorite Dishcloth pattern
- How to Knit – Slip Stitches
Helen
Sunday 25th of April 2021
When switching back and forth knit then purl as in basket weave or seed stitch I get little peeking holes what am I doing incorrectly?
thank you for any help you can give me.
Lisa Johnson
Saturday 13th of March 2021
I can’t wait to try this new stitch! Thanks for all you do for us newbie knitters!
sarahcollett
Saturday 13th of March 2021
I need to learn how to read patterns and charts too