
Inside: Detailed instructions to learn the herringbone stitch for knitter as a flat panel or in the round. Includes 2 free patterns with written instructions and tutorial videos.
You know I love the classics. And nothing is more classic and traditional than the herringbone stitch.
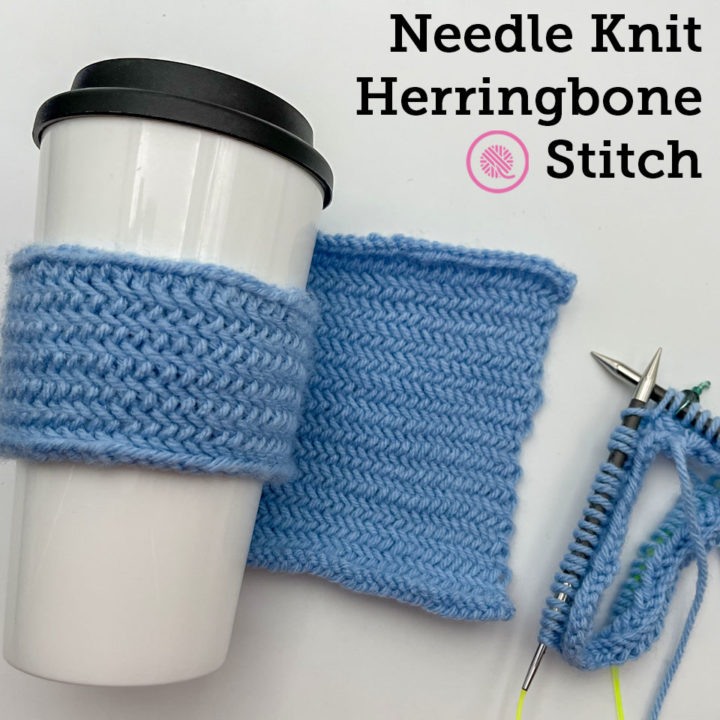
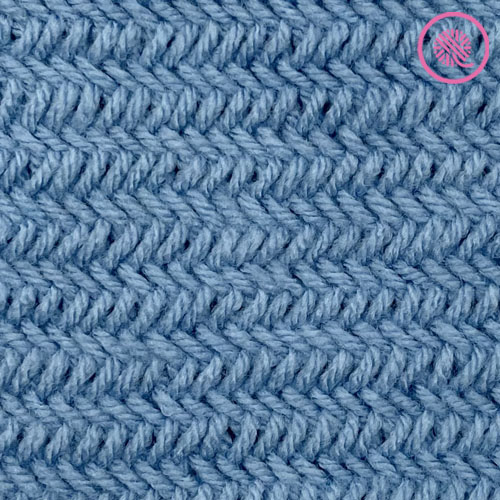
The herringbone stitch shows off the smooth, sloping lines with the distinctive V-shaped woven look we all love. It makes a dense warm fabric that is perfect for blankets, market bags and a variety of other projects. I’ve got TWO patterns below so you can see this beautiful stitch pattern for yourself.


I made a video tutorial several years ago showing this stitch, but I always felt like I didn’t quite do it justice. Now is the time to revisit this classic stich pattern and give you all the tips and hacks to help you knit this stitch successfully.
What makes this fabric so thick is you work each stitch twice. This adds the extra bulk, but it also tends to be a stiffer finished project. Because of this many knitters recommend using a needle size 1 to 2 sizes larger than the size recommended for your yarn.


Samples use the same yarn in the herringbone stitch.
In the two patterns below I decided to include two needle sizes for the same yarn: US 7 (4.5 mm) and US 10 (6 mm) so you could see the difference in the size of the stitch. In the Herringbone Square pattern the smaller sample made a very stiff fabric and would be great for a bag or tote project. Personally, for a blanket I like the larger needle size. That square had more softness and drape to it. But for the Herringbone Cozy Mug Hug pattern that uses the stitch in the round, I prefer the thickness of the smaller needle size.
I included detailed written instructions on how to recreate this beautiful stitch as part of the two patterns below. Both patterns can be customized to any size by adjusting the number of cast on stitches. Last, but certainly not least, I filmed all NEW tutorial videos detailing the herringbone stitch for knitters and they are listed below.
The videos include not just the mechanics of how to create this stitch, but tips to help you visually follow the stitch pattern, fix mistakes, and ensure a smooth bind off.
Herringbone Stitch Pattern Details
1. Herringbone Stitch: Flat Panel
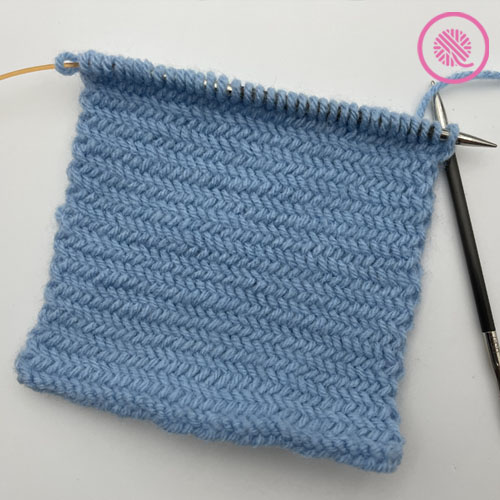

The herringbone stitch for knitters is ideal for any project that requires a dense, thick fabric. It would make a beautiful placemat. Thick enough to protect your table with a smooth top so your place setting sits perfectly. It’s also strong enough for a tote bag. The dense overlapping stitches will keep items from poking through the knit.
It’s also great for cozy blankets. The blanket square pattern below includes 2 common sizes: 7″ x 9″ is the size used for Warm Up America donations and a 12″ x 12″ square. Both are big enough to let you get some solid practice with the stitch, but small enough to finish quickly.
Let’s get started!
Herringbone Square
By Kristen Mangus
A downloadable PDF of this pattern is available in my Etsy store and from Ravelry at the links below:


MATERIALS
(Materials list may contain affiliate links to products I used to make this project. Using these links cost you nothing, but helps support GKK.)
Yarn
Medium (#4) worsted weight yarn
Red Heart Super Saver in Light Blue used in sample.
Needles
US 7 (4.5 mm) needles OR US 10 (6 mm) needles
Knitters Pride Karbonz circular needles used in samples.
Stitch marker
Tapestry needle
ABBREVIATIONS
K2tog tbl = Knit 2 stitches together through the back loop
K = Knit
P2tog = Purl 2 stitches together
P = Purl
Rep = Repeat
RS = Right side
St(s) = Stitch(es)
WS = Wrong side
New to knitting? I’ve got a How to Knit Beginner Video Series to teach you ALL the basics.
GAUGE
US 7: 25 sts x 22 rows in 4” in herringbone stitch pattern
US 10: 23 sts x 18 rows in 4” in herringbone stitch pattern
SKILL LEVEL Easy
MEASUREMENTS
Option 1: 7” x 9” (18 cm x 23 cm)
Option 2: 12” x 12” (30.5 cm x 30.5 cm)
NOTES
I’ve included two square sizes in this pattern that are commonly used to make blankets.
The herringbone stitch pattern is a multiple of 1 so it works with any number of cast on stitches.
Bind off: Because this stitch is very dense your bind off edge may end up too loose. If you find this is a problem for you, you can bind off 2 stitches together at either end of the row to keep your corners square.
Traditionally, it is recommended that you use a larger size needle for this stitch pattern since it is very dense. I’ve included instructions and measurements for both US 7 and US 10 needles depending on the look you want. (See picture above.)

INSTRUCTIONS
Using US 7 (4.5 mm) needles:
Cast on 44 (75) sts loosely.
Row 1(RS): *K2tog tbl drop only the first st off your needle. Rep from until last st. K1.
Row 2(WS): *P2tog drop only the first st off your needle. Rep from until last st. P1.
Rep Rows 1-2 until piece measures 9” (12”) [23 (30.5) cm] or to desired length. Bind off purlwise on a WS row.
Using US 10 (6 mm) needles:
Cast on 40 (69) sts loosely.
Row 1(RS): *K2tog tbl drop only the first st off your needle. Rep from until last st. K1.
Row 2(WS): *P2tog drop only the first st off your needle. Rep from until last st. P1.
Rep Rows 1-2 until piece measures 9” (12”) [23 (30.5) cm] or to desired length. Bind off purlwise on a WS row.
Herringbone Stitch for Knitters Video Tutorial
Select videos are available to GoodKnit Kisses YouTube members only. To get exclusive access to GKK VIP-only content, free PDF patterns, weekly Zoom meetup and more, sign in to YouTube and join as a VIP Member today! Find out more about GKK Membership HERE!
Right handed
Left handed
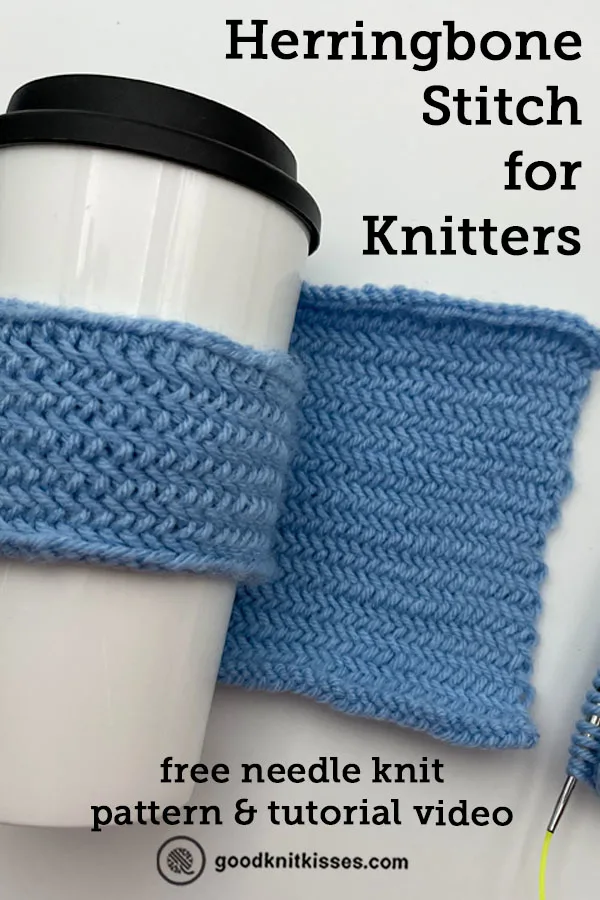
PIN IT!

2. Herringbone Stitch: In the Round
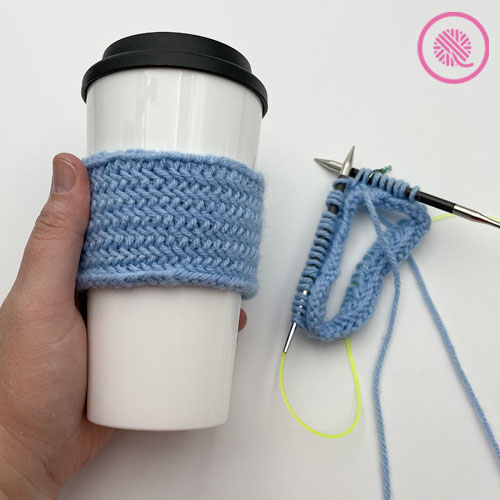

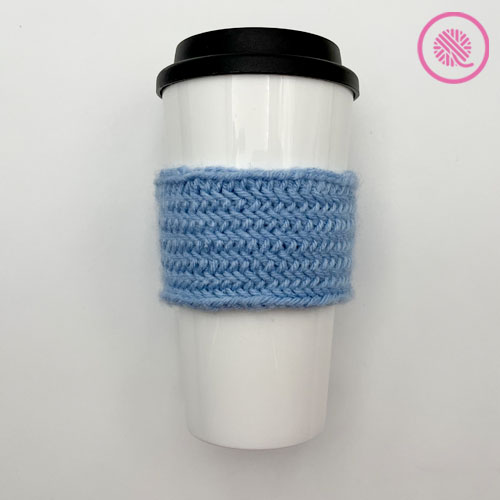
Herringbone Cozy Mug Hug
By Kristen Mangus
Keep your cocoa hot and your hands cool with Herringbone Cozy Mug Hug. This easy pattern uses the classic herringbone stitch pattern in the round and is a quick project perfect for gift-giving.
Pattern includes written instructions and links to fully captioned tutorial videos.
A downloadable PDF of this pattern is available in my Etsy store and from Ravelry at the links below:MATERIALS
(Materials list may contain affiliate links to products I used to make this project. Using these links cost you nothing, but helps support GKK.)
Yarn
Medium (#4) worsted weight yarn
Red Heart Super Saver in Light Blue used in sample.
Needles
US 7 (4.5 mm) needles OR US 10 (6 mm) needles
Knitters Pride Karbonz circular needles used in samples.
Stitch marker
Tapestry needle
ABBREVIATIONS
K2tog = Knit 2 stitch together
K2tog tbl = Knit 2 stitches together through the back loop
K = Knit
Rep = Repeat
RS = Right side
Sl = Slip stitch
SM = Slip marker
St(s) = Stitch(es)
WS = Wrong side
GAUGE
US 7: 25 sts x 22 rows in 4” in herringbone stitch pattern
US 10: 23 sts x 18 rows in 4” in herringbone stitch pattern
SKILL LEVEL Easy
MEASUREMENTS
2.5” tall x 9” circumference (6.5 cm x 23 cm)
NOTES
The herringbone stitch pattern works with any number of cast on stitches and uses a two round repeat.
Bind off: Because this stitch is very dense your bind off edge may end up too loose. If you find this is a problem for you, you can bind off 2 stitches together at either end of the row to keep your corners square.
Traditionally, it is recommended that you use a larger size needle for this stitch pattern since it is very dense. I’ve included instructions and measurements for both US 7 and US 10 needles depending on the look you want.

INSTRUCTIONS
Using US 7 (4.5 mm) needles:
Cast on 56 sts. Join in the round by swapping the first and last stitches. Place marker to note beg of rnd.
Rnd 1(RS): *K2tog drop only the first st off your needle. Rep from * until last st. Sl last st to working needle, remove marker, slip last st back and place marker on working needle. K2tog drop only first st off your needle. Slip next st knitwise, twist, and place back on needle to set up next rnd.
Rnd 2(WS): *K2tog tbl drop only the first st off your needle. Rep from * until last st. Sl last st to working needle, remove marker, slip last st back and place marker on working needle. K2tog tbl drop only first st off your needle. Slip next st knitwise, twist and place back on needle to set up next rnd.
Rep Rnds 1-2 until piece measures 2.5” (6.5 cm) or to desired length. Bind off purlwise on a WS row.
Using US 10 (6 mm) needles:
Cast on 52 sts. Place marker to note beg of rnd.
Rnd 1(RS): *K2tog drop only the first st off your needle. Rep from * until last st. Sl last st to working needle, remove marker, slip last st back and place marker on working needle. K2tog drop only first st off your needle. Slip next st purlwise and twist to set up next rnd.
Rnd 2(WS): *K2tog tbl drop only the first st off your needle. Rep from * until last st. Sl last st to working needle, remove marker, slip last st back and place marker on working needle. K2tog tbl drop only first st off your needle. Slip next st purlwise and twist to set up next rnd.
Rep Rnds 1-2 until piece measures 2.5” (6.5 cm) or to desired length. Bind off purlwise on a WS row.
Herringbone Stitch in the Round Video Tutorial
Select videos are available to GoodKnit Kisses YouTube members only. To get exclusive access to GKK VIP-only content, free PDF patterns, weekly Zoom meetup and more, sign in to YouTube and join as a VIP Member today! Find out more about GKK Membership HERE!
Right handed
Left handed
If you enjoyed learning the Herringbone stitch pattern, you may also like these other needle knit stitches:
Sisal & Seagrass Stitches
Edelweiss Stitch
Reverse Edelweiss Stitch
Moss Stitch
Seed Stitch
Basketweave Stitch
Diamond Lace Stitch
Tumbling Moss Blocks Stitch