

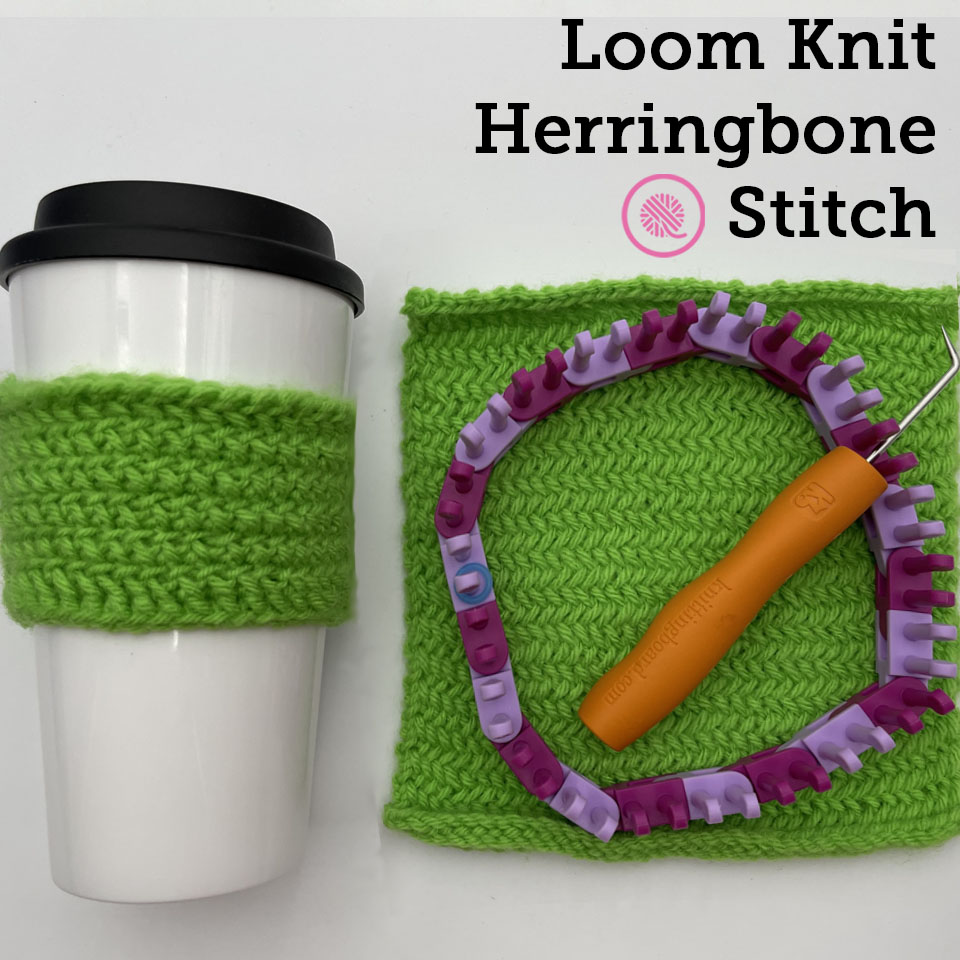
Inside: Learn how to loom knit the herringbone stitch pattern as a flat panel or in the round. Includes 2 free patterns plus tutorial videos for both right and left handed loom knitters.
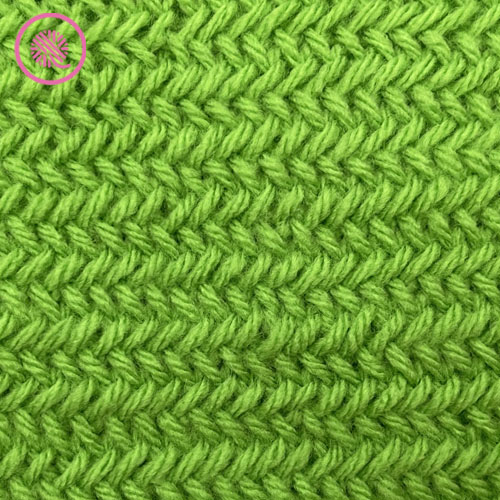
Herringbone is one of those classic designs.
We’re most familiar with seeing it in fabrics, but it’s also gained popularity as a design for flooring and tile.
I made a video many years ago demonstrating this stitch pattern, but I feel like I didn’t do it justice. While looking at various stitch patterns to include in my Stitch of the Month series I wanted to give this one another look.
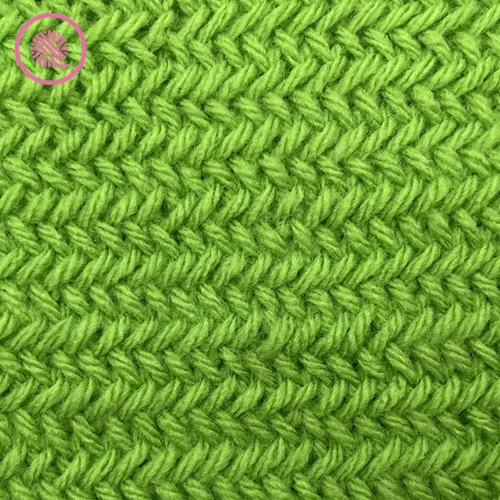
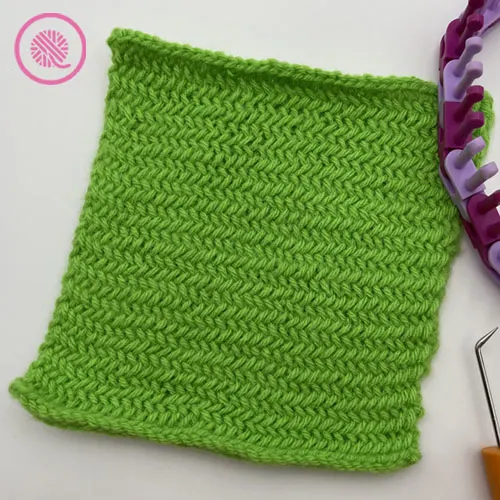
The herringbone stitch shows off the smooth, sloping lines of this classic design. The distinctive V-shaped, woven look of this stitch deserves more than a quick demo.

This time I included detailed written instructions on how to recreate this beautiful stitch on the loom. Plus I have two free patterns below with everything you need to make an afghan block or cup cozy. Last, but certainly not least, I filmed all NEW tutorial videos detailing how to loom knit the herringbone stitch.
The video includes not just the mechanics of how to create this stitch, but tips to help you visually follow the stitch pattern, fix mistakes, and ensure a smooth bind off.
Herringbone Stitch Pattern Details
1. Herringbone Stitch: Flat Panel
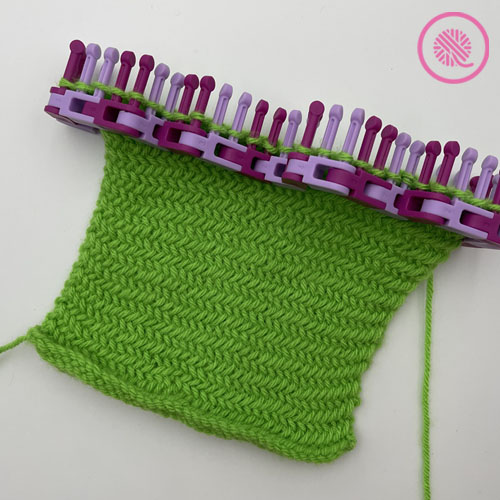
Herringbone Square
By Kristen Mangus
A downloadable PDF of this pattern is available in my Etsy store and from Ravelry at the links below:


MATERIALS
(Materials list may contain affiliate links to products I used to make this project. Using these links costs you nothing, but helps support GKK.)
Yarn
Medium (#4) worsted weight yarn
Red Heart Super Saver in Spring Green used in sample.
Loom
⅜” small gauge (SG) loom with at least 29 (49) pegs.
KB Flexee Loom Skinny used in sample.
ABBREVIATIONS
EK = Ewrap knit
FK = Flat knit
K = Uwrap knit
Rep = Repeat
St(s) = Stitch(es)
For a refresher on loom knitting basics see the blog posts below to get started:
13 Questions for Beginner Loom Knitters
How to Loom Knit Basics
How to Loom Knit Basic Stitch Patterns
How to Loom Knit in the Round
GAUGE
23 sts x 19 rows in 4” in herringbone stitch pattern
SKILL LEVEL Easy
MEASUREMENTS
Option 1: 7” x 9” (18 cm x 23 cm)
Option 2: 12” x 12” (30.5 cm x 30.5 cm)
NOTES
I’ve included square sizes in this pattern that are commonly used to make blankets.
The herringbone stitch pattern can be used with any number of stitches if you want to change the size and uses a 2 row repeat. NOTE: This stitch pattern will curl at the top and bottom of your square.
Cast on: I recommend the chain, long tail or true cable cast ons for this stitch pattern.
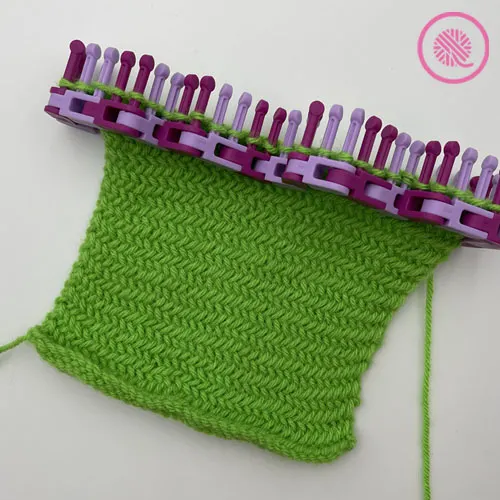
Knit stitches: You must not change the knit stitches to all ewrap in this stitch pattern. Row 1 needs to be Uwrap (or flat) knit and Row 2 must use only Ewrap knit in order for the herringbone stitch pattern to show properly.

INSTRUCTIONS
Cast on 41 (70) sts.
Row 1: *K1. Pick up st and move to next peg. Knit over bottom st and hold with fingers or cable needle. With loom tool move rem st back to previous peg. Place held st. on empty peg. Rep from * to last st.
Row 2: *EW1. Pick up st and move to next peg. Knit over bottom loop and hold with fingers or cable needle. With loom tool move rem st back to previous peg. Place held st on empty peg. Rep from * to last st.
Rep Rows 1-2 until piece measures 9” (12”).
Before binding off tighten stitches on pegs beginning at opposite end of row from working yarn.
Bind off: Work a basic bind off, but slip Peg 1. Knit Peg 2, move st from Peg 1 to Peg 2, Knit bottom st over top to bind off. After binding off the first stitch work the basic bind off as usual.
Weave in ends and block, if desired.
Herringbone Stitch: Flat Panel Tutorial Video
Select videos are available to GoodKnit Kisses YouTube members only. To get exclusive access to GKK VIP-only content, free PDF patterns, weekly Zoom meetup and more, sign in to YouTube and join as a VIP Member today! Find out more about GKK Membership HERE!
Right handed
Left handed
PIN IT!
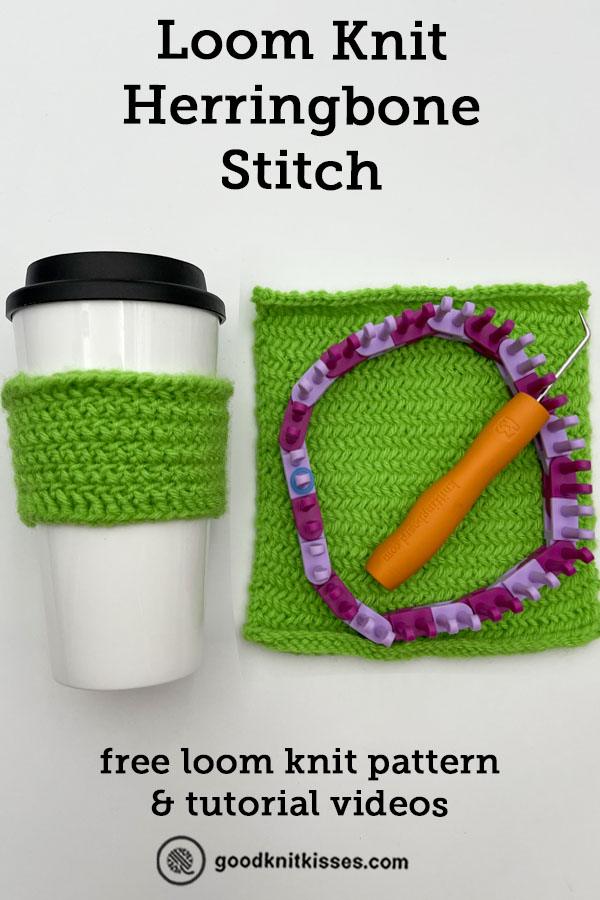
2. Herringbone Stitch: In the Round
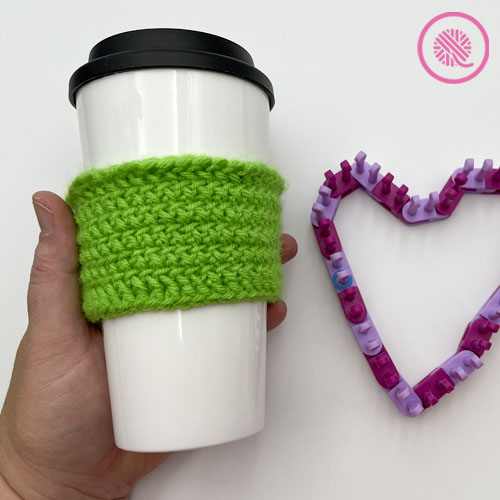
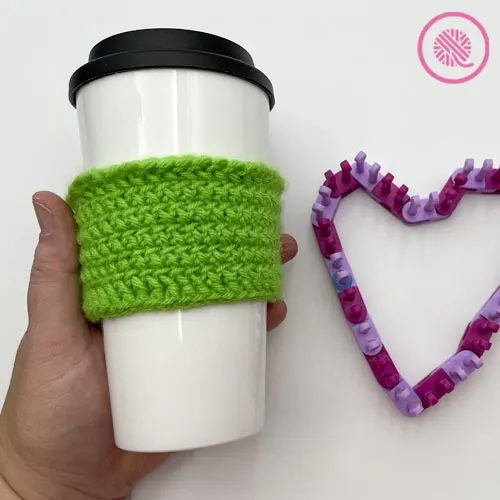
Herringbone Cozy Mug Hug
By Kristen Mangus
Keep your cocoa hot and your hands cool with Herringbone Cozy Mug Hug. This easy pattern uses the classic herringbone stitch pattern in the round and is a quick project perfect for gift-giving.
Pattern includes written instructions and links to fully captioned tutorial videos.
A downloadable PDF of this pattern is available in my Etsy store and from Ravelry at the links below:MATERIALS
(Materials list may contain affiliate links to products I used to make this project. Using these links costs you nothing, but helps support GKK.)
Yarn
Medium (#4) worsted weight yarn
Red Heart Super Saver in Spring Green used in sample.
Loom
⅜” small gauge (SG) loom with at least 44 pegs.
KB Flexee Loom Skinny used in sample.
Stitch marker
Tapestry needle
ABBREVIATIONS
EK = Ewrap knit
FK = Flat knit
K = Uwrap knit
Rep = Repeat
St(s) = Stitch(es)
GAUGE
23 sts x 19 rows in 4” in herringbone stitch pattern
SKILL LEVEL Easy
MEASUREMENTS
2.5” tall x 9” circumference (6.5 cm x 23 cm)
NOTES
The herringbone stitch pattern works with any number of stitches if you want to change the size and uses a two round repeat.
Cast on: I recommend the chain, long tail or true cable cast ons for this stitch pattern.
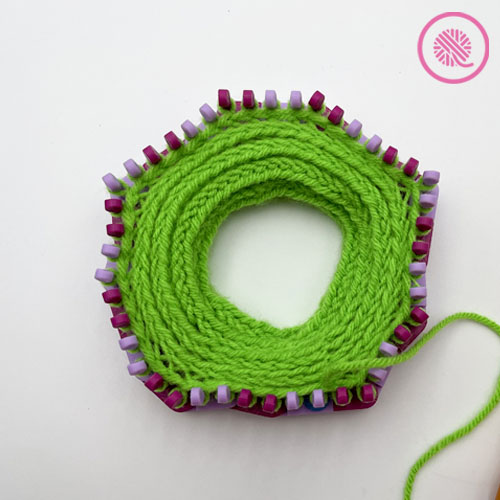
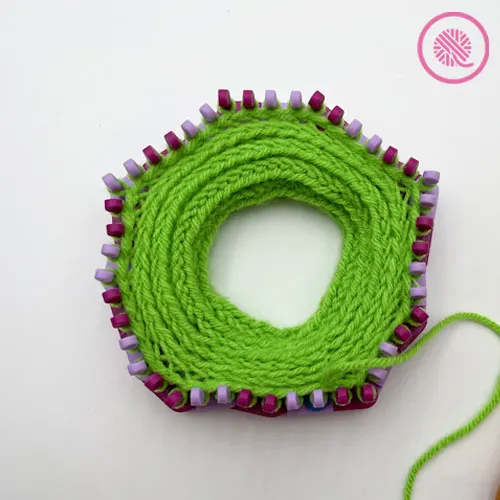
INSTRUCTIONS
Cast on 44 sts. Place stitch marker on first peg to mark beg of round.
Rnd 1: *K1. Pick up st and move to next peg. Knit over bottom st and hold with fingers or cable needle. With loom tool move rem st back to previous peg. Place held st. on empty peg. Rep from * to last st. Work last st as before with the first st (peg with stitch marker) of the round. After working last st, pick up first st, twist it and place back on marked peg.
Rnd 2: *Move st from Peg 2 to Peg 1. Ewrap Peg 1, knit middle loop over and move to Peg 2. Knit bottom loop on Peg 1 over. Rep from * to last st. Work last st as before with the first st. After working last st, pick up first st, twist it and place back on marked peg.
Rep Rnds 1-2 until piece measures 2.5” (6.5 cm) or to desired length.
Bind off. Weave in ends and block, if desired.
Herringbone Stitch In The Round Video Tutorial
Select videos are available to GoodKnit Kisses YouTube members only. To get exclusive access to GKK VIP-only content, free PDF patterns, weekly Zoom meetup and more, sign in to YouTube and join as a VIP Member today! Find out more about GKK Membership HERE!
Right handed
Left handed
I hope you enjoy loom knitting the Herringbone stitch. Check out some of my other loom knit stitch patterns:
Edelweiss Stitch
Sisal and Seagrass
Tumbling Moss Blocks
Dewdrop Stitch
Diamond Lace Stitch (Mock Crochet)
Seafoam Stitch
Trinity/Raspberry Stitch
Triple Rib Stitch
Seed Stitch
jennifer Christi
Sunday 5th of December 2021
hi! can i use chunky yarn/chunky loom? i do not own any small looms. only larger looms. thanks!
Vicki Hill
Tuesday 7th of October 2014
Thank you for all your hard work, To make looming more pleasurable & Easy for all Us Loom Nuts, Regards from South Africa xx
Kristen Mangus
Wednesday 8th of October 2014
Thank you so much Vicki! Glad to have you! :-) -Kristen
Vicki Hill
Tuesday 7th of October 2014
Thank you for all your hard work, To make looming more pleasurable & Easy for all Us Loom Nuts, Regards from South Africa xx
Kristen Mangus
Wednesday 8th of October 2014
Thank you so much Vicki! Glad to have you! :-) -Kristen
D.A. Fox
Sunday 5th of October 2014
Thanks for a wonderful new site! I am excited to explore!
Kristen Mangus
Wednesday 8th of October 2014
Wonderful, thank you so much!
Kristen Mangus
Wednesday 8th of October 2014
Wonderful, thank you so much!
D.A. Fox
Sunday 5th of October 2014
Thanks for a wonderful new site! I am excited to explore!