Inside: Tabby Potholder pattern including written instructions, link to weaving chart and tutorial video showing how to weave on a hot pad loom.
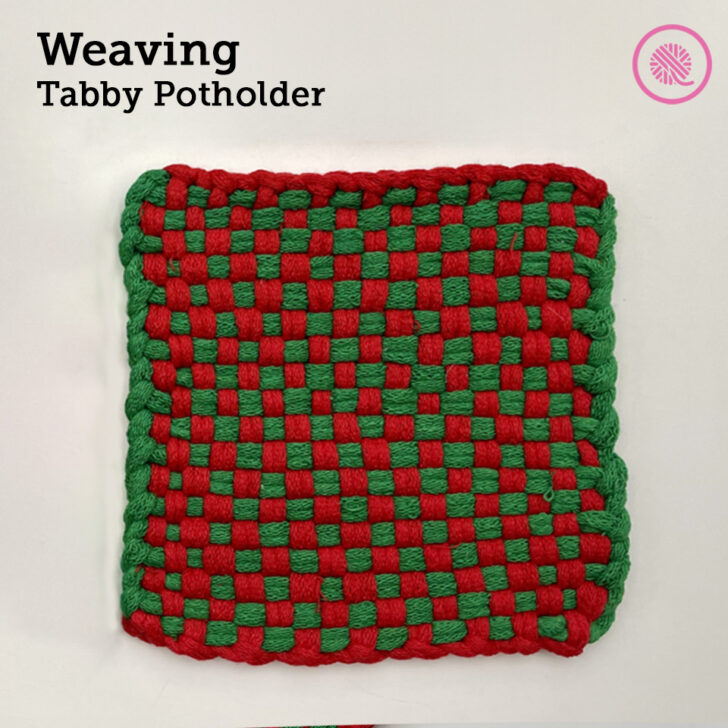
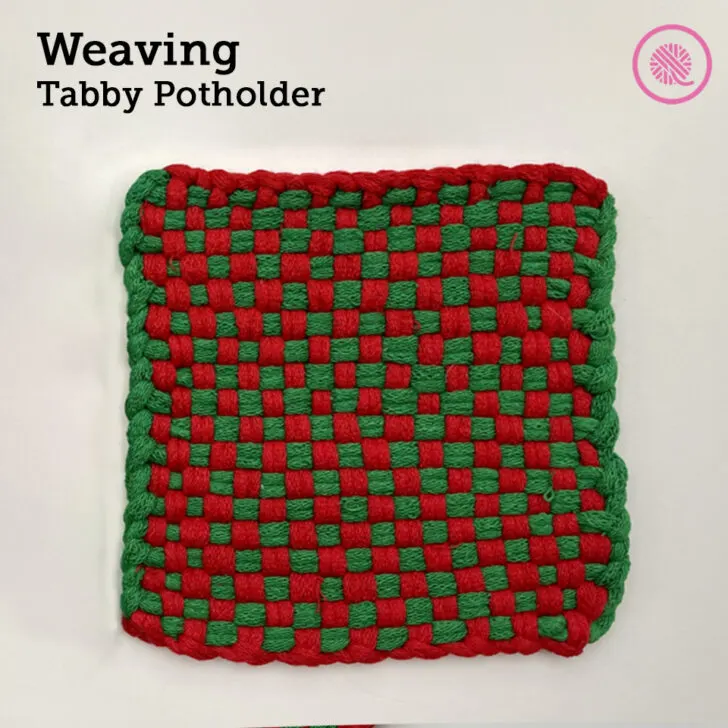
The Tabby Potholder makes a simple, two-color checked design. This basic design is ideal for beginner weavers. These hotpads take just minutes to weave and make wonderful gifts.
This pattern contains written instructions and links to fully-captioned tutorial videos showing the basic weaving technique.
Tabby Potholder
By Kristen Mangus
An ad-free downloadable PDF of this pattern is available for purchase in my GoodKnit Kisses online store or on Etsy at the links below:


MATERIALS
(Materials list may contain affiliate links to products I used to make this project. Using these links costs you nothing, but helps support GKK.)
Loom
⅜” potholder loom with 72 pegs.
CinDWood ⅜” Small 7” Hot Pad/Potholder Loom used in sample.
This loom is available alone or bundled with a bag of loops. Use code goodknitkisses for $5 off your loom purchase.
Loops
36 cotton potholder loops (for 7” loom)
Color A: 18 loops (red)
Color B: 18 loops (green)
Weaving tool
Crochet hook to bind off
SKILL LEVEL Easy+
MEASUREMENTS
About 5” x 5” (12 x 12 cm)
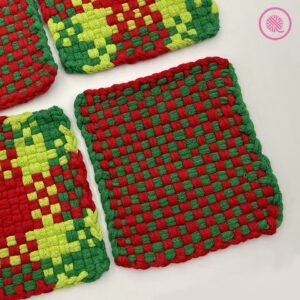
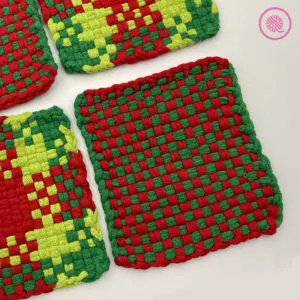
Be sure to check out all my woven potholder tutorials:
Back and Forth Twill
Bars
Basketweave Steps
Blocks and Crosses
Branch
Checked Pinwheel
Christmas Plaid
Corners
Diverging Corners
Four Corners
Four Pinwheels
Half and Half Stripes
Houndstooth Twill
Noughts and Crosses (X and O)
Padded Basketweave
Raining Hearts
Split Dot Grid
Square Spiral
Stripes
Tiny Intersecting Corners
Twill Diamond
Two-Two Twill Chevron
Woven Potholders: 9 Basic Patterns
Zig Zag Twill
NOTES
The tabby design uses two colors, one for the warp (vertical strands) and one for the weave (horizontal strands)
You place all the warp loops on the potholder loom first. Then you weave the horizontal loops according to the row instructions.
You can find a detailed chart of this design at Piglets Potholders Patterns: Tabby Potholder (18-peg) (Shared with permission under Creative Commons license CC-by-SA)
TUTORIAL VIDEOS
This tutorial video shows the basic weaving technique using a different design. The method is the same, but the way I set up the colors in the video created a striped design. Be sure to follow the instructions below to create the Tabby design.
INSTRUCTIONS
Warp:
Place all Color A loops vertically from top to bottom using all pegs.
Weave:
All weaving loops use Color B
Row 1: *Weave over 1, under 1. Repeat from * to end of row.
Row 2: *Weave under 1, over 1. Repeat from * to end of row.
Repeat Rows 1 and 2 until all rows are woven.
Bind off using crochet hook.
PIN IT!


Basic Weaving Tutorial Video
Select videos are available to GoodKnit Kisses YouTube members only. To get exclusive access to GKK VIP-only content, free PDF patterns, weekly Zoom meetup and more, sign in to YouTube and join as a VIP Member today! Find out more about GKK Membership HERE!