
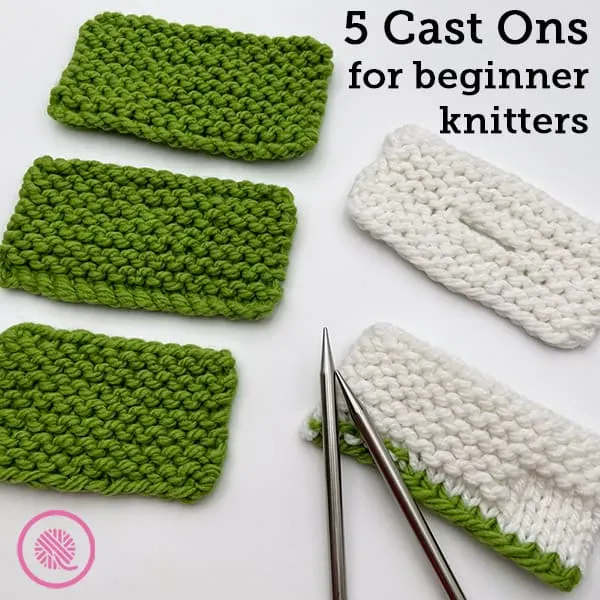
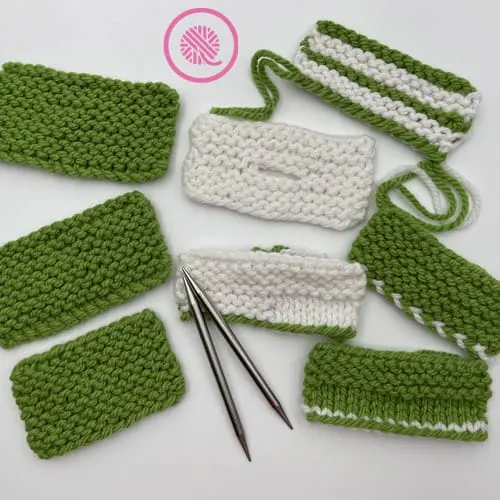
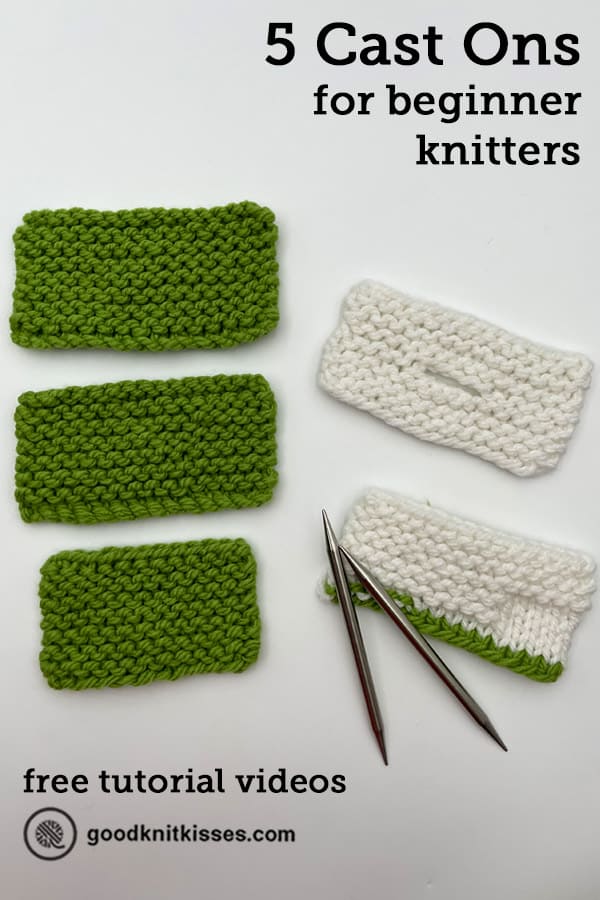
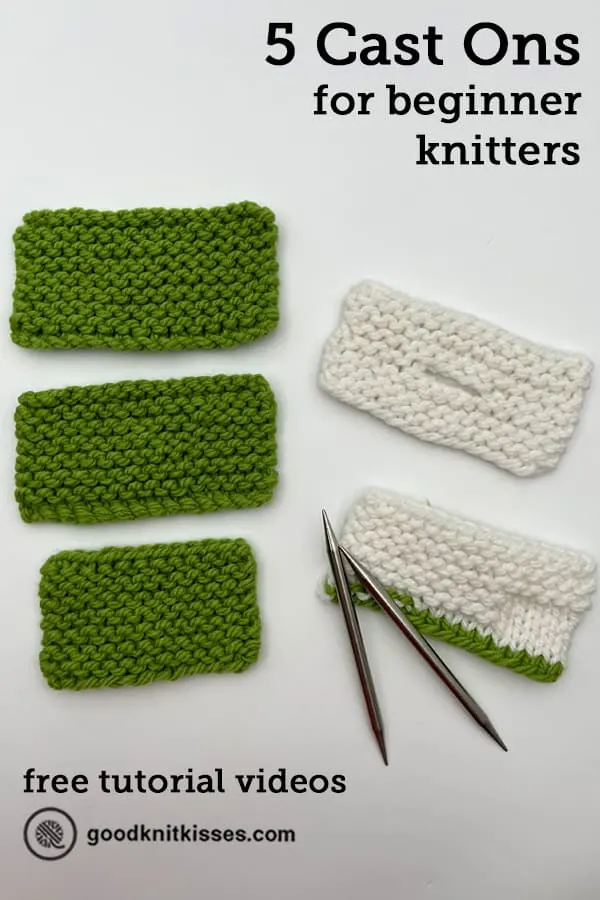
Inside: Learn these 5 cast ons for beginner knitters using the tutorial videos below: thumb cast on, knitted cast on, true cable cast on, long tail cast on, two-color long tail cast on.
I know that it may seem a little strange to put a lesson about cast ons toward the end of the How to Knit for Complete Beginners series, but there’s a method to my madness. Or a madness to my method, maybe?
You saw a couple of these cast ons on the previous videos, but I wanted to give you a better understanding of cast ons in general. It helps to know how to use some different cast ons and when some are better or more appropriate than others.

1. Long Tail Cast On (One Color)
I know this lesson is about 5 cast ons for beginner knitters, but I’m biased toward this first one. The long tail cast on is my absolute favorite and I use for most projects.
You may also hear the long tail cast on called the slingshot method. I love this one because it is stretchy, versatile, and looks beautiful. It has enough stretch to handle ribbing on socks, sweater cuffs and hat brims without looking loose, loopy or sloppy.

To begin the long tail cast on you need to measure 3 times the width of your project and pull that length of yarn from your ball. Tie a slip knot at about that point and place it on your needle. This leaves you with the working yarn coming from the ball and a long tail. (Hey! Now you know where it got its name!)
TIP: If you don’t want to measure out 3x the width of your project you can pull one strand from the outside of your ball and one from the inside (or even a separate ball of yarn). Then just trim it off after you cast on leaving 5-6 inches to weave in.
Next, while holding the slip knot on the needle with your dominant hand pick up the strands of yarn as follows: the working yarn from the ball should wrap around your index finger and the long tail should wrap around your thumb.
Then continue as follows: pick up the outside loop on your thumb from below, then grab the inside loop on your index finger from above and pull it through the loop on your thumb. Use your thumb to tighten the slack and until the the stitch is secure on your needle. That’s it.
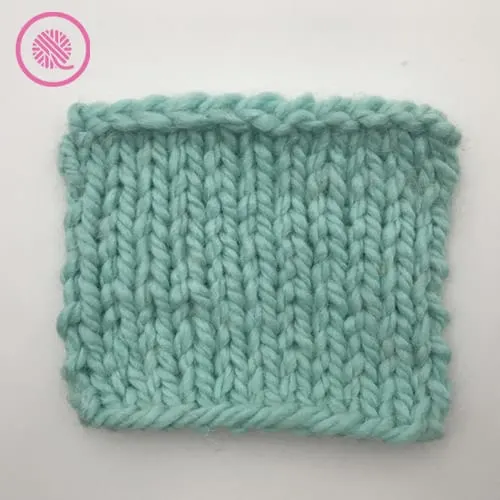
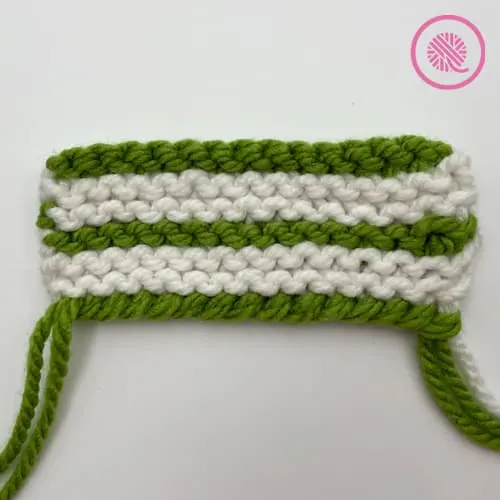
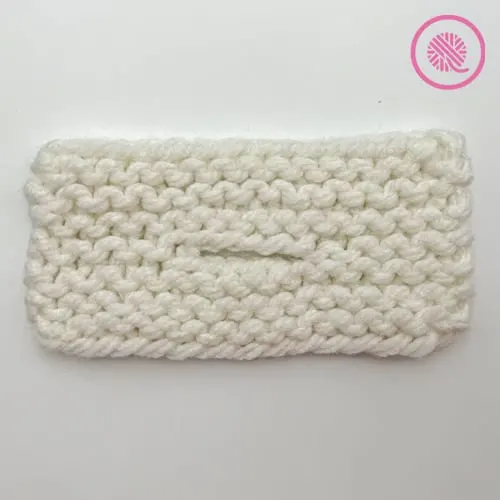
The long tail cast on actually creates a knit stitch on your needle with the stretchy looped border below it. Keep that in mind if you have to keep track of your rows. The long tail cast on includes the white row of knit stitches you see below. The first row starts with the green yarn above that.
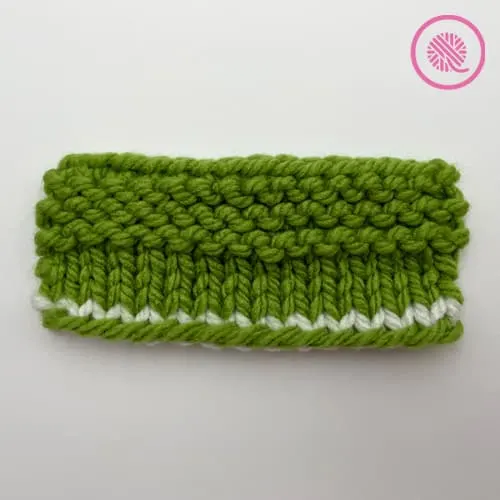
The first row is worked in the green color.
BONUS: Included in the video below I also show you how to work a long tail cast on that creates a purl stitch instead of a knit stitch.
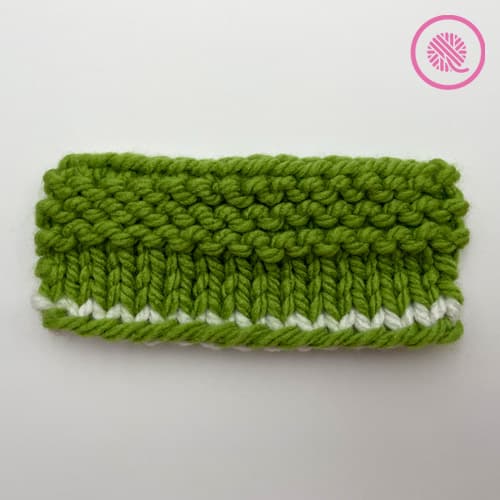
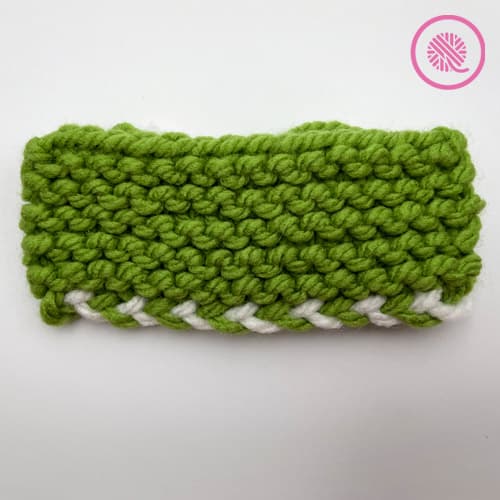
2. Long Tail Cast On (Two Color)
Since you use two different strands to create the long tail cast on you can use different colored yarns to create a decorative edge. The thumb strand will create a thin edge of The photos below show various options to change up the colors of the long tail cast on.
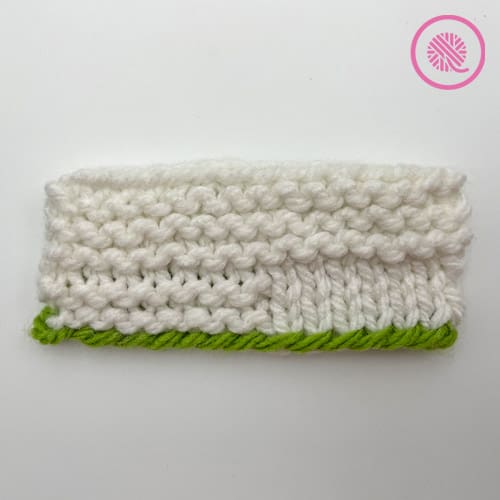
and white for the working yarn.
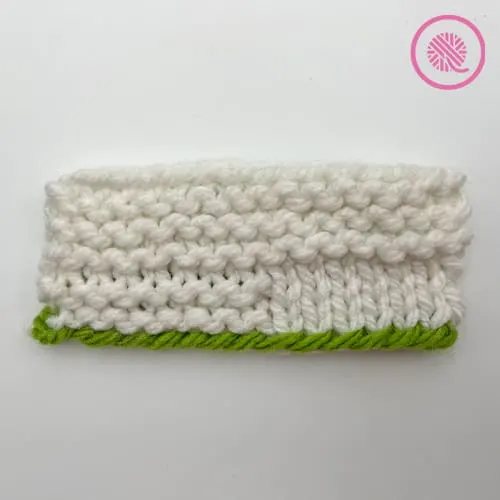
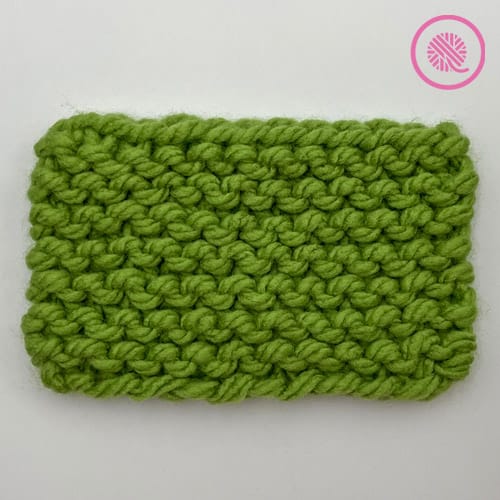
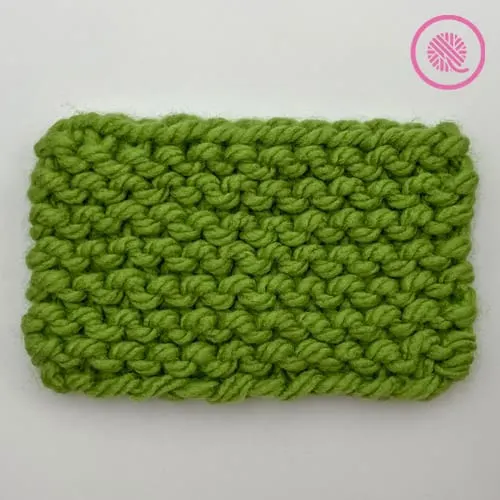
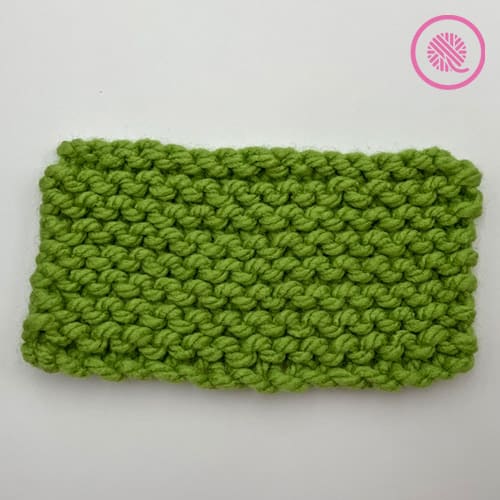
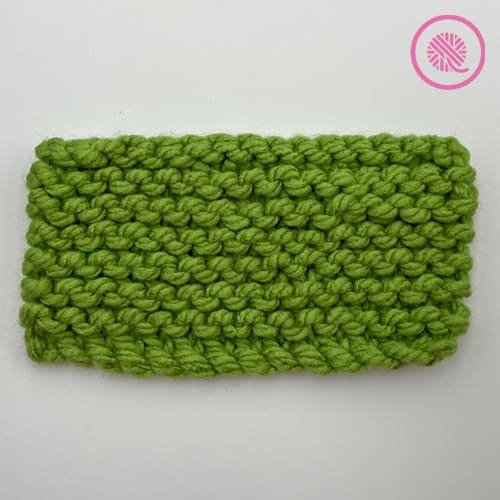
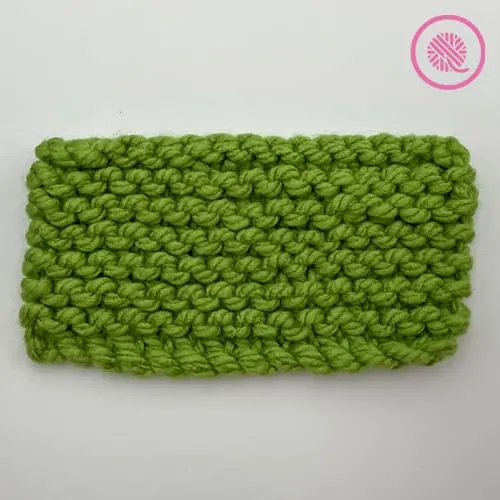
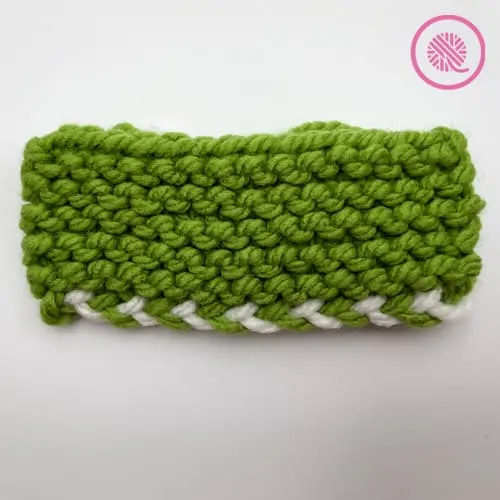
You can see in the sample above the green edge created by the thumb strand gives a decorative contrast border to your knitting. But it’s a little small, don’t you think? Look what happen when I hold two strands of the green together on my thumb…
You can see that the width of the contrasting border is about the same as the garter ridge in the middle of the sample. Love it!
3. Thumb Cast On
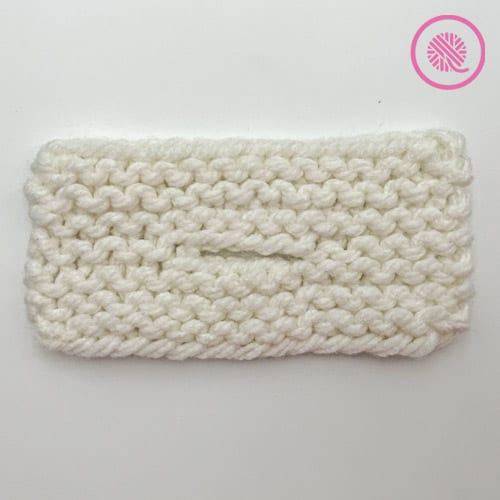
The thumb cast on is often taught as the first cast on to beginner knitters. It IS easier to work than the long tail because you only have one strand of yarn to handle. However, It is much harder to get a consistent cast on edge. It’s more difficult to maintain your tension on the thumb cast on so some cast on stitches end up tighter or looser than others. This can create loops of yarn that droop along the edge of your project.
However, I don’t want to dismiss the thumb cast on altogether. I love using it in the middle of a project when I have to cast on additional stitches. Like when creating handles for market bags or button holes. It’s a quick easy cast on that gets the job done!
on the next row to get them back on my needles.
To make the thumb cast on make a slip knot and place it on your needle. Then, holding the needle in your dominant hand grab the working yarn with your other hand and hold it with your fingers leaving your thumb free. Place your thumb on top of the working yarn, push it down and rotate it back toward you to make a loop of the working yarn on your thumb. Next slip that loop onto your needle and gently tug on the working yarn to tighten.
You may want to keep your finger over the previous stiches on your needle to help you prevent making the cast on too tight. If you pull the loop too tightly your cast on edge may be shorter than the pattern recommends or you may have trouble knitting the first row because the loops are too tight to get your second needle into the stitch.
4. Knitted Cast On
The knitted cast on is different than the other because you need both needles to cast on. I actually like this as an option for beginner knitters because it reinforces how to work the knit stitch. It can have a slightly loopy edge, but it is more consistent than the thumb cast on.

This cast on is also very easy to use at the end of a row or in the middle of a project to cast on additional stitches.
First, make your slip knot and place it on thee needle in your non-dominant hand. Then take your working needle and slide it into the slip knot as if to knit. Wrap your working yarn just like a regular knit stitch and pull the loop through. Last, take that stitch and put it back onto the needle right after the slip knot. You want to twist the tip of your working needle away from you so you can pick up the new stitch through the back.
5. Cable Cast On
I’m including the cable cast on in this list because it’s very similar to the knitted cast on. It’s a little bulkier than the knitted cast on and creates a beautiful twisted edge that resembles a rope or braid.
Start this cast on just like the knitted cast on and create one stitch after the slip knot. Next, instead of knitting into the next stitch place your working needle between the stitches, yarn over and pull up a loop. (It may be tight so keep that first stitch loose!) Then continue as you did for the knitted cast on by twisting the needle with the new stitch so you can place it back onto the first needle through the back.
The only difference between the cable cast on and the knitted cast on is where you place your needle to create the knit stitch. Since the cable cast on brings the working yarn between the stitches it makes a bulkier edge.
5 Cast Ons for Beginner Knitters
BONUS: Two Color Braided Long Tail Cast On
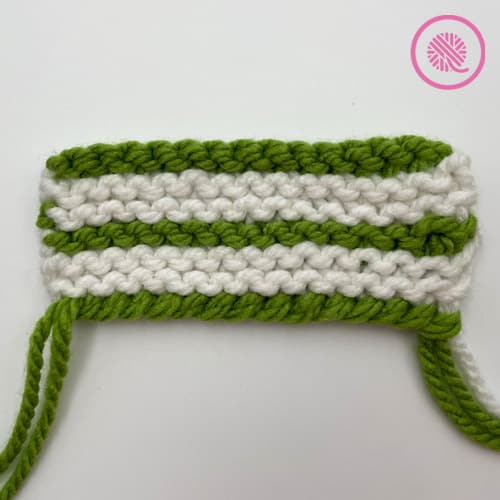
Okay, I know I said this was going to be 5 cast ons for beginner knitters and it is. But I had a little too much fun playing around with my colors and made this two color braided cast on. This may not be perfect for a true beginner, but I’m going to include the pic and instructions here since I show you how to work this in the video.
To create this design I used green as my working yarn and a;ternated between a strand of green and strand of white as the long tail the looped over my thumb. (You could also work with three different colors.) I did not work the cast on using both strands. I alternated colors as I picked up loops from my thumb.
First, make slip knot with all 3 strands and put in on your needle. (Yes, it is very bulky, but we’re NOT counting this as a stitch and will take it out later before weaving in ends.) Create the slingshot by looping the strand coming from the ball over your index finger and ONE of the colors over your thumb. I used the green strand first.
Next, pick up the outside loop on your thumb from below, then grab the inside loop on your index finger from above and pull it through the loop on your thumb. Use your thumb to tighten the stitch on your needle.
Now drop the green strand off your thumb and loop the white strand around your thumb. Make the sure the strand is hanging in the middle. Create the next stitch with the white strand on your thumb.
Continue switching between colors always making sure the new color is on the outside and the thumb strand from the previous color is in the middle.
I hope you enjoyed this lesson on 5 cast ons for beginner knitters. Be sure to watch the video below and check out the other lessons in the series.
PIN IT!
Lesson 9: 5 Cast Ons for Beginner Knitters Video Tutorial
If any of the videos below do not show they may be restricted to GoodKnit Kisses YouTube members only. Find out more about GKK Membership HERE!
Lesson 9 Timestamps:
00:00:00 Welcome
00:00:57 Overview – What’s covered in this video
00:01:38 Long Tail Cast-On
00:05:28 BONUS – Purl Cast-On in Long Tail Cast-On
00:06:58 Two-color Long Tail Cast-on,
00:10:18 HACK/TIP – Long Tail Cast-On no measure hack
00:11:19 Thumb Cast-On
00:14:03 Knitted Cast-On
00:18:06 Cable Cast-On
00:23:17 COLOR CHAT/TIPS – working first rows
00:26:31 Changing Color TIP
00:27:04 Braided 2-3 color cast on
00:34:00 Wrap Up
Right handed
5 cast ons for beginner knitters
Left handed
Be sure to follow all the How to Knit for Complete Beginners Lessons.
- How to Knit – Garter Stitch for Complete Beginners includes Basic Garter Scarf pattern
- How to Knit – Purl stitch for Stockinette
- How to Knit – Stockinette with Garter Border includes Basic Bordered Dishcloth pattern
- How to Knit – Ribbing 1×1 and 2×2 includes Easy Ribbed Headband pattern
- How to Knit – Seed Stitch for Beginners includes Seed Stitch Washcloth pattern
- How to Knit – Moss Stitch for Beginners includes Moss Stitch Washcloth pattern
- How to Knit – Basketweave Stitch for Beginners includes Basketweave Cowl pattern
- How to Knit – Knitting in the Round includes Moss Cowl pattern.
- How to Knit – 5 Cast Ons for Beginners
- How to Knit – 4 Increases includes Grandma’s Favorite Dishcloth pattern
- How to Knit – 5 Decreases includes Grandma’s Favorite Dishcloth pattern
- How to Knit – Slip Stitches