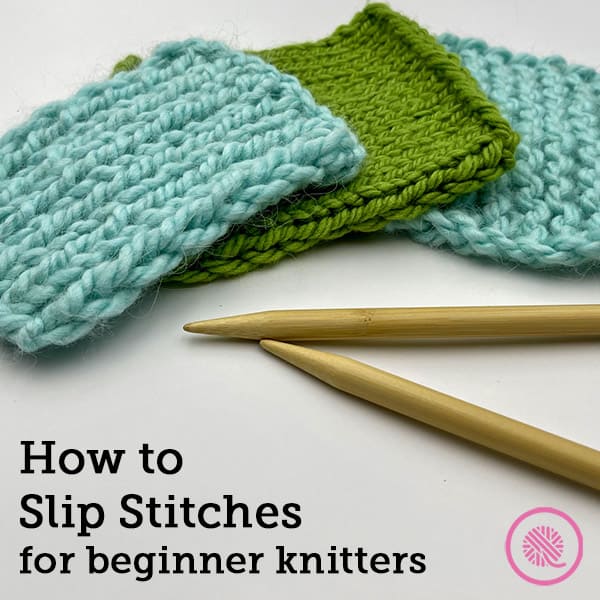
Inside: Learn how to slip stitches both purlwise and knitwise with this lesson for beginner knitters that includes a tutorial video.
I can hardly believe that this is the last lesson in the How to Knit for Complete Beginners series. I hope you followed along since the beginning and are ready to finish strong.
I originally wasn’t going to include slip stitches (also called slipped stitches) in the series because they are so simple to work. But then I remembered what it was like when I was learning to knit. I came across the instruction to “sl1 purlwise” in a pattern and had no idea what to do. I don’t want you to finish a series on learning to knit and leave without this essential knowledge.

So, what is a slip stitch?
It’s easy! It’s a stitch that you don’t work. No knitting, no purling, just slip it from one needle to the other.
So, now you’re probably asking yourself, “Kristen, if it’s that easy why are you doing a whole lesson on it?”
Well, because I want to also let you know when you will see slip stitches in a pattern and how they are abbreviated.
When do you use slip stitches?
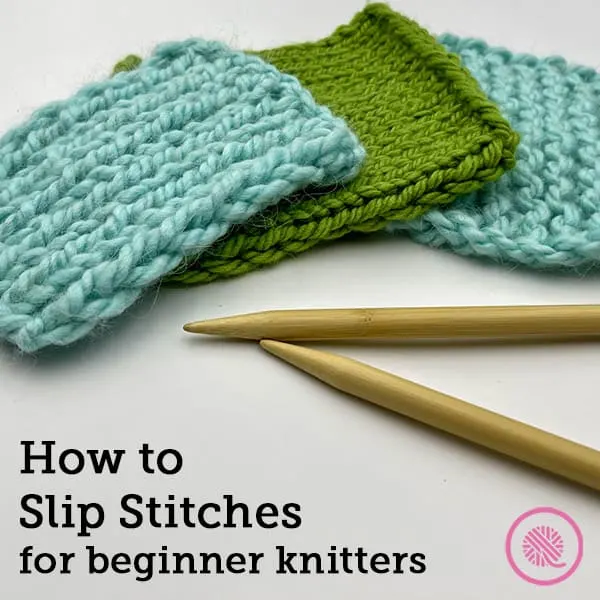
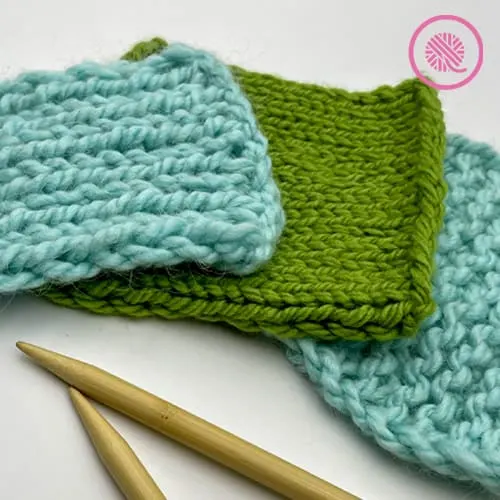
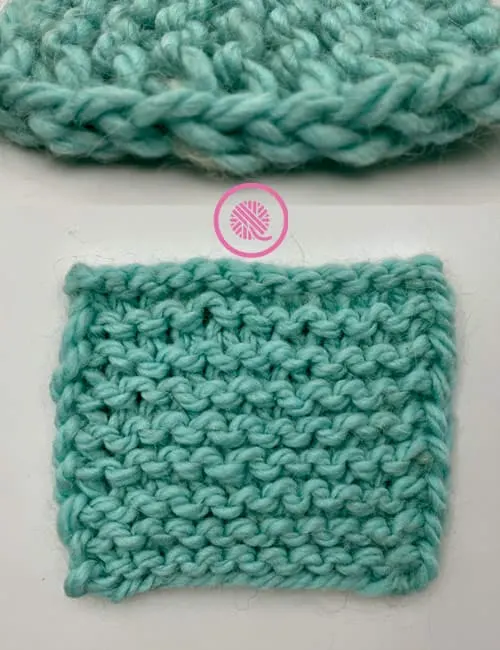
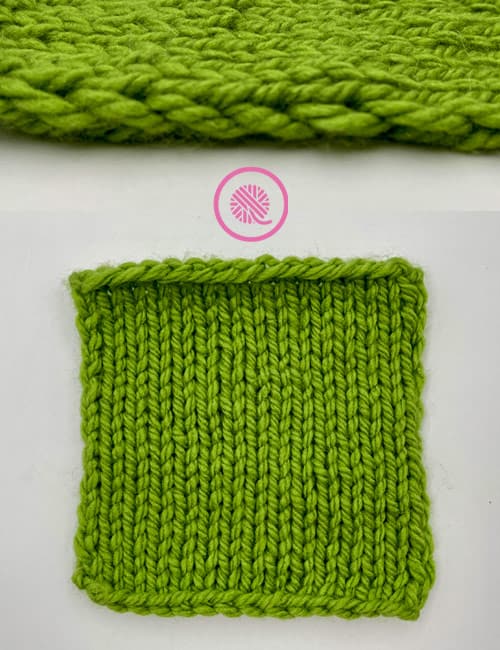
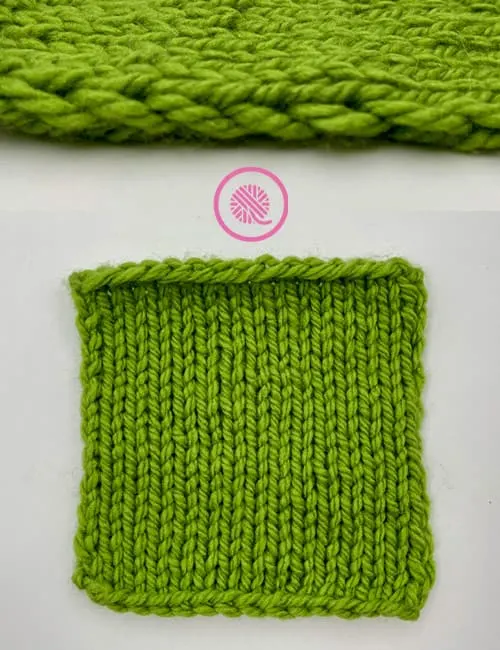
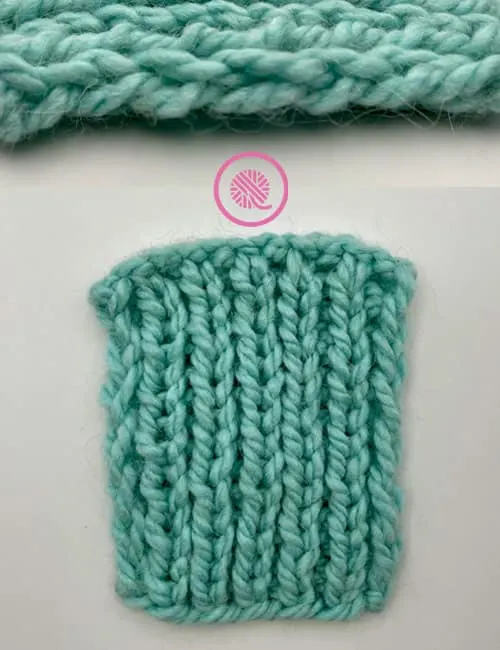
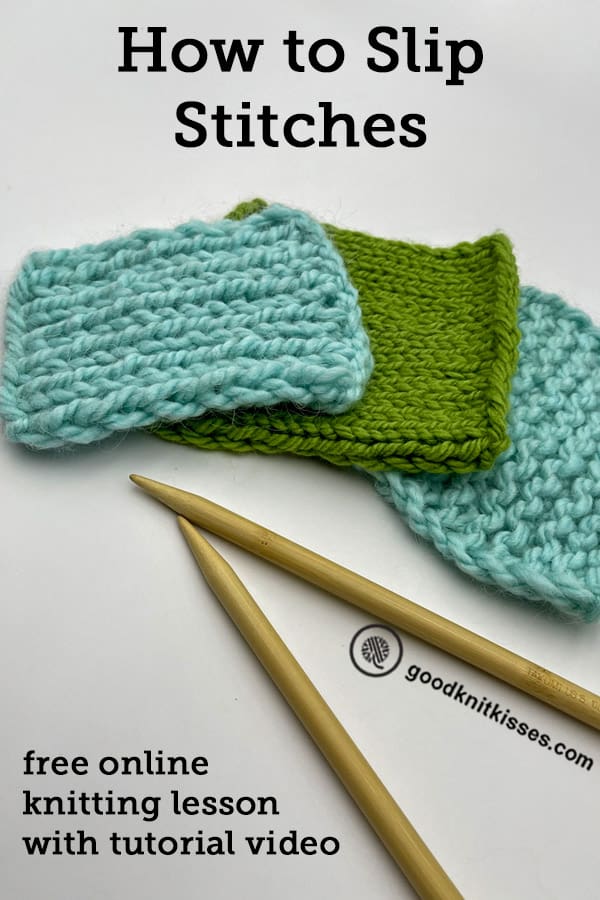
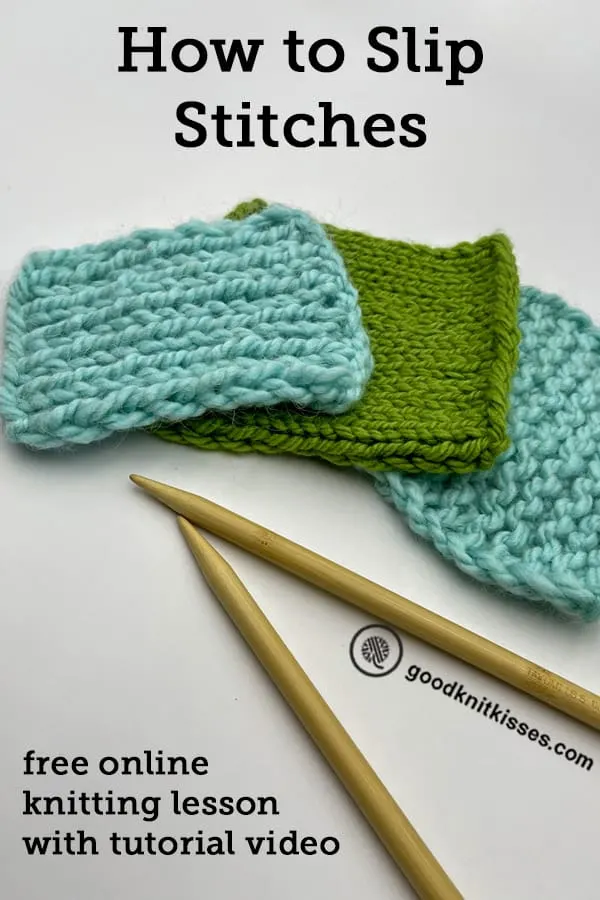
Slip stitches are often used on the edges of your flat knit projects. By not working the first stitch in the row and slipping it you create an edge of nested “V” stitches that look like a knit column on the side of your project. For scarves, shawls and blankets this gives the project a more finished look. See the samples below of the slip stitch edges used with garter, stockinette and ribbing.

Slip stitches are also used as part of various stitch patterns in the middle of your work. They can be used to create a unique texture when combined with other stitches.
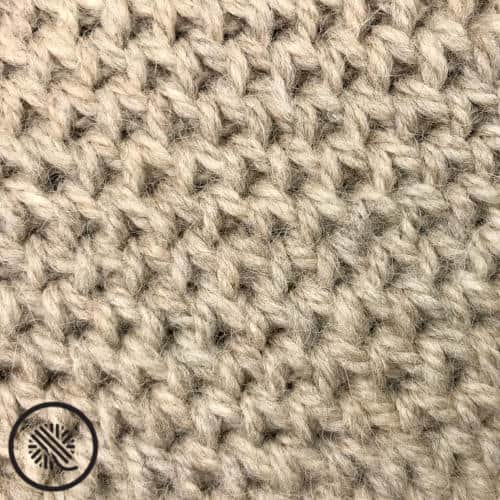
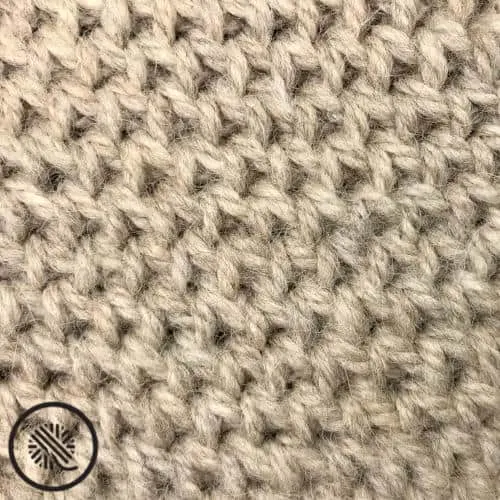
The diamond lace stitch seen below uses a slip stitch with another stitch to create a stitch pattern that looks crocheted. It is an open mesh of stitches, but is much more dense than lace. You can try it out on the Boyfriend Hat pattern.
How to Slip Stitches
I already told you that it’s as easy as sliding the stitch to your working needle without doing anything, but there are several ways to accomplish this. Easy method can give you a slightly different look especially when part of a larger stitch pattern.
Abbreviations for slip stitches:
sl (or sl1) – slip 1 stitch
sl st(s) – slip stitch(es)
sl1p (or slp) – slip 1 stitch purlwise
sl1k (or slk) – slip 1 stitch knitwise
sl1 wyib – slip 1 with yarn in back
sl1 wyif – slip 1 with yarn in front
Now you know why I decided on a whole lesson for slip stitches, right?
Purlwise vs. Knitwise
When a pattern specifies to slip a stitch purlwise or knitwise it is referring to how you pick up the stitch. Always check the pattern notes to see if the specify which one to use. If the pattern doesn’t say to slip knitwise or purlwise, you can assume that it is purlwise.
Purlwise – Put your working needle into the stitch as if you are going to purl. This is the most natural method to slip a stitch because the tip of your working needle is already facing the stitch.
Knitwise – Put your working needle into the stitch as if you are going to knit the stitch.
The reason there are two methods is because when you slip the stitch knitwise you are changing the direction the stitch faces. This can have an effect on how that stitch looks when you work it later on in the stitch pattern.
Slipping With the Yarn in Front vs. Back
This one is an additional instruction you may see in a knit pattern. It refers to where you hold the working yarn when you slip the stitch. Normally, when you are working on the right side your working yarn is held in the back and on the wrong side it is held in front.
But a pattern designer will sometimes change that up and give you specific instructions to hold the yarn in front or back when slipping. Again, this will accomplish a specific look in the overall stitch pattern.
Scroll on down, pin this post, then watch the tutorial video!
PIN IT!
Lesson 12: How to Slip Stitches Video Tutorial
If any of the videos below do not show they may be restricted to GoodKnit Kisses YouTube members only. Find out more about GKK Membership HERE!
The tutorial videos below show you how to knit slip stitches and are designed to help beginner knitters enhance their skills and knowledge. There are two videos: one for right handed knitters and the other for my lefties.
Lesson 12 Timestamps will to help you navigate to the part of lesson you need most.
00:00:00 Welcome
00:00:44 Overview – What’s covered in this video
00:01:24 Slip Stitch – Purlwise
00:02:23 Slip Stitch – Knitwise
00:03:03 General rule of thumb slipping KW or PW
00:03:22 BONUS TIP – Slip with yarn in front or back
00:04:47 Slip Edge – Stockinette
00:07:50 Slip Edge – Garter
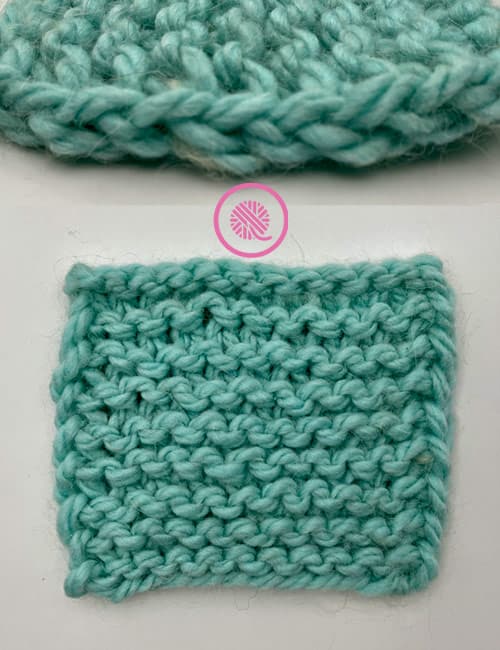
00:10:28 BONUS – Comparing Ribbing slip vs NOT slipped
00:12:17 Slip Edge – Ribbing
00:15:00 Wrap Up
Right handed
Left handed
Thanks for following along with me on all 12 lessons of the How to Knit for Complete Beginners series.
I hope these lessons helped you gain confidence in your skill as a knitter. I’d love to see the projects you share on social media. Just tag me with @goodknitkisses when you share your knits and you will make my day. Nothing makes me happier than seeing YOU stitch your love and love your stitches.
Be sure to follow all the How to Knit for Complete Beginners Lessons.
- How to Knit – Garter Stitch for Complete Beginners includes Basic Garter Scarf pattern
- How to Knit – Purl stitch for Stockinette
- How to Knit – Stockinette with Garter Border includes Basic Bordered Dishcloth pattern
- How to Knit – Ribbing 1×1 and 2×2 includes Easy Ribbed Headband pattern
- How to Knit – Seed Stitch for Beginners includes Seed Stitch Washcloth pattern
- How to Knit – Moss Stitch for Beginners includes Moss Stitch Washcloth pattern
- How to Knit – Basketweave Stitch for Beginners includes Basketweave Cowl pattern
- How to Knit – Knitting in the Round includes Moss Cowl pattern.
- How to Knit – 5 Cast Ons for Beginners
- How to Knit – 4 Increases includes Grandma’s Favorite Dishcloth pattern
- How to Knit – 5 Decreases includes Grandma’s Favorite Dishcloth pattern
- How to Knit – Slip Stitches